punch art birthday bear card

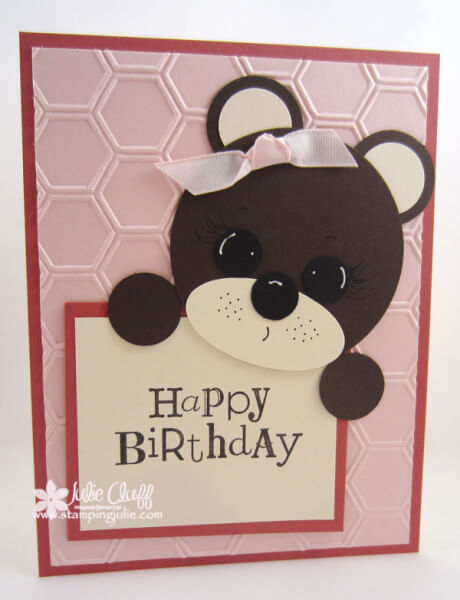
Punch Art Birthday Bear Card

punch art birthday bear card

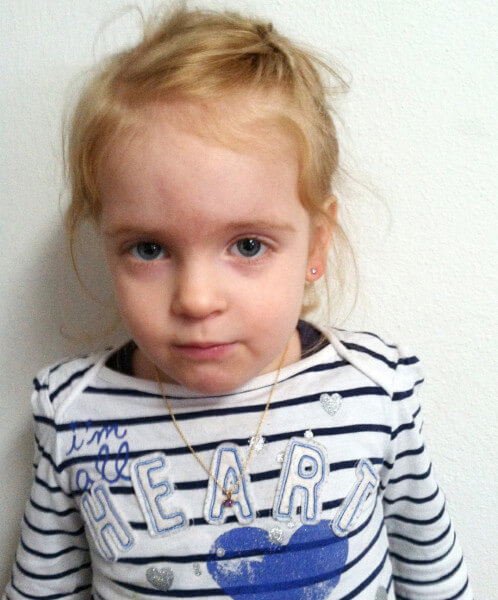
My granddaughter turned 4 last month!  It’s hard to believe that she is already 4 years old.  And she is the funniest little girl!  She wanted earrings so we sent her this birthday card with the money to get her ears pierced.  Here she is showing off her new earrings.

savannah's ears pierced

Here’s one of the latest Savannah stories from my daughter.  Stephanie says,  “Savannah comes up with the craziest stories.  This morning I asked her how she hurt her toe and she said, ‘I was playing and jumped into the laundry basket and a chicka-munk came up and cut my toe!’ Me: ‘it cut your toe?’ Sav: ‘Yeah! With Scissors! And it will call its other friends to come, so watch out for chicka-munks!!!'”

punch art birthday bear card

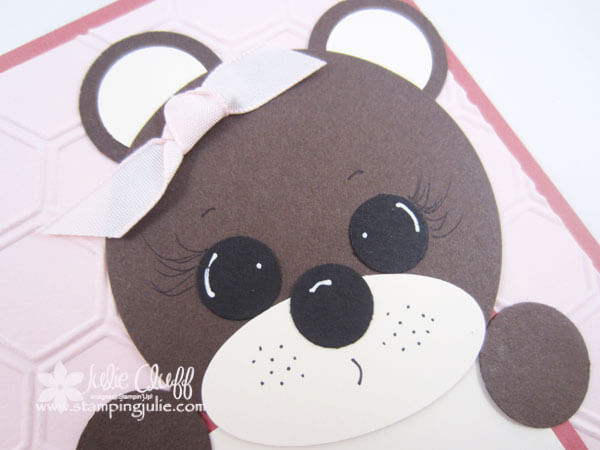
I love the way this little bear peers over the happy birthday message.  His little face is punched out in Early Espresso and Very Vanilla with lots of punches and finished with the Black Stampin’ Write marker and the White Gel pen.  The happy birthday message is a from the Stampin’ Rewards Wacky Wishes.  (This set is available free when you host a Stampin’ class, workshop or your personal order reaches $150.)

punch art birthday bear card

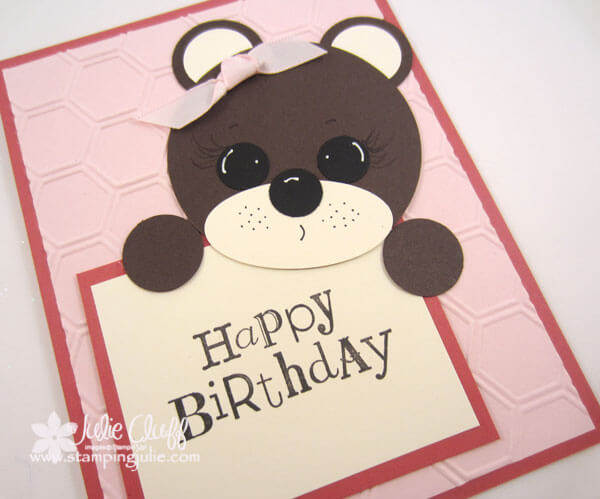
The Pretty in Pink background is embossed with the Honeycomb folder from the Spring catalog and the base of the card is Primrose Petals.  I knew this bear was going to get a lot of love from a four year old so I put it all together with the Liquid Multipurpose glue so it would be sure and hold together tight and withstand 4 year old abuse for as long as possible.

CHECK OUT THE BEAUTIFUL SPRING CATALOG!   which includes the Honeycomb embossing folder.

Click Here to Order your Stampin’ Supplies

Click Here for Fun, Easy Digital Scrapbooking 

Enjoy!  Julie

Clear Mount Stamp Set Sticker Solution

clear mount stamps with 2-way glue I’ve been meaning to share this tip with you for a few weeks.  Here’s a picture I took a month ago shortly after adding 2-way glue to the stickers on my Stampin’ Up! clear-mount stamps. Maybe you have noticed too that the cling on the stamps is not as strong with sticker on.

And maybe you have wondered what 2-way means on the 2-way glue.  Well, 2-way glue is a permanent adhesive when you adhere glitter (my favorite use for this glue) while the glue is wet but if you apply it and let it dry, it acts much like a sticky note and the bond is temporary.

clear mount stamps with 2-way glue

So if you love using the stickers on your Stampin’ Up! clear-mount stamps and wishing for more cling, rub some 2-way glue on the stickers and let it dry completely and you can have your stickers and your cling too!!

Enjoy! Julie

hearts a flutter easter basket

Easter Egg Basket Favor

hearts a flutter easter basket This fun little Happy Easter Egg Basket Favor is made quickly from Pretty in Pink cardstock and the small oval punch.  This would be a great little treat to give to friends, family or co-workers.

hearts a flutter easter basket favor

I started with a 5″ x 9-1/2″ piece of cardstock that I scored at 2-1/2″, 4-1/2″, 7″, 9″, then scored 2″ from the bottom, which is easily done with the Simply Scored Scoring Tool .  Fold it up like you would the 2-4-6-8 box .  Before I assembled the box I inserted the 2-1/2″ side into the large oval punch to punch the window.  Then I cut a 2″ x 2-1/2″ piece of window sheet and adhered the window sheet inside the box with glue dots.

hearts a flutter easter basket favor

The handle is punched from the Scallop Ribbon punch and the ends covered with a punched Itty Bitty Shape punch flower.

I stamped the Easter eggs on this Easter Egg Basket Favor box with the designs from the Hearts of Flutter stamp set, punched them out with the small oval punch and adhered them to the front of the box.  I then used a piece of Certainly Celery cardstock randomly snipped to make the grass.  The interior is also filled with thinly sliced cardstock.

hearts a flutter easter basket favor

CHECK OUT THE BEAUTIFUL SPRING CATALOG!   which includes the Hearts of Flutter stamp set.

Click Here to Order your Stampin’ Supplies

Click Here for Fun, Easy Digital Scrapbooking 

Be sure and watch the 2-4-6-8 video tutorial to see out to assemble this box and have fun making these Easter Egg Basket Favor boxes for your friends!

Enjoy!  Julie

Digital Tuesday: A Free Download and How to Create a Blog Header

Kristin Blog Header_resize

Creating a blog banner or header is easy to do in My Digital Studio.  This is the banner my niece, Danielle designed for my daughter and my greenleavesandjam.com website.  She used two fonts for this design, Bebas and Ballpark.  By adding each letter as a separate text box you can overlap the letters to get this look.  You can change the opacity of your text by clicking on the text box and changing the opacity on the slider in the design center.

Here’s another design we considered for the site which was also created in MDS.  We ultimately went with the design above.  Which design do you prefer?

greenleaves&jam header

There are some great new digital downloads this week, including a couple of graduation card and scrapbook downloads.  Also, April’s wallpaper is now available as a free download.

There are five new digital downloads available this week including a FREE downloadClick here to get the My Digital Studio software.

Click here to see all of the latest digital design downloads.

Click here to shop ALL of the available digital design downloads.

Enjoy!  Julie