Tagged: scoring tool

clockworks one in a million gift card

Clockworks Note Cards Gift Set
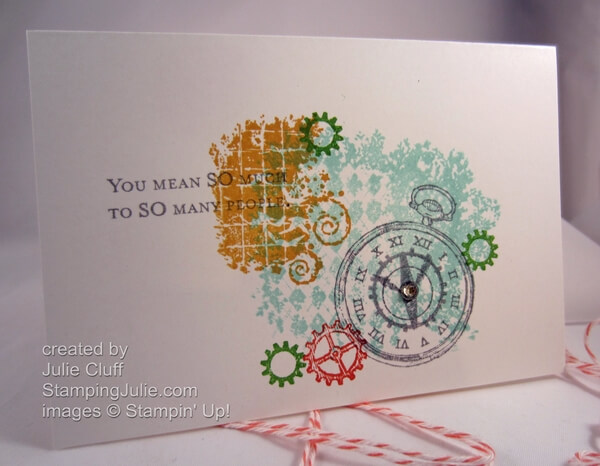
clockworks one in a million gift card
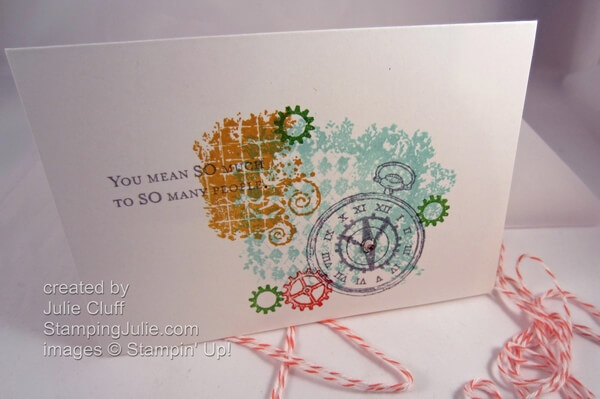
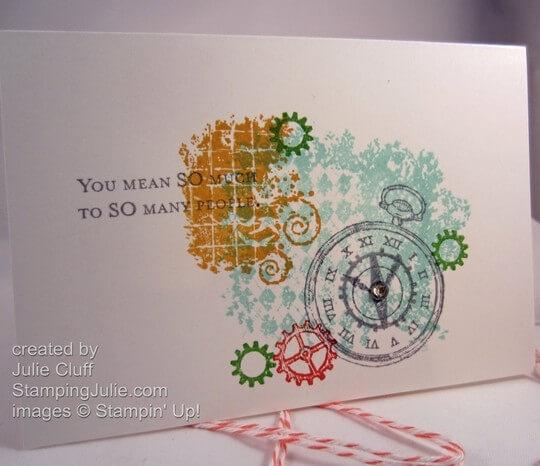
Here’s another project from the Stampin’ Up! Regional event in  Chattanooga.  You’ll notice the stamp sets used are the same as were used in the Two Tags Box and Gift Cards project I shared with you last week.

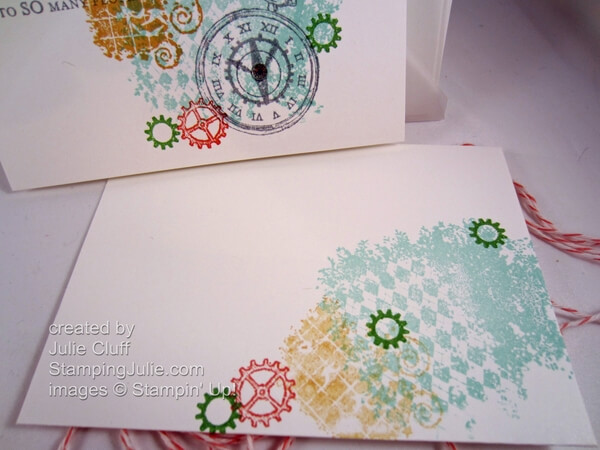
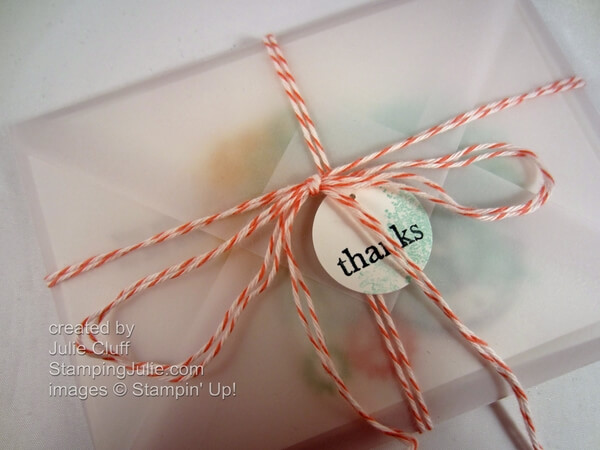
This set of stamped note cards and envelopes are bound together in a lovely vellum pack with loads of playful Calypso Coral Bakers Twine.

clockworks one in a million card pack

This card pack would make a great gift for a friend.  To create the vellum wrap cut a 7-1/4″ square of Vellum cardstock and score the opposite corners with the Simply Scored Scoring Tool and Diagonal Plate at 3-7/8″.  Score the remaining two corners at 2-7/8″.  Cut the notches out created where the score lines intersect and crease the score lines.

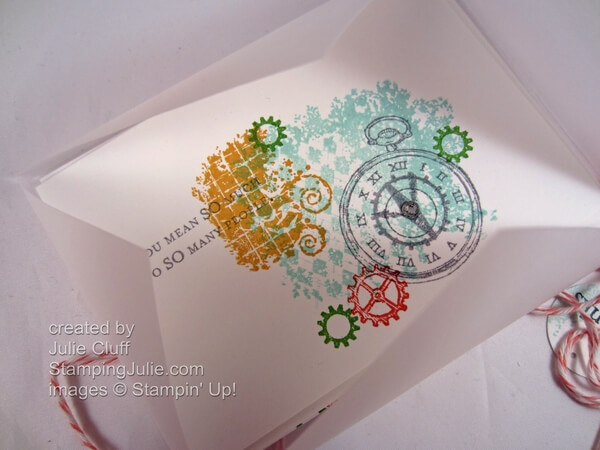
clockworks one in a million pack open

Four note cards and matching envelopes nestle securely inside the vellum folder.

clockworks one in a million envelope

Before wrapping it all up stamp the envelopes to match.

Enjoy! Julie

clockworks one in a million card

Card Recipe: 
Stamps:  Clockworks wood-mounted #127290 clear-mount #127292, One in a Million wood-mount #126380 clear-mount #126382
Ink: Calypso Coral #126983, Gumball Green #126861, Pool Party #126982, Basic Gray #126981, More Mustard #126964
Paper:   Note Cards & Envelopes #107311, Vellum cardstock #101856
Extras: Calypso Coral Baker’s Twine #125573, Rhinestone Basic Jewels #119246, 1″ Circle punch #119868, Simply Scored Scoring Tool #122334, Diagonal Plate #125586
The Spring Catalog Goes Live Today!

Stampin' Up! Spring catalog

The Spring Catalog is beautiful!

View the 2013 spring catalog online (Flash)

View the 2013 spring catalog (PDF)

View the 2013 spring catalog project supply list (PDF)

And here’s some Stampin’ Up! videos on some projects and products from the catalog.

1. Simply Scored Borders Scoring Plate

2. Core’dinations Card Stock


 3. Pop ‘n Cuts Dies

THE STAMPIN’ UP! SPRING CATALOG BEGINS TODAY.   If you still need one, click here to send me a quick message with your name, address and phone number, and I’ll get one in the mail to you.   (If you placed an order with me during 2012 you should have already received your 2013 Spring Catalog in the mail.)

Enjoy, Julie

Tricky Treats Halloween 2-4-6-8 box

2-4-6-8 Halloween Treat Box

Tricky Treats Halloween 2-4-6-8 box

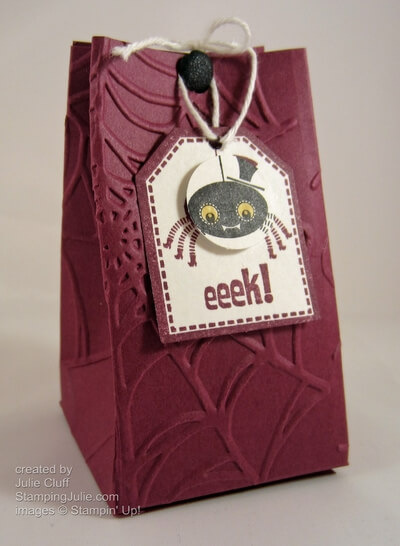
This 2-4-6-8 Halloween treat box is so super easy to make and I recorded a video to show you how to make the box and the tag.

If you are reading in email you can view the video tutorial here or here http://www.youtube.com/watch?v=yqzBaSikDNg

This simple box is made with a half a sheet of paper measuring 5-1/2″ x 8-1/2″.  This box was embossed with the Spider Web Embossing Folder.  To emboss the box you’ll need to emboss it twice, running it through the Big Shot once on each side before assembling the box.

Tricky Treats 2-4-6-8 Halloween box top

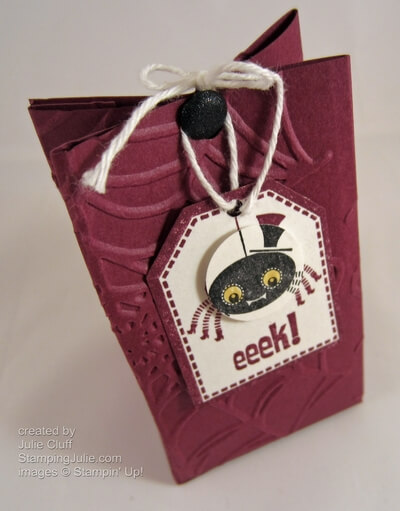
There are several options for closing up the top; you can use ribbon or a topper.  In this sample the top was folded in and secured with a Glimmer Brad, then the tag was hung from the brad.

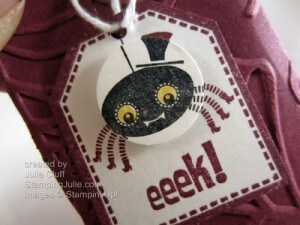
Punches make quick work for tag creation!

Tricky Treats 2-4-6-8 Halloween box tag

This cute spider would look adorable with googlie eyes!  And the adhesive backed googlie eyes available in the Holiday Catalog would make that quick to do, but in this case I colored his eyes with a So Saffron marker to add just a tinge of color.

RIBBON SPECIAL!  Don’t forget to order during the month of September and receive FREE ribbon (value $8.95) for every $40 in product ordered.  What does that mean?  For example, if you purchase the Simply Scored Scoring Tool and Diagonal Plate you would earn a Free spool of ribbon.  If you purchase the Big Shot, you’ll receive 2 spools of ribbon.  If your total order is over $150 you would earn 3 spools of ribbon PLUS $25 in Stampin’ Rewards FREE product.  Questions?  Let me know.

View the Stampin’ Up! Holiday Catalog here

Order Stampin’ Up! Products Here 24/7

Enjoy! Julie

Halloween Treat Box Recipe:
Stamps: Tricky Treats wood-#126325 clear-#126327
Ink: Rich Razzleberry #126950, Black StazOn #101406
Paper: Rich Razzleberry #115316, Whisper White #100730
Extras: Big Shot Die-Cutting Machine #113439, Spider Web Embossing Folder #120889, Simply Scored Scoring Tool #122334, Large Tag Punch #119866, 3/4″ Circle Punch #119873, Basics Glimmer Brad #121003, White Bakers Twine #124262

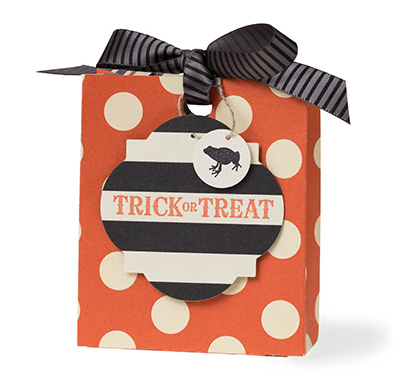
Stampin’ Up! Trick or Treat Bag

Stampin' Up! trick or treat bag This adorable trick or treat bag from Stampin’ Up! is made from many of the great products available in the Holiday Catalog.  Howlstooth and Scaringbone Designer Series Paper, Toxic Treats Stamp Set, and Basic Gray Striped Statin Ribbon are all available for a limited time.

Click here for complete project product list.

Click here to view the Holiday Catalog.

Enjoy!  Julie

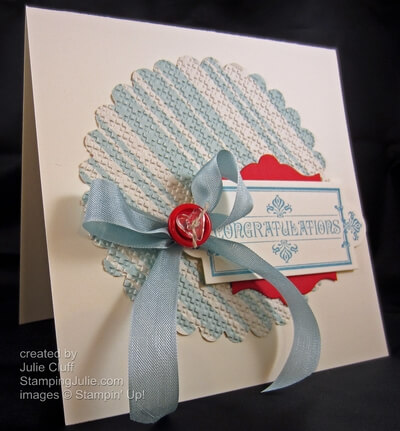
Layered Labels red congratulations card angle

Stampin’ Up! Layered Labels Congratulations CAS

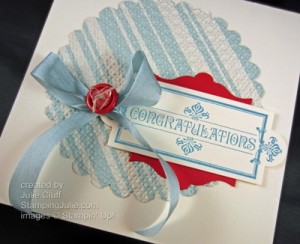
Layered Labels red congratulations card angle What is CAS?  It’s Clean And Simple.  Todays card is a CAS Congratulations card – not too fussy, not too much color or distraction, just cool and calm Baja Breeze and Marina Mist with a pop of vibrant Real Red to get your attention.

The background pattern paper was the starting point for this card so I used the coordinating neutral,  Very Vanilla card stock, cut 11″ x 5-1/2″ as the base (folded to 5-1/2″ x 5-1/2″) to match the Comfort Cafe dsp (designer series paper).  The papers in this dsp pack all have a subtle fabric print, so in keeping with that vibe I used the Square Lattice Embossing Folder after I cropped the Scallop Circle with the Big Shot Die-Cutting Machine.

Layered Labels red congratulations card details

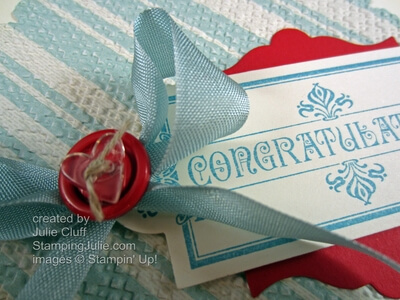
I stamped Congratulations in Marina Mist then die cut it out with the Apothecary Accents Framelits.  (View yesterdays video that demonstrates the Apothecary Accents Framelit.)  I used another Apothecary Accents Framelit to trim out the Real Red Accent.  I cut the die cut in half and layered it behind the top and bottom of the Congratulations label, then attached the label with Stampin’ Dimensionals.

Finally, a Baja Breeze Seam Binding Ribbon bow was added topped using Glue Dots with a Real Red button and clear heart Bitty Button threaded with Linen Thread.

  Layered Labels red congratulations card matching envelope

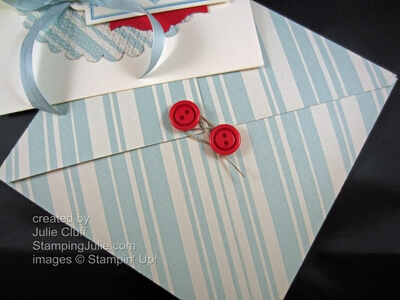
I also made a matching envelope and with the Diagonal Scoring Plate this takes less than a minute to do.  (To view more information and a video on the diagonal scoring plate  click here.) To make this square envelope, cut your paper to 9″ square, score each side diagonally at 4-1/4″, trim out the small triangles where your score lines meet  and fold up.

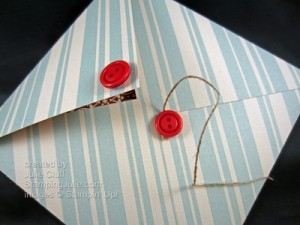
Layered Labels red congratulations card envelope open You’ll notice I added button closure to the back with Linen Thread.  This is a fun feature if you are hand delivering your card, but not so practical for mailing.  🙂 To create this closure, attach the end of the Linen Thread to a Dimensional then to a button.  Adhere the button, thread side down on the envelope.  Then just place the other button on the other side with a Dimensionals.  Now wrap the thread around the buttons to close.

 Enjoy!  Julie

Layered Labels red congratulations card close up

Card Recipe:
Stamps:  Layered Labels w-#127070 c-#127072
Ink: Marina Mist #126962
Paper: Comfort Cafe DSP #126898, Real Red cs #100052, Very Vanilla cs #101650
Extras: Big Shot Die-Cutting Machine #113439, Apothecary Accents Framelits #127003, Scallop Circle Bigz Die #113468, Baja Breeze Seam Binding Ribbon #122331, Linen Thread #104199, Brights Designer Buttons #119747, Bitty Buttons #118761, Dimensionals #104430, Glue Dots #103683, Simply Scored Scoring Tool #122334, Simply Scored Diagonal Plate #125586