Tagged: pattern paper

Secret Garden Ciao Baby love card

Secret Garden, Ciao Baby!, Love Card

Secret Garden Ciao Baby love card

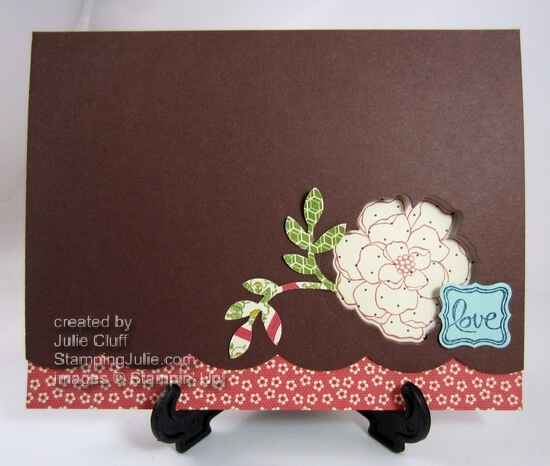
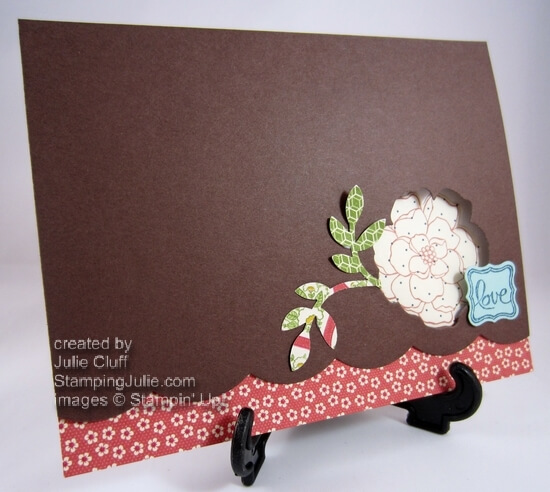
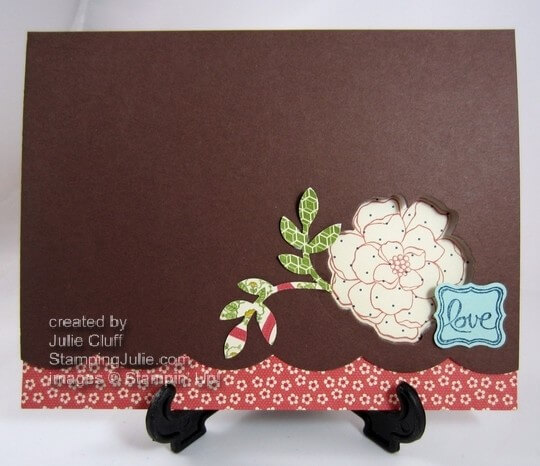
I decided on a peek-a-boo card today.  Coordinating framelits make it soooo super-dooper easy to do.  Unlike punches you can place and cut your framelit shape anywhere on the cardstock.  Super handy!  Right?!

Also, I photographed this on the stand because I adhered the pattern paper on the inside of the card and cut the wide scallop edge from the front of  the card, so if I had photographed it open the scallop edge would have been resting on the surface and you wouldn’t be able to see the lovely little flower pattern below.  And that would be a crying shame!

Secret Garden Ciao Baby love card detail

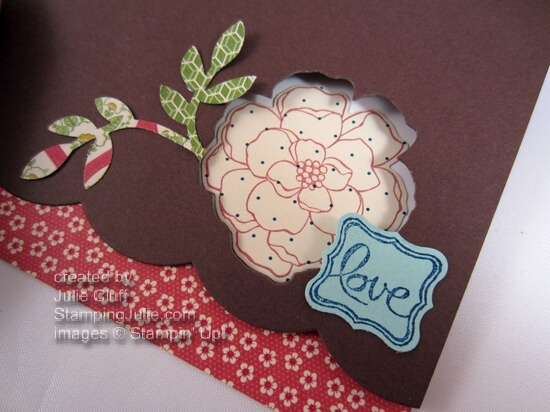
In addition to the little flowers paper below the scallop, I used the Print Poetry Designer Series Paper Pack for the leaves and the flower too.  The leaves were punched from the Bird Builder Punch and the flower was stamped and cut with the Secret Garden  stamp and framelit.

Here’s the easy-peasy way to get your peek-a-boo flower to match up perfectly inside your card.  It isn’t rocket science, I swear. Just place and cut with your framelit where you want your opening in the front cardstock.   Then stamp your flower on cardstock or pattern paper (in this case print pack) and cut it out with the same framelit.  Then place adhesive on the back of your flower, close your card front and adhere the flower through the opening onto the inside of the card.  Simple!

Secret Garden Ciao Baby love card close up

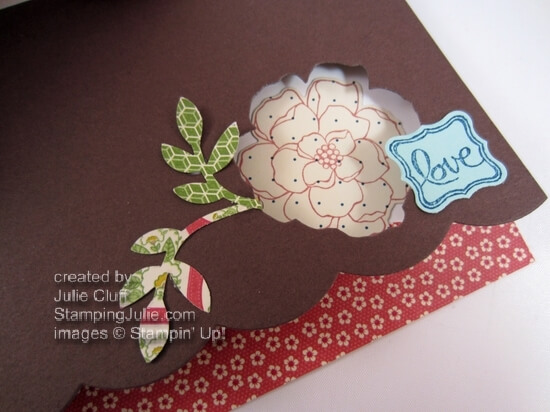
Here’s another angle.  The love tag was simply stamped from the Caio, Baby! stamp set on Pool Party cardstock and punched out with the Petite Curly Label Punch (available FREE with a Sale-a-bration order Jan. 22nd).

Secret Garden Ciao Baby love card inside

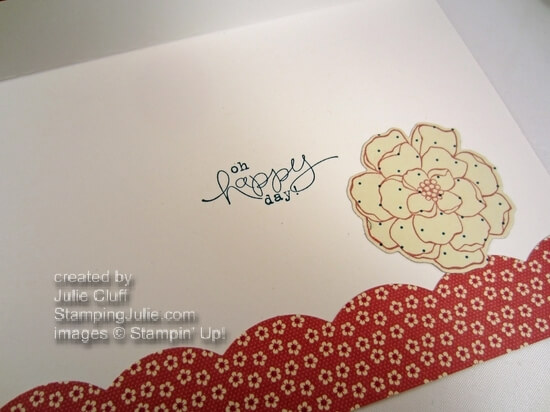
And this is what you see when you open the card.  I cut the pattern paper with the scallop framelit also.  And “Oh happy day!” is another sneak peek from a Sale-a-bration stamp set, Bloomin’ Marvelous.

GET EXCITED ABOUT SALE-A-BRATION STARTING JANUARY 22ND!  For every $50 product purchase you recieve a FREE  stamp set or accessory of your choice.  SAB time is a great time to expand your crafting supplies so that you have what you need when you need it.  Click here for the complete list of SAB products!

Enjoy!  Julie

Secret Garden Ciao Baby love card

Card Recipe:
Stamp Set and Framelit Bundle:  Secret Garden* wood-mount #131100 clear-mount #131099
Stamps: Bloomin’ Marvelous**, Ciao Baby!* wood-mount #129645 clear-mount #129648
Ink: Raspberry Ripple #126859, Midnight Muse #126860
Paper: Print Poetry Designer Series Paper Pack* #129312, Pool Party cardstock #122924, Chocolate Chip cardstock #102128, Whisper White cardstock #100730
Extras: Big Shot Die-cutting Machine #113439, Large Scallop Edgelit #127019, Bird Builder Punch #117191, Petite Curly Label Punch**
*Spring Catalog
**Sale-a-bration exclusive product, available FREE on Jan 22nd.
 
 
sweet sentiments butterfly thank you card

A Simple Butterfly Thank you Card

sweet sentiments butterfly thank you card

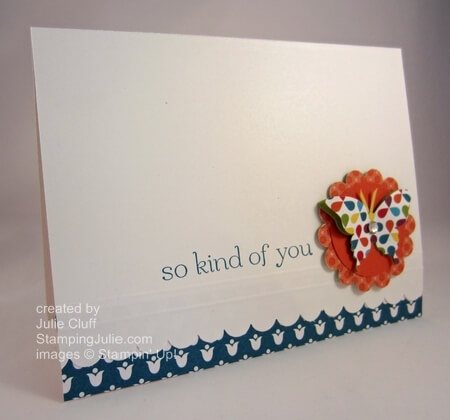
After Christmas we all need more thank you cards to show appreciation for all the wonderful gifts and favors we received over the holidays.  And clean and simple cards are a must when you want to make a more than just one!

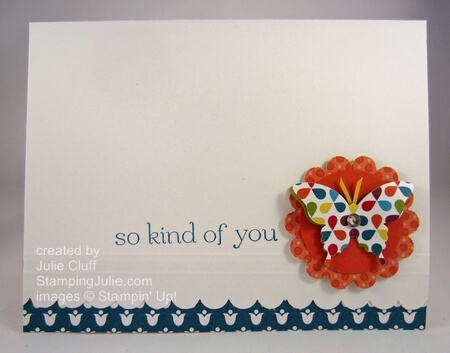
I simply folded my Whisper White cardstock base before punching the scallop along the bottom.  I used the Simply Scored Scoring Tool to add a couple of scored lines above the scallop.  Be sure and score the back of the card to have the raised edge on the card front.  🙂

sweet essentials butterfly thank you card detail

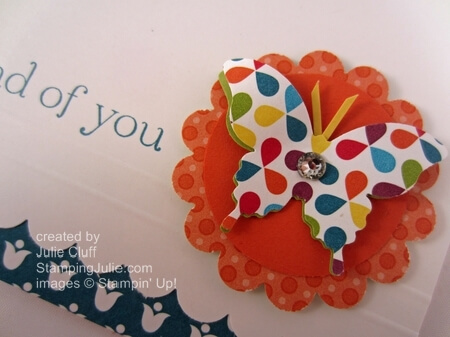
The scallop circle was punched from the Summer Smooch Designer Series paper and layered with a matching Tangerine Tango circle.  I punched the butterfly out twice with the Elegant Butterfly punch; once from the Summer Smooches dsp and once from Lucky Limeade.

I trimmed off a sliver of Daffodil Delight to add antennae and topped the butterfly with a rhinestone.  I curled the butterfly wings with my bone folder and used Multipurpose Liquid Glue to adhere the center of the butterfly to the punched circles. (Glue dots would work well for this too.)

 With the butterfly accent ready to go I was able to stamp the “So Kind of You” sentiment from the Sweet Essentials stamp set in Island Indigo.

To attach the 1″ dsp strip under the scallop just right, I opened the card, lined it up the tulip strip with the bottom edge of the back, added glue to the underside of the scallop and closed the card so that the scallop was perfectly placed on the dsp strip.  That sounds more complicated than it is, but hopefully, you get the idea.

WHAT CARDS DO YOU NEED FOR THE NEW YEAR?  Birthday, thank you, etc.?  Check out the new Spring catalog and click here to order your supplies today!

Enjoy!  Julie

sweet essentials butterfly thank you card

Card Recipe:
Stamps: Sweet Essentials wood-mounted #126455, clear-mounted #126457
Ink: Island Indigo #126986
Paper: Summer Smooches Designer Series Paper #125409, Whisper White cardstock #100730
Extras: Elegant Butterfly Punch #127526, Scallop Circle Punch #119854, 1-3/8″ Circle Punch #119860, Scallop Edge Border Punch #119882, Rhinestone Basic Jewels  #119246, Simply Scored Scoring Tool #122334, Multipurpose Liquid Glue #110755
summer silhouettes congratulations graduation card

Congratulations on Your Graduation!

summer silhouettes congratulations graduation card

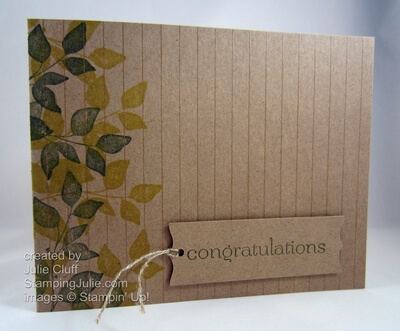
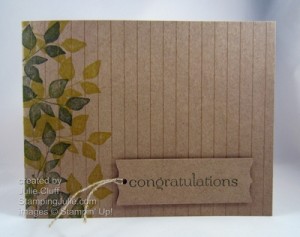
My son-in-law Chris recently graduated from college!  A fantastic accomplishment, and we are so happy for him and his family!  This is the card that I created to acknowledge this great achievement.  I kept it masculine with earthy colors and images.

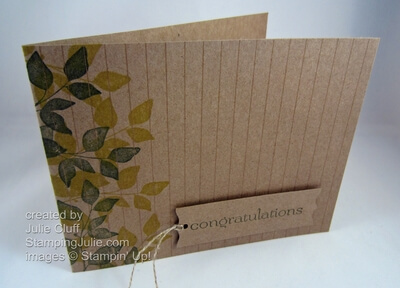
To create this masculine congratulations card, I started with a card base of Natural Composition Specialty paper cut 4-1/4″ x 11″ and scored at 5-1/2″.  The Natural Composition dsp has a cardstock weight so it’s perfect for a card base.  I paid special attention to the orientation of the embossed lines of this paper before I trimmed the card base out.

summer silhouettes congratulations graduation card leaves

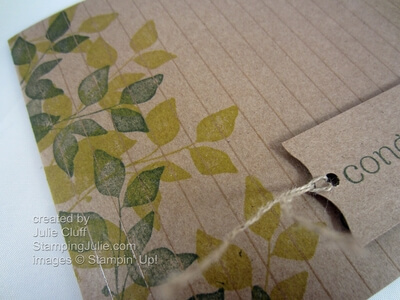
The leaves stamp is from the Summer Silhouettes stamp set and I stamped the left side first in Summer Starfruit and then in Always Artichoke.

summer silhouettes congratulations graduation card tag

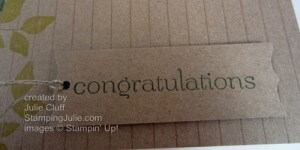
I used the strip of paper left over from cutting out the card base to create this tag.  I stamped “congratulations” from  the Sweet Sentiments stamp set on the backside of the embossed paper and then punched the ends of the tag with the Curly Label punch.  I added a bit of Linen Thread to the tag before adhering it to the card base with dimensionals.

summer silhouettes congratulations graduation card above

CHECK OUT THE BEAUTIFUL NEW SPRING CATALOG!   I think you’ll love the beautiful colors, images and ideas in the brand new Spring catalog. 

Click Here to Order your Stampin’ Supplies

Click Here for Fun, Easy Digital Scrapbooking 

Enjoy,  Julie

summer silhouettes congratulations graduation card
Card Recipe:
Stamps: Summer Silhouettes wood-mount #126445 clear-mount #125447
Ink: Summer Starfruit #126991, Always Artichoke #126972
Paper: Natural Composition Specialty dsp #126917
Extras: Linen Thread #104199, Curly Label Punch #119851, Stampin’ Dimensionals #104430
 
summer silhouettes stamp set
 
papillion potpourri happy anniversary card

Happy Anniversary!

papillon potpourri happy anniversary card

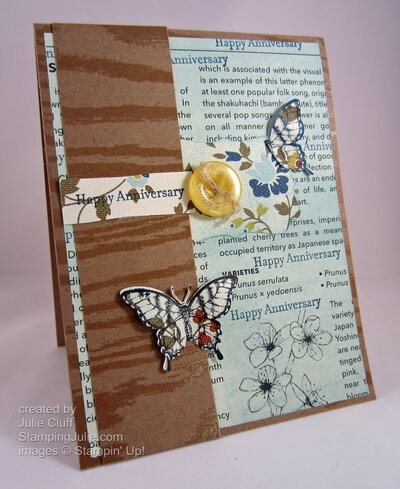
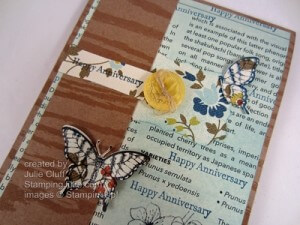
 This past week my daughter and her husband celebrated their fifth wedding anniversary, and this is the Papillon Potpourri anniversary card I made for them.  I saw a card in the Paper Crafters magazine that became the inspiration for this card.

I used the First Edition Specialty Designer Series Paper.  This neutral ‘encyclopedia’ pattern paper is super easy to customize.  I brayered Baja Breeze ink on it and stamped Happy Anniversary in Night Quite Navy to personlize the paper.

papillon potpourri happy anniversary card butterfly

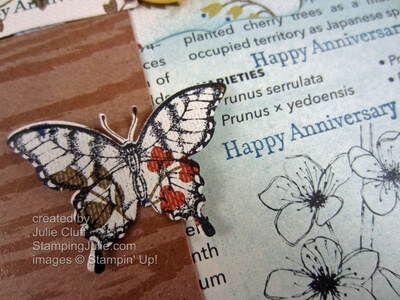
The butterflies were stamped on Comfort Cafe dsp and punched out with the Elegant Butterfly punch.  The punch only punches out the body so I stamped it again and trimmed around the body and antanae of the second set to adhere to the back of the  butterfly.

papillon potpourri happy anniversary card tag

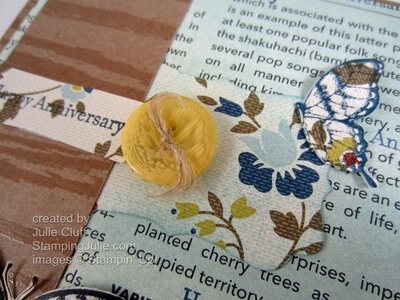
The butterfly alight on the tag was punched, folded and adhered to the corner.  I thread the button with linen thread and frayed it with the blade of my paper snips.  Glue dots are perfect for securely adhering the butterflies and button.

THE HOLIDAY CATALOG EXPIRES IN JUST A FEW DAYS. Don’t forget to place your order today! Click here for the Stampin’ Up! Holiday Catalog PDF file.

Click Here to Order your Stampin’ Supplies

Click Here for Fun, Easy Digital Scrapbooking  

stampin up clearance blitz

Exciting News!!! Great Stampin’ Up! products at huge discounts!  Here’s the detail:

  • Clearance Rack items only available on online orders . Feel free to order both Clearance Rack and non-Clearance Rack items on the same order.
  • There is no minimum purchase required to participate in this special offer-go nuts!
  • Qualifying Clearance Rack orders are eligible for Stampin’ Rewards. Bonus!
  • Clearance Rack Blitz items are only available while supplies last-so don’t wait! And sorry, but there are no refunds or exchanges on Clearance Rack items.
  • Check out all of the Clearance Rack Blitz items in the Online Store.

Enjoy! Julie

papillon potpourri happy anniversary card close up

Card Recipe:
Stamps: Papillon Potpourri wood-#123757 clear-#123759, Teeny Tiny Wishes wood-#115370 clear-#127802
Ink: Midnight Muse #126860, Basic Black #126980, Baja Breeze #126960
Designer Series Paper:  Comfort Cafe #126898, First Edition #121878, Natural Composition #126917
Extras: Elegant Butterfly Punch #127526, Designer Label Punch #120907, Buttons #119747, Linen Thread #104199, Glue Dots #103683

Merry Christmas Trees in Review

Christmas Trees have certainly been a theme this holiday season on StampingJulie.com.  I’m a little sad to see Christmas coming to an end.  I can’t tell you how much fun I have had making Christmas projects to share with you.  And with the end of the holiday season comes the end of the Stampin’ Up! Holiday Catalog.

Here’s some of the highlights of the Christmas tree cards I’ve shared with you this season:

sweet essentials glimmer spritz christmas tree card

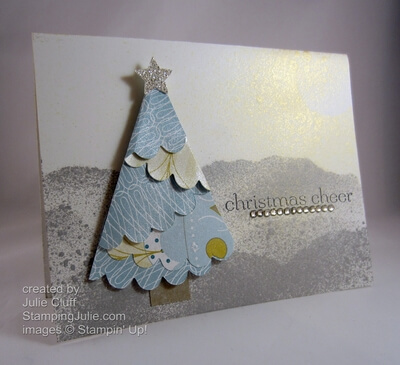
Just a folded Christmas tree and lots of glittery sprays!!  Shimmer Folded Christmas Tree Card 

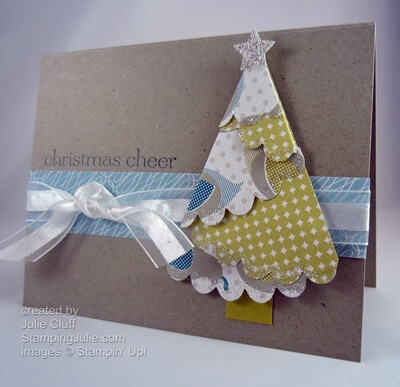
Scallop Ruffle Christmas Tree Card

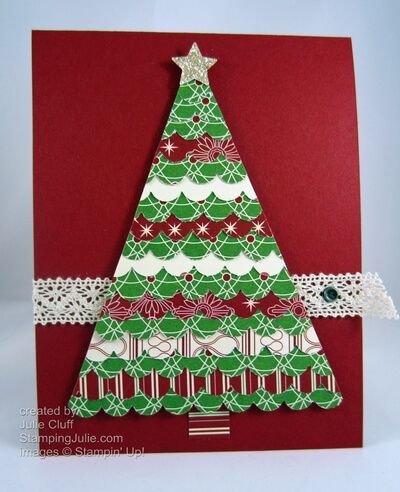
A ruffle Christmas tree card made with lots of punched and layered Christmas paper scallops.  Pennant Ruffle Christmas Tree Card

lovely as a tree starry night Christmas card

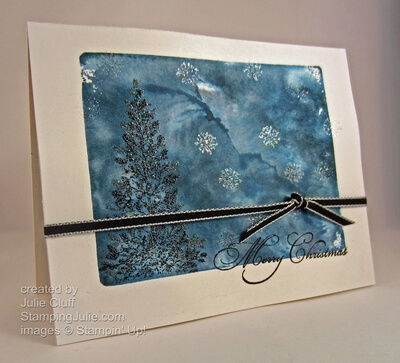
Definitely one of my favorite Christmas tree cardsLovely as a Tree Starry Night Christmas Tree Card and video tutorial.

sweet essentials folded Christmas tree card

Another folded Christmas tree card with non-traditional colors.  Folded Christmas Tree Card and video tutorial. 

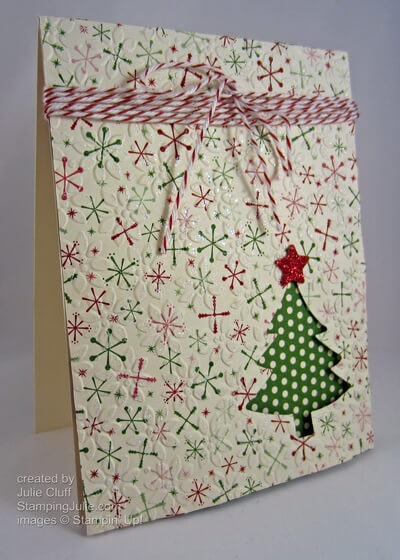
Scentsational Season Christmas Tree

Another favorite!  I love the feel of the paper: it’s so rich feeling after embossing and heat embossing with sparkle.  And the tree is cut out of the background with the green polka dot paper peeking out from behind.  Glittery Paper Christmas Tree Card

holiday collection gift card

 And the matching gift card from the scraps of the last card.  Holiday Collection Gift Card

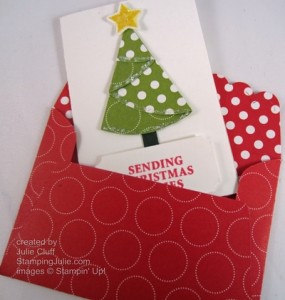
Joyous Celebrations Folded Christmas Tree Gift card

This little gift card that fits in the envelope made from the Scallop Envelope Bigz Die was the beginning of the folded Christmas tree crazeJoyous Celebrations Folded Christmas Tree card 

That’s the parade of Christmas trees in review!!

Merry Christmas!  Julie