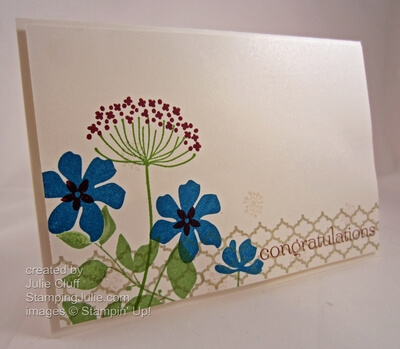
 No one is born knowing how to make their own cards. It’s true!! I remember when I was first introduced to the idea of rubber stamping and card making. I would ask how to do it and the answer I would get would be something like this: Cut your paper in half and fold it.
That sounds simple enough, but is that all there is to it? I would always be left with all these unanswered questions: Cut the paper where? How do I design it? How do I layer? How do I mail it when I’m done?!?
Do these questions sound familiar to you?
Here are some basics to unleash your inner creative diva and impress your friends and family while making them feel special too!
The dimensions of a standard homemade greeting card are 4-1/4″ x 5-1/2″ and it fits in an invitation-size envelope. Stampin’ Up! offers beautiful envelopes and they are easy to stamp on too!
To create the standard greeting card, cut your 8-1/2″ x 11″ cardstock on the 11″ side at 5-1/2″, then fold it in half. Half of 8-1/2″ is 4-1/4″ so that will give you a card measuring 4-1/4″ x 5-1/2″. There are variations on greeting card sizes and cuts but this is the best place to start.
Now start adding. Here are some ideas.
1. Leave the background clean or stamp a random pattern all over the background similar to what you see in the card below. (Make sure you stamp off the edges for a natural look.)
2.
Stamp
your focal point image, cut it out square and layer it by adding cardstock behind it that is slightly bigger. Add 1/8″, 1/4″ or 1/2″ to the size of the square depending on the size frame you want. For example, if you want a narrow border and your piece is 2″ x 2″, cut your layer 2-1/8″ x 2-1/8″.
3. Use punches for quick, layered elements. Like this circle inside the scallop circle. Punches are great for layering and you will see me use them a ton.
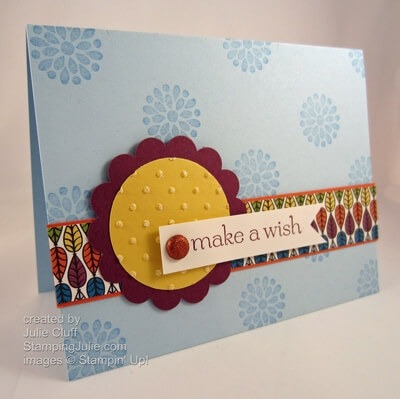
4. Add a greeting by stamping on a separate scrap of cardstock, cutting it out and adhering it, OR by stamping directly on the background cardstock. On the card above the greeting was added as a banner. On the card below the sentiment was stamped directly on the background.
5. Use a good adhesive. I highly recommend SNAIL adhesive.
Add enough adhesive to keep your card together but do not cover the entire surface! Usually 1/2″ to 1″ (depending on the size of your piece) in each corner is sufficient. I used inadequate glue one time for my son’s birthday invitations and they fell apart – yikes!
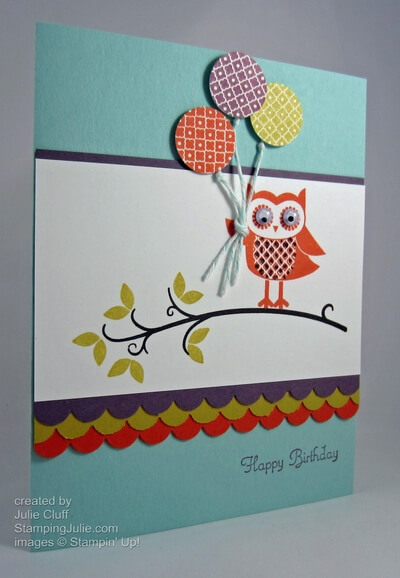
6. Keep it simple and fun, and your design work will keep expanding. My first cards were simply folded cardstock with a greeting stamped in the middle. Seriously! I’m not kidding. When my son was born I grabbed some cardstock, quickly cut it, folded it, stamped a thank you message on the front and that’s what I sent as a thank you card.
This owl card looks involved and complicated, but it really is just starting with the basics – folded cardstock – and adding layers and embellishments. Experiment and most of all have fun!!!
Enjoy! Julie
