Category: For Newbies

oct stamp camp

Stamping Julie Live and Virtual Events

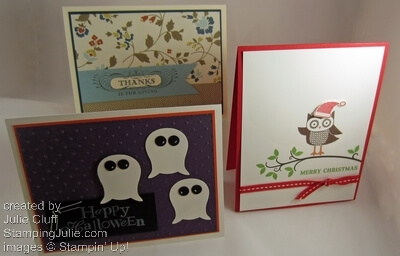
oct stamp camp Are you excited about the holidays?  Are you wanting new creative ideas and how-to’s to make your holidays extra special for you and your family?  Your friends and family will drool over your handmade creations.  You’ll feel special and so will they! 

Do you live near Louisville, KY?  Then join me for my October 25th Stamp Camp.  Details below.  And view more events by clicking the Events tab above.

If you don’t live close or can’t make it on the 25th, don’t despair!  You can still get all the creative ideas and how-to’s!  Join me for a virtual stamp camp delivered directly TO YOU on October 20th .  Enjoy 30 minutes of exclusive video tutorials with lifetime access, which include step-by-step instructions to make all three projects PLUS additional project ideas, AND a PDF file with full color pictures and step-by-step directions  with complete cutting measurements.

Two ways to get the virtual stamp camp

Option 1 – In the US Only! Purchase $35 or more in Stampin’ Up! product from my store by October 20th and receive the videos and PDF file as a FREE bonus.  Place your order and then click here  or leave a comment below with your email address to claim your FREE bonus!

Option 2 – Available to ALL! Order video demonstrations and PDF file for only $8.  This is great for everyone looking for creative inspiration, including stamping demonstrators who need ideas for their own events!  Click ‘Buy Now’ button and order now.


WHAT OTHERS ARE SAYING ABOUT STAMPING JULIE VIRTUAL EVENTS:

“So cute, and great tutorial! Thanks so much for sharing!” – Kat R.

“Julie has always been a great inspiration, especially when it comes to card design.  Very helpful in teaching different techinques.” – Debbie M.

“I am fairly new to Stampin’ Up!, and your cards and ideas help me in my demonstrations.  So, thank you so much for your help.” – Cindy H.

oct stamp camp

Girls Night Out Stamp Camp

Thursday, Oct. 25, 2012 7:00 pm

Rubber stamping with Julie Cluff

Make 3 projects!

$10 class fee or FREE with product purchase that night

Door prizes & light refreshments!

Sign Up Now:

(Limited to 10 stampers, so make your reservation early)

Questions? or Need directions:  Email me or call number above

Most people enjoy bringing their own class kit.**

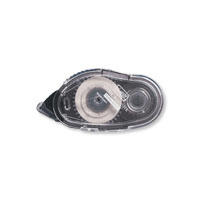
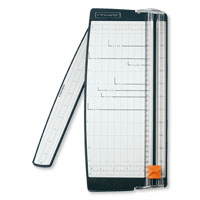
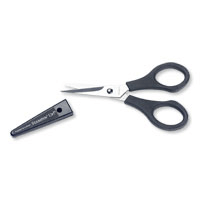
**Class Kit: Paper Trimmer, Scissors, Adhesive, bone folder or scoring blade. (if you don’t have some of these supplies, no problem, there will be some available for sharing.)

WHAT OTHERS ARE SAYING ABOUT STAMPING JULIE EVENTS:

“YIPPEE! Thanks for hosting another great camp!” – Karen W.

“I have to admit I was a bit intimidated by the prospect of making those beautiful cards, but I had so much fun!” – Cathy P.

“Mary and I had a great time last nite and we look forward to the next stamp camp.” – Vicki R.

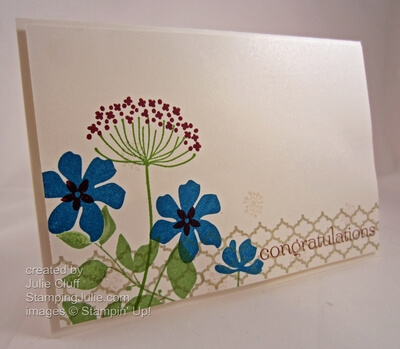
Stampin' Up! summer silhouettes congratulations card angle

Getting Started: Card Making – The Basics

Stampin' Up! summer silhouettes congratulations card angle No one is born knowing how to make their own cards.  It’s true!!  I remember when I was first introduced to the idea of rubber stamping and card making.  I would ask how to do it and the answer I would get would be something like this:  Cut your paper in half and fold it.

That sounds simple enough, but is that all there is to it? I would always be left with all these unanswered questions: Cut the paper where? How do I design it?  How do I layer? How do I mail it when I’m done?!?

Do these questions sound familiar to you?

Here are some basics to unleash your inner creative diva and impress your friends and family while making them feel special too!

 The dimensions of a standard homemade greeting card are 4-1/4″ x 5-1/2″ and it fits in an invitation-size envelope.  Stampin’ Up! offers beautiful envelopes  and they are easy to stamp on too!

To create the standard greeting card, cut your 8-1/2″ x 11″ cardstock on the 11″ side at 5-1/2″, then fold it in half.  Half of 8-1/2″ is 4-1/4″ so that will give you a card measuring 4-1/4″ x 5-1/2″.  There are variations on greeting card sizes and cuts but this is the best place to start.

Now start adding.  Here are some ideas.

1. Leave the background clean or stamp a random pattern all over the background similar to what you see in the card below.  (Make sure you stamp off the edges for a natural look.)

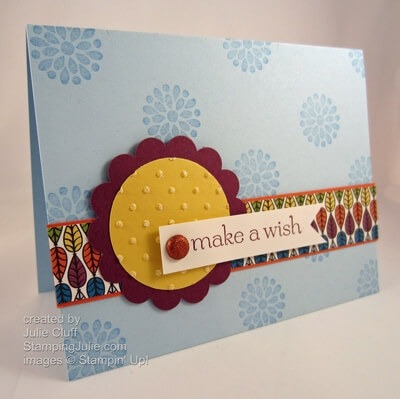
2. Stamp your focal point image, cut it out square and layer it by adding cardstock behind it that is slightly bigger.  Add 1/8″, 1/4″ or 1/2″ to the size of the square depending on the size frame you want.  For example, if you want a narrow border and your piece is 2″ x 2″, cut your layer 2-1/8″ x 2-1/8″.

3. Use punches for quick, layered elements. Like this circle inside the scallop circle.  Punches are great for layering and you will see me use them a ton. Betsy's Blossoms sunny birthday card angle

4. Add a greeting by stamping on a separate scrap of cardstock, cutting it out and adhering it, OR by stamping directly on the background cardstock.   On the card above the greeting was added as a banner.  On the card below the sentiment was stamped directly on the background.

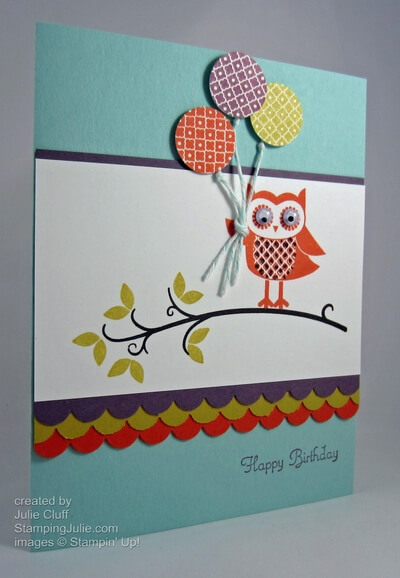
5. Use a good adhesive.  I highly recommend SNAIL adhesive.   Add enough adhesive to keep your card together but do not cover the entire surface!  Usually 1/2″ to 1″ (depending on the size of your piece) in each corner is sufficient.  I used inadequate glue one time for my son’s birthday invitations and they fell apart – yikes!  owl occasions birthday wish angle

6. Keep it simple and fun, and your design work will keep expanding.   My first cards were simply folded cardstock with a greeting stamped in the middle.  Seriously!  I’m not kidding.  When my son was born I grabbed some cardstock, quickly cut it, folded it,  stamped a thank you message on the front and that’s what I sent as a thank you card.

This owl card looks involved and complicated, but it really is just starting with the basics –  folded cardstock – and adding layers and embellishments.  Experiment and  most of all have fun!!!

Click Here to Order your Stampin’ Supplies

 Click Here for Fun, Easy Digital Scrapbooking! 

 Enjoy!  Julie

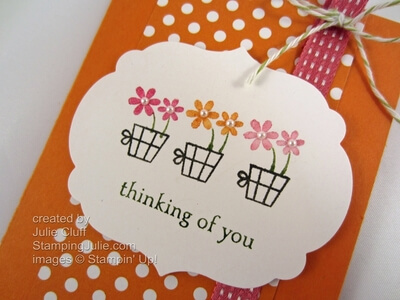
moving forward flower pots thinking of you angle

Stampin’ Up! Moving Forward Flower Baskets

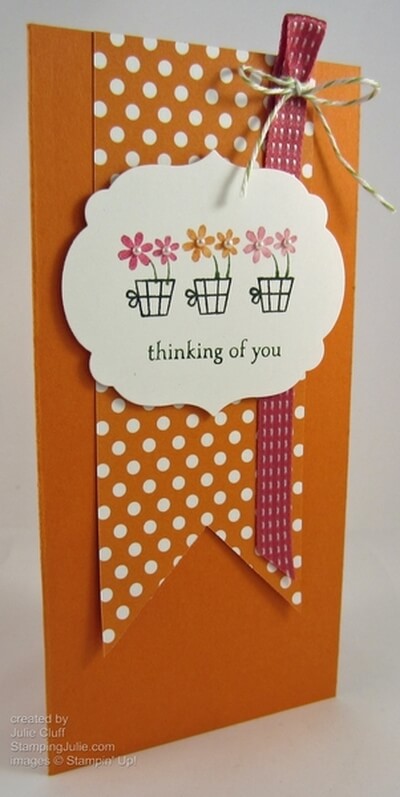
moving forward flower pots thinking of you angle This cheery friendship card was inspired by a card from the Stampin’ Up! demonstrator magazine (get your copy when you join today for only $99) and features the Ronald McDonald House Charities Stamp Set, Moving Forward, as shown on the inside back cover of the Stampin’ Up! catalog.  When you purchase this set, $3 will be donated to charity.

    Moving Forward stamp set

The petite basket is actually from the cute bicycle image.  Using a Early Espresso Marker, I colored and stamped only the basket three times.  Using the same method I stamped ‘Thinking of You’.  And lastly using markers again, I colored the flowers and stamped them in the baskets.  This video demonstrates how to stamp with markers.

Once the images are stamped, I centered a Collection Labels framelit over it, secured it with post it notes and ran it through the Big Shot Die-Cutting Machine.  The tiniest Basic Jewels Pearls were added to the flower centers.

moving forward flower pots thinking of you close up

 The card base is 6″x6″ square of Pumpkin Pie card stock, folded in half to produce a 3″x6″ card.  Matching Polka Dot Parade paper was trimmed into a flag banner.  View Monday’s video to see how to easily create a flag end with a square punch.  Or view it here.

Primrose Petals Stitched Satin Ribbon was added down the right side and tied with bakers twine before the label was adhered with Stampin’ Dimensionals.   The Stitched Satin Ribbon is yummy.  Great colors, great look and fabulous to work with.  It’s super soft and pliable!  Love it!  And there’s no limit.  A free spool for EVERY $40 in ordered product.

Order your Satin Ribbon FREE this month with a $40 product purchase.

View the Stampin’ Up! Holiday Catalog here

Order Stampin’ Up! Products Here 24/7

Like us on Facebook

Follow on Twitter

Enjoy, Julie

Card recipe:
Stamps: Moving Forward w-#126320 c-#126322
Markers: Brights (Melon Mambo, Regal Rose, Old Olive, Pumpkin Pie) #119702, Early Espresso #119680
Paper: Pumpkin Pie #105117, Whisper White #100730, Polka Dot Parade Designer Series Paper #126902
Extras: Big Shot Die-Cutting Machine #113439, Labels Collection Framelits #125598, Basic Jewels Pearls #119247, Primrose Petals Stitched Satin Ribbon #126844, Lucky Limeade Bakers Twine #125572

Top Ten Stampin’ Up! Tools

Are you new to stamping or paper crafting and wondering what supplies to invest in first?  After more than 20 years, besides stamps, here’s my list of top ten tools I reach for everyday that will make your life better as a crafter!

  1. SNAIL Adhesive – my “go-to” adhesive, a double-sided, permanent adhesive that is oh-so-easy to use.  It lays down a trail of adhesive whereever you want it, just like a snail  😉
  2. personal cutter – this functional, compact cutter can cut paper up to 12” and will still fit on your desk
  3. paper snips scissors – these amazing, thin-bladed scissors are an inexpensive, long term investment that insures that you will get the very best cut every time.  I still use the first pair I bought more than ten years ago!
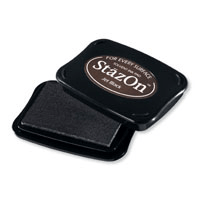
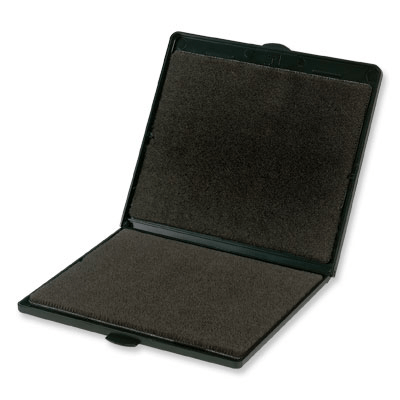
  4. black StazOn® ink pad – this quick-drying, permanent ink will allow you to use all your favorite coloring methods without smearing your stamped image
  5. Whisper White card stock – the best card white card stock on the market!  with an ultra-smooth surface to give you the very best stamping results
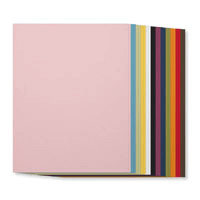
  6. multicolor pack – Add a splash of color to your projects with a pack of paper from your favorite collection.  This is a great way to ‘test drive’ Stampin’ Up! Colors.  Choose from Getting Started, Brights, Regals, Subtles, or Neutrals Collections.
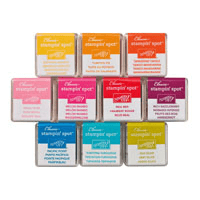
  7. matching stamping spots – Not only do you get great color choices in these collections but you also get great portability.  Take these to your next crop and you will enjoy great color selection all night.  Choose from Getting Started, Brights, Regals, Subtles, or Neutrals Collections.   (the full-size stampin’ pads are available in collection kits also at a discounted price over purchasing the pads separately.)
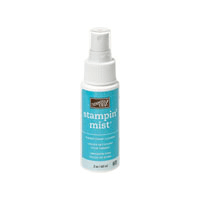
  8. stampin scrub and mist – a convenient way to keep your stamps clean and conditioned
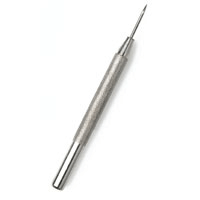
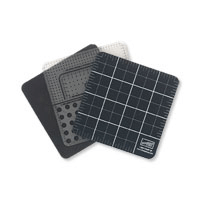
  9. paper piercer & mat pack– the inexpensive paper piercer makes it easy to place a hole in the exact location you want it.  Fabulous for adding brads to multiple layers or in the middle of a project!  And the mat pack not only protects your table but it also gives you a guide for adding piercing patterns to your projects.
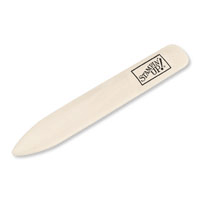
  10. bone folder – get perfectly crisp folds in your cards or 3-D projects Sale-a-bration is a great time to invest in your crafting tools and it ends March 31, 2012.  Call today!  During Sale-a-bration get what you need AND receive FREE product for every $50 of tools or supplies you order!

Enjoy,
Julie