digital scrapbooking always elegant wedding album 2

My Digital Studio Always Elegant Photobook & New Digital Downloads

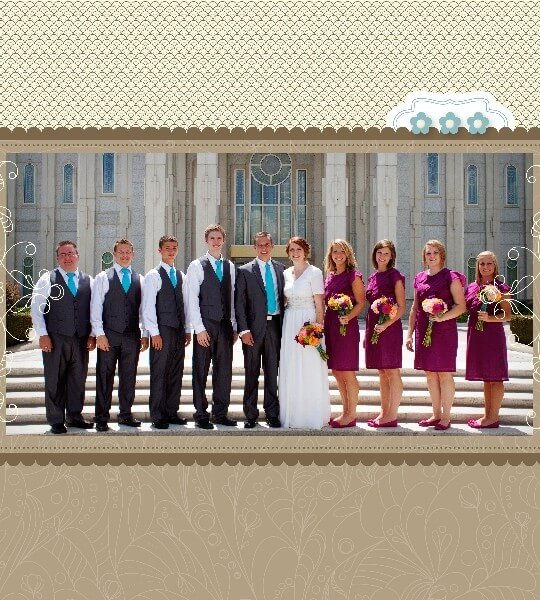
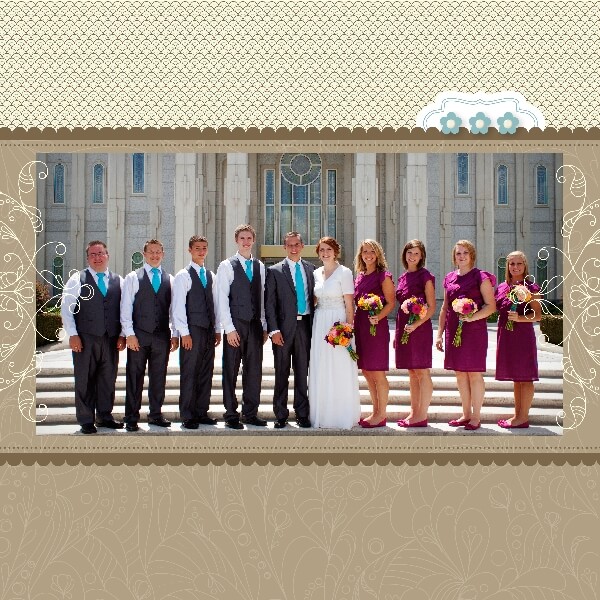
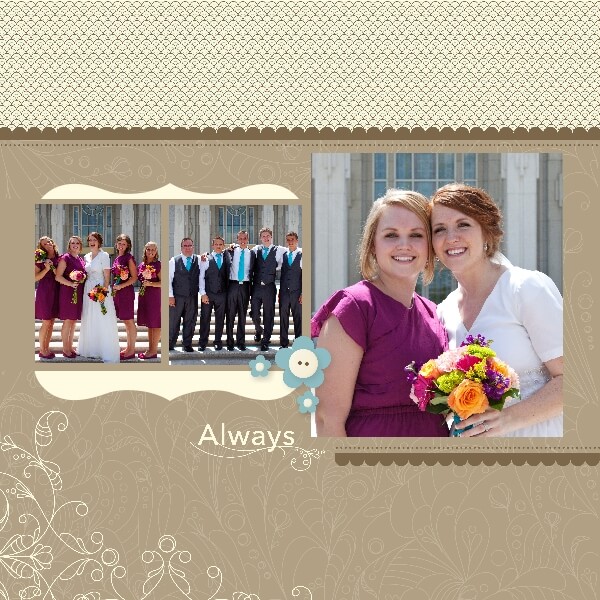
digital scrapbooking always elegant wedding album 2  Today I’m sharing a few pages from my daughter’s wedding album, created in My Digital Studio. 

My lovely daughter and her cute husband were married in Houston in August 2010 and it was HOT!  Because of the heat we were limited in the amount of time that we could spend outside taking pictures, but we got just enough to remember the beauty of the day.

digital scrapbooking always elegant wedding album 3

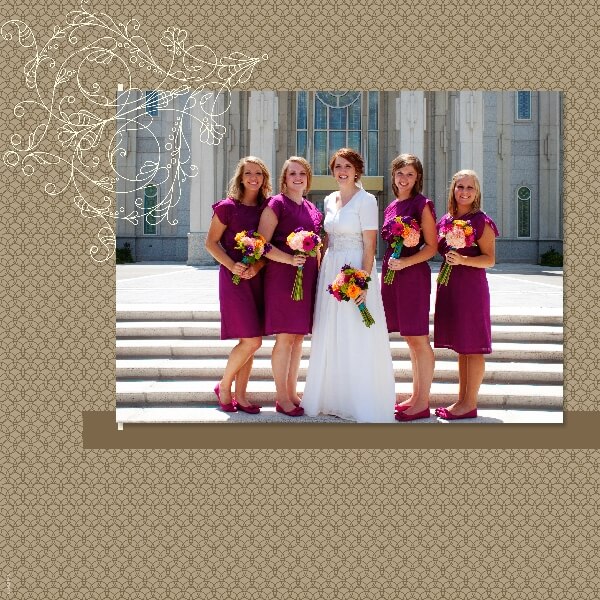
Here’s the lovely girls.

digital scrapbooking always elegant wedding album 4

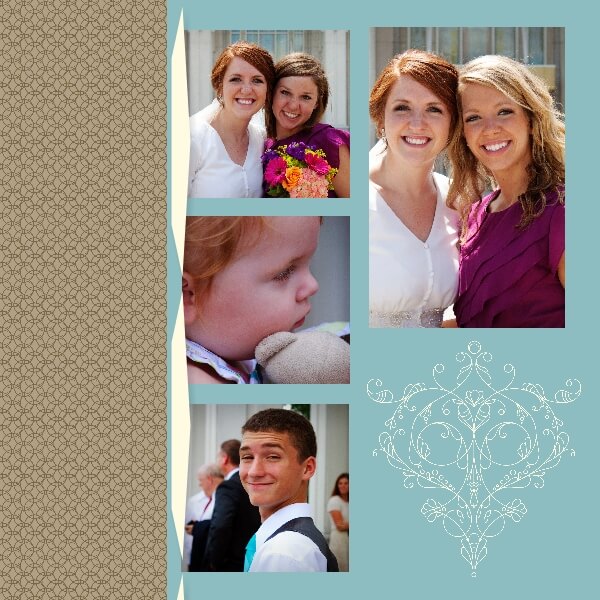
Special people make any day extra special.

digital scrapbooking always elegant wedding album

Only three things are required to create this album:  My Digital Studio, the 12×12 Always Elegant Digital Kit and pictures!

Below are links and samples of the digital releases from the past three weeks.

pinwheels on parade digital designing kit Digital Downloads from June 12th. 

spring break digital designing kit

Digital Downloads from June 19th.

bon voyage digital photobook template

Digital  downloads from June 26th.

Enjoy!  Julie

artistic etchings eiffel tower amour

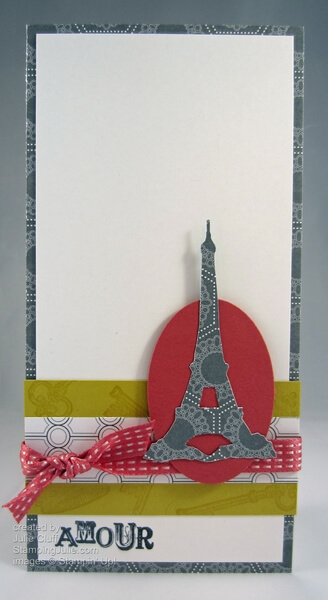
Clean and Simple Eiffel Tower Silhouette

artistic etchings eiffel tower amour

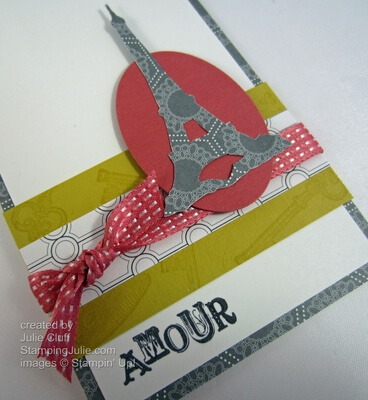
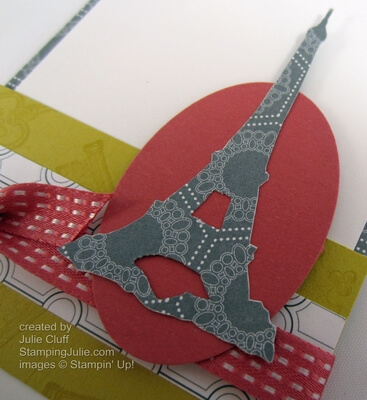
This Eiffel Tower stamp from the Stampin’ Up!’s Artistic Etchings stamp set and the Basic Gray paper from the Twitterpated Designer Series Paper makes a great silhouette.  I stamped the Eiffel Tower on the back of the paper and cut it out carefully with Paper Snips.  Looks intricate, but easy to do with these great scissors.

This is not your traditional card size.  I started with a 6″x6″ square of Whisper White card stock folded in half for the card base for a 3″x6″ card.

artistic etchings eiffel tower amour detail

Can you see the pattern on the Summer Starfruit card stock?  The crown and key images were stamped with VersaMark ink to create that pattern.

artistic etchings amour eiffel tower

I punched the Primrose Petals oval with the Extra-Large Oval Punch to create the background for the silhouette.  I picked the color combination from the Color Coach – a great tool for creative color choices.

  • If you’re interested in joining Stampin’ Up! because you want to start a low-cost business for income or you want it all and would like the prices and specials demonstrators enjoy, click hereJoin in June and receive an additional $48 in product!
  • In June & July, hostesses earn an extra $50 in FREE product with a combined order of $450 or more.
Card Recipe:
Stamps: Artistic Etchings wood -#118517   clear -#120573
Ink: Basic Gray #126981, VersaMark #102283
Paper: Twitterpated Designer Series Paper #125406,  Summer Starfruit #126839, Primrose Petals #126841, Whisper White #100730
Extras: Paper Snips #103579, Stampin’ Dimensionals #104430, 3/8″ Primrose Petals Stitched Satin Ribbon #126844, Extra-Large Oval Punch #119859, Color Coach #120148, 2012-2014 In Color Cards #124886
 

Enjoy!  Julie

stampin' up! artistic etchings stamp set

Featuring My Digital Studio Super Hero: DaniDeej

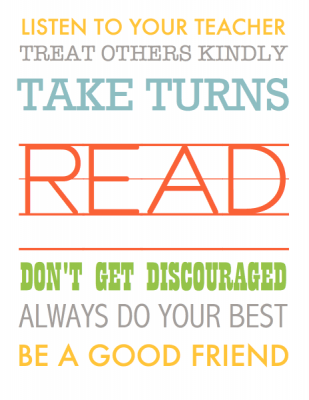
MDS Teacher's Read Sign

My adorable niece, Dani, is quite the blogger/artist.  She has created some great prints in My Digital Studio.  During the day she masquerades as a 4th grade teacher, but in the evening she is DaniDeej the MDS Super Hero!

 Today I’ll share some of her creative teacher prints.

A Teacher's Prayer Print

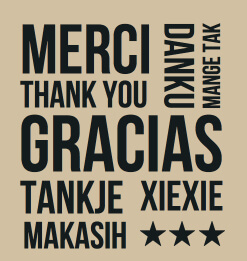
Thank you Print!

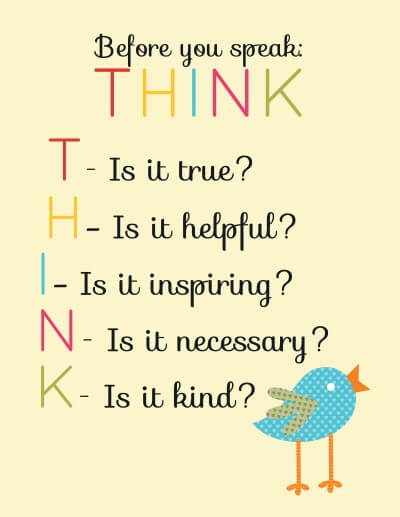
Thank You sign print Another feeble attempt to encourage the kids to not tattle and gossip!

THINK Classroom Sign Print

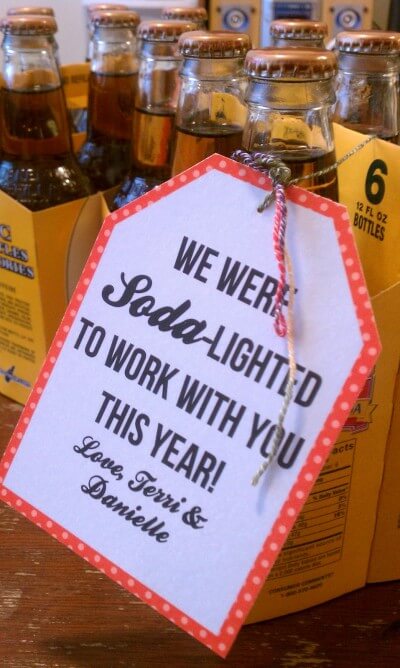
Teacher Appreciation Tag for co-workers.  So clever!

Worker Appreciation Tag I hope you have enjoyed being inspired by Dani’s creations.  I love looking at her crisp and clean graphic design.  Dani,  thanks for sharing!

  • By the way, if your interested in joining Stampin’ Up! because you want to start a low-cost business for income or you want it all and would like the prices and specials demonstrators enjoy click hereJoin in June and receive an additional $48 in product!
  • The prints above were created in My Digital Studio (MDS). Check it out today and get your FREE trial copy and start creating your favorite prints NOW!

Enjoy!  Julie

betsy's blossoms & owl punch

Stampin’ Up! Betsy’s Blossom’s Owl

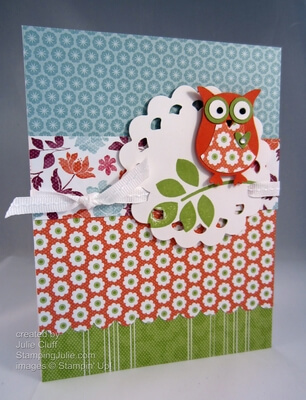
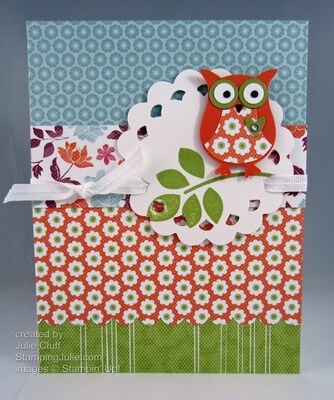
betsy's blossoms & owl punch I enjoyed creating this playful card featuring the Owl Builder Punch.  I love pattern paper and I love, love, love mixing up the patterns which is super easy with Stampin’ Up!’s coordinated designer series paper packs.

betsy's blossoms & owl punch detail

This card features the Floral District Designer Series Paper and the vibrant colors of Lucky Limeade and Tangerine Tango.

betsy's blossoms & owl punch close up

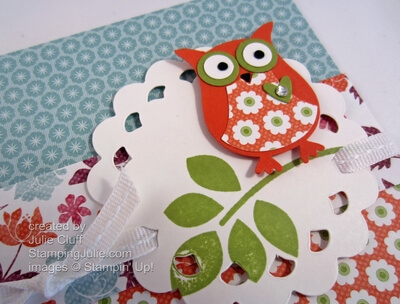
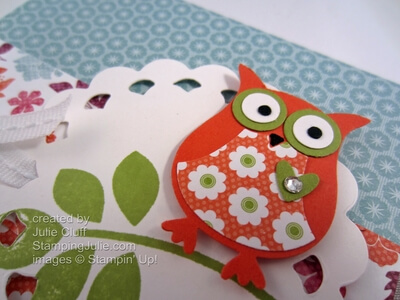
The large scallop circle is from the Perfect Pennant Bigz Die and is a perfect landing place for our little owl.  Other extras include the rhinestone-accented heart and the scallop edge on the Tangerine Tango floral print.

betsy's blossoms owl

Card Recipe:
Stamps: Betsy’s Blossoms wood-#126004  clear-#126006
Ink: Lucky Limeade #126984
Paper: Floral District Designer Series Paper #126919, Whisper White #100730, Tangerine Tango #111349, Lucky Limeade #122926
Extras: Owl Builder Punch #118074, White Stitched Grosgrain Ribbon #126877, Rhinestone #119246, Scallop Edge Punch #119882, Perfect Pennant Bigz Die #123126, Big Shot Die-Cutting Machine #113439
 

Enjoy!  Julie

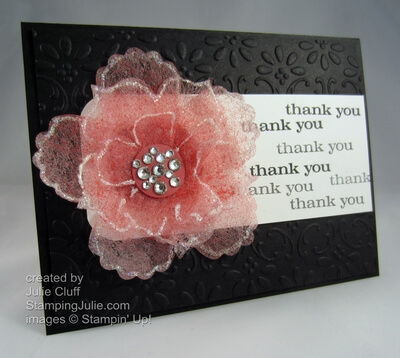
just believe fun flower thank you

Stampin’ Up! Fun Flower Thank You Card

just believe fun flower thank you

I made this flower with dryer sheets and the Fun Flower Bigz Die.  Who knew dryer sheets could be so pretty?!  As you might imagine dryer sheets would be hard to cut but if you sandwich the die, then the dryer sheet, and finally card stock you’ll get a clean cut.  I only had to clip a couple of hanger-ons.
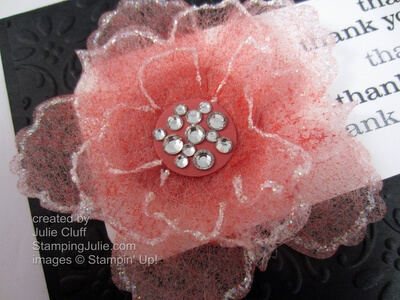
just believe fun flower close up

Once the flower was cut, I spritzed it with color, then outlined it with Dazzling Details Glitter Glue.  Of course, then it had to sit and dry.  I let it dry completely over night.  I set it out on some paper to dry, but I should have set it on wax paper instead since I did have a little trouble with a couple of spots where the glue stuck to the paper.
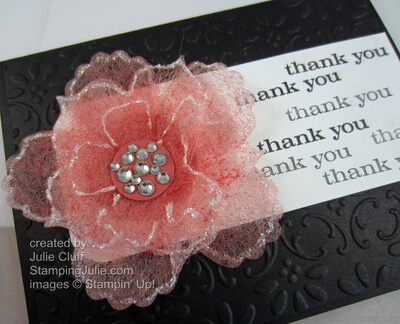
just believe fun bigz die flower

To assemble the flower, I punched a 1-1/4″ card stock circle from Primrose Petals then stacked the flowers on top, punched the center and adhered them all together with a brad.  I punched a  3/4″ card stock circle, adhered the rhinestones and glued that to the top of the brad with a glue dot.
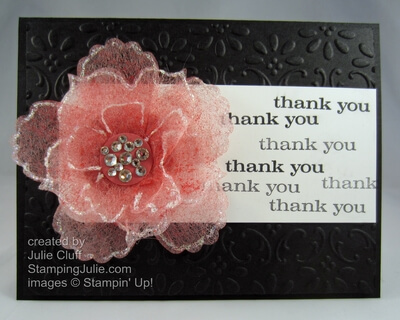
just believe fun flower thank you card

‘Thank you’, from the Just Believe Stamp Set, was stamped in Basic Black full strength and then again without re-inking to get the different varying shades of black and gray.

The Big Shot Die-Cutting Machine makes this all happen – the flower and the beautiful embossed background.  The Big Shot has instruction on the multipurpose platform on how to use all the various types of dies, making it super easy to use.  Order your Big Shot today and start creating!

big shot die-cutting machine Card Recipe:
Stamp Set: Just Believe wood-#116948 clear-#120453
Ink: Basic Black #126980
Paper: Primrose Petals #126841, Basic Black #121045, Whisper White #100730
Extras:  Rhinestones #119246, 1-1/4″ Circle Punch #119861, 3/4″ Circle Punch #119873, Stampin’ Spritzer #126185, Dazzling Detail Glitter Glue #124117, Fun Flower Bigz Die #121812, Embossing Folder #120175, Big Shot Die-Cut Machine #113439, Mini Glue Dots #103683
 

Enjoy!  Julie