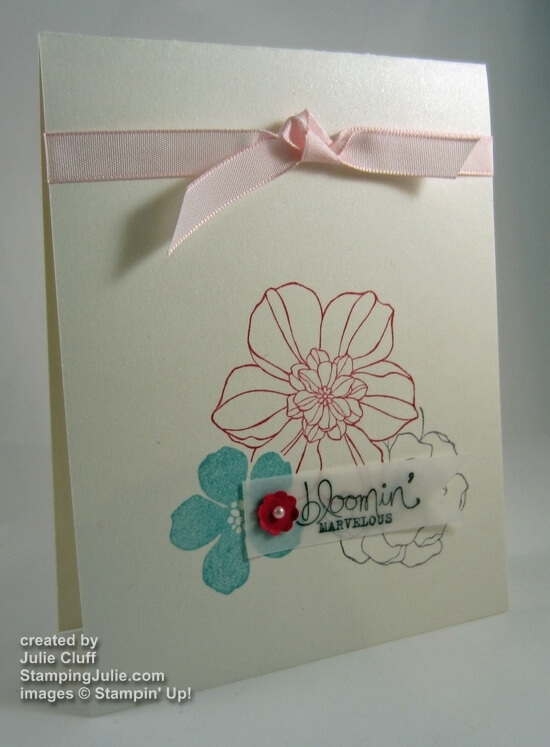
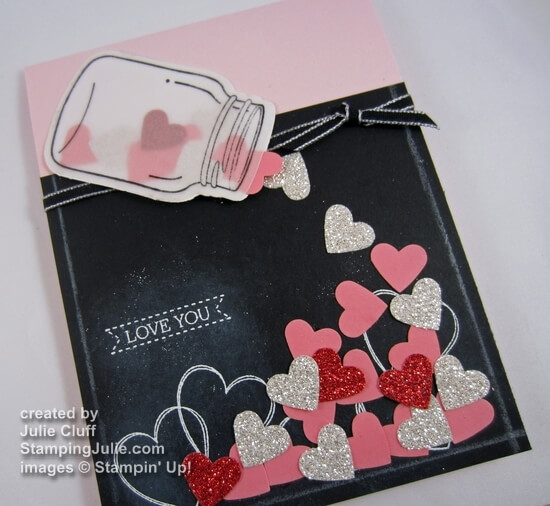
Jar of Hearts a Flutter Valentine Card
I am so excited about this Jar of Hearts valentine card made with the outline heart from the Hearts A Flutter stamp set and, of course, the Perfectly Preserved jar stamp with the coordinating Cannery Set framelit dies.
The title of this post reminds me of the Wheel of Fortune category – is it called ‘before and after’? Jar of Hearts and Hearts a Flutter to make Jar of Hearts a Flutter.
Here’s another valentine project video for you! In the video I explain how I made the jar and the chalkboard background for this card. Enjoy! The supply list is below.
Here’s the card recipe: (All supplies from Stampin’ Up! Click on the link to visit my store for product pictures, details & ordering.) Stamps: Hearts a Flutter wood-mount #129249 clear-mount #129252, Perfectly Preserved wood-mount #126690 clear-mount #126692, Itty Bitty Banners wood-mount #126255 clear-mount #126257 Ink: White Craft #101731, Black StazOn #101406 Paper: Pink Pirouette cardstock #111351, Basic Black cardstock #121045, Regal Rose cardstock #105130, Silver Glimmer #124005, Red Glimmer #121790, Vellum cardstock #101856 Extras: Big Shot Die-cutting Machine #113439, Cannery Set Framelit Dies #127822, White Embossing Powder #109132, Small Heart Punch #117193, Black Ribbon #119261, Multipurpose Liquid Glue #110755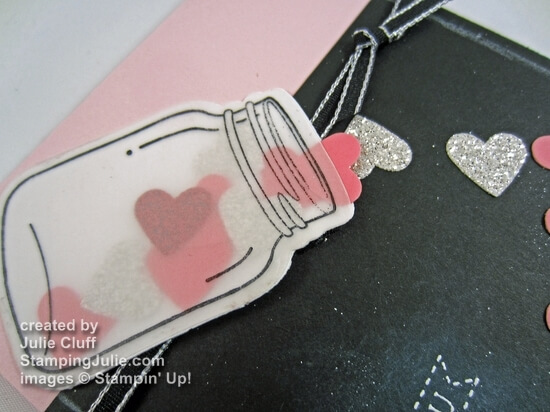
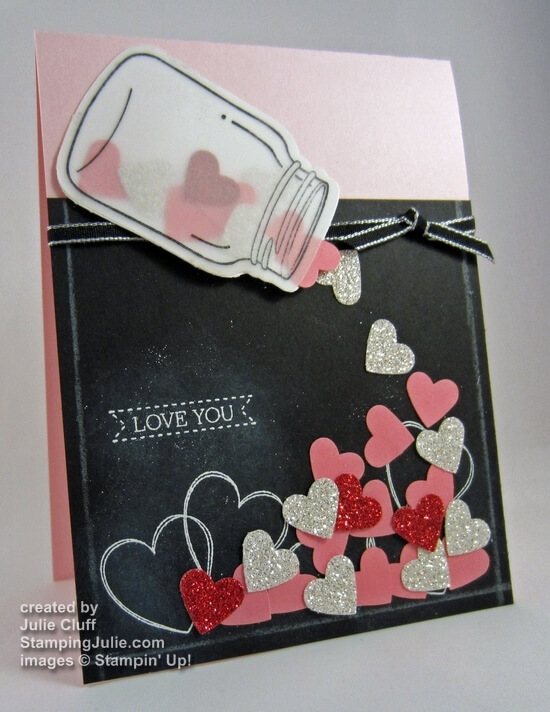
After die-cutting the jar sandwich the hearts in between the Vellum jar and the Whisper White background jar, as shown in the picture and the video.
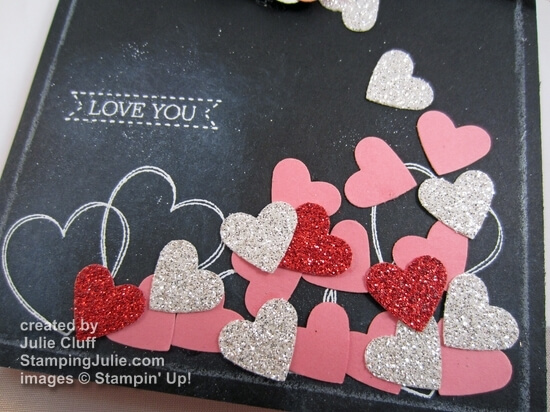
After stamping your chalkboard, use multipurpose glue to pile up the hearts!
And don’t forget to place your SAB order before the end of January to take advantage of my special offer:
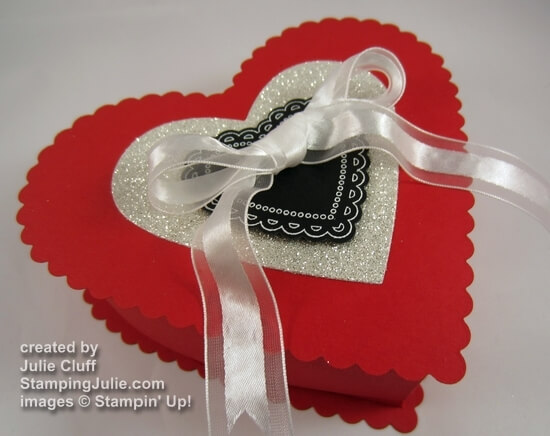
A SPECIAL OFFER FROM JULIE CLUFF @ STAMPINGJULIE.COM: I’m excited to offer a FREE online class to anyone placing a qualifying Sale-a-bration order in January! So that means in addition to receiving FREE Sale-a-bration goodies , you’ll also receive this exclusive online Heart Box class.
Click here to place your Sale-a-bration order today.
I hope you enjoyed today’s Jar of Hearts A Flutter valentine project and video tutorial!
Enjoy, Julie