Tagged: card making techniques

Stampin’ Up! Reason to Smile – Going, Going, Gone

The fabulous Reason to Smile Stamp Set is only available during the month of July, so if you blink, you’ll miss it!

Featured StampingJulie Reason To Smile Samples:  (Click on the picture to go to the original post with supply lists and project descriptions.)

1. Butterfly Thank You Card

reason to smile thank you card with butterfly

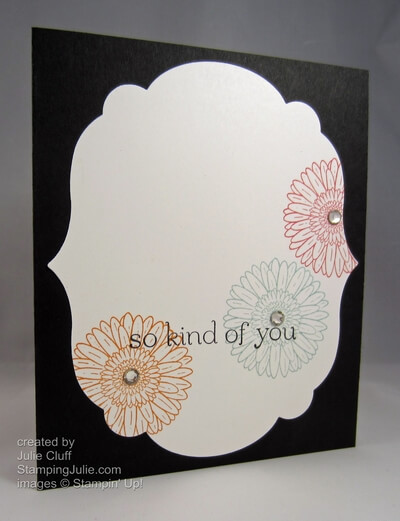
2. Thank You Bling Flower Card

reason to smile thank you card

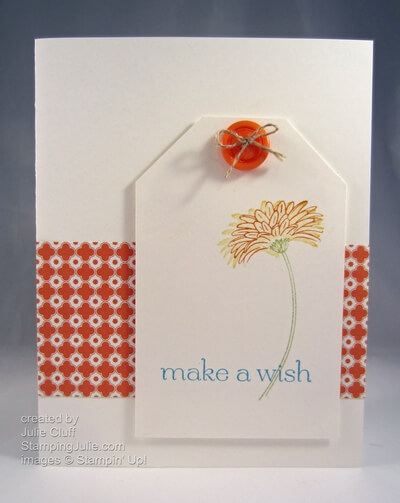
3. Birthday Wish Tag Card

reason to smile birthday card

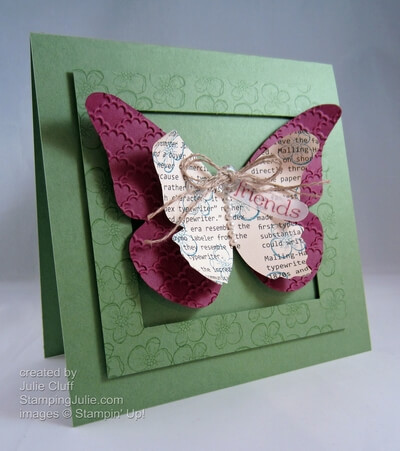
4. Butterfly Art Friendship Card

Reason to Smile Butterfly Art Card

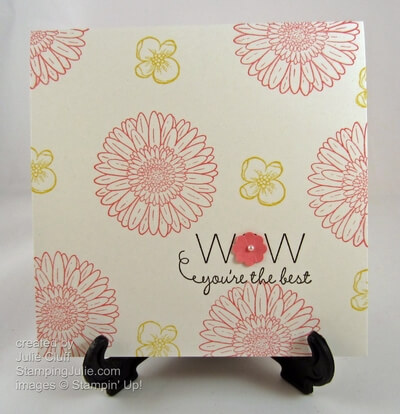
5. Simple Greeting Card

reason to smile you're the best practice card

Samples from Stampin’ Up!:

1. Scrapbook Page

stampin' up! reason to smile scrapbook page

2. Birthday Gift  Bag

reason to smile happy birthday gift bag

3.  Dream Card

reason to smile dream card

Order your Reason To Smile Stamp Set today while it’s still available.  Only $5 with a $50 product purchase.

Reason To Smile $5 stamp set - July 2012 ONLY!

Order your Reason to Smile Stamp Set today and start creating!

Enjoy!  Julie

reason to smile birthday card

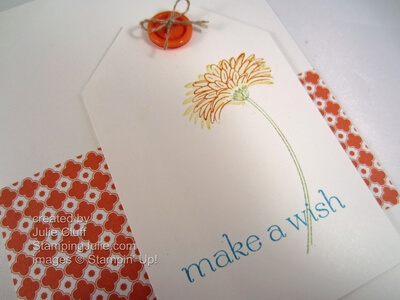
Another Easy Reason to Smile Birthday Wish

reason to smile birthday card

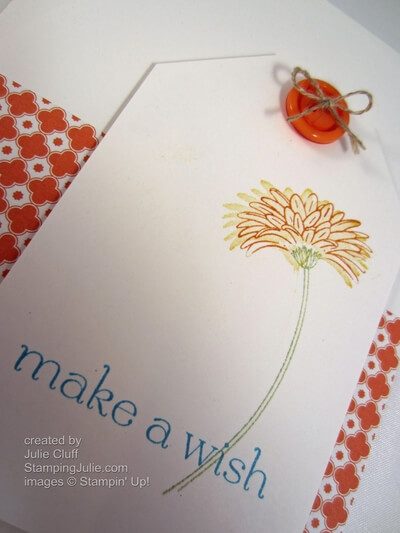
This birthday tag card using the Reason to Smile stamp set (that can be purchased this month only for $5 with a $50 product purchase)  was inspired by the very simple note card bundle shown at the top of page 141 in the Stampin’ Up! catalog.  Don’t have a catalog?  Ask for one today!  I used the colors and the layout of the note card to create the tag and attached the tag to a full card.

Technique:  Multi-color stamping –  I used the paint brush end of the Tangerine Tango and the Certainly Celery markers to ink the flower and stem outline.  When you use this technique, don’t forget to huff or breath on the inked rubber before you stamp.  This remoistens the ink for good stamp coverage.  Also, I always ink the rubber with the lightest color first, that way I don’t contaminate my lighter markers with darker inks.

reason to smile birthday card tag detail

When you use an outline stamp and a solid stamp of the same image for layering, it’s called two-step stamping.  Using both creates depth in your stamped art.

After I stamped the two-tone flower outline, I then inked only the top of the matching solid flower and stem with Daffodil Delight.  If I had wanted to ink the solid flower AND the complete stem, I would have definitely used the stamp-a-ma-jig to line up the stem.  Not having the flower and flower outline lined up exactly  is OK and, in fact, adds to the charm.  Not having the stems lined up – not OK.

reason to smile birthday card close up

I just really love the look of the solo flower and the pop of the Marina Mist greeting.  So sweet and simple.

Do you like what you see?  Please share your favorite projects on facebook and like us at #/StampingJulie .

Order your Reason to Smile stamp set today and don’t miss out on this great opportunity to purchase this great set for only $5 with a $50 product purchase.  Click the Order Now, place $50 of your favorite products in your cart, then add #131274  for the wood-mount set or #131275 for the clear-mount set.

reason to smile promotional stamp set

Card Recipe: 
Stamps: Reason to Smile w-#131274 c-#131275, Sweet Essentials w-#126455 c-#126457
Ink:  Brights Stampin’ Write Markers #119702, Daffodil Delight #126944, Marina Mist #126962
Paper:  International Bazaar Designer Series Paper #126920, Whisper White #100730
Extras:  Brights Designer Buttons #119747, Linen Thread #104199, Stampin’ Dimensionals #104430
 

Enjoy, Julie


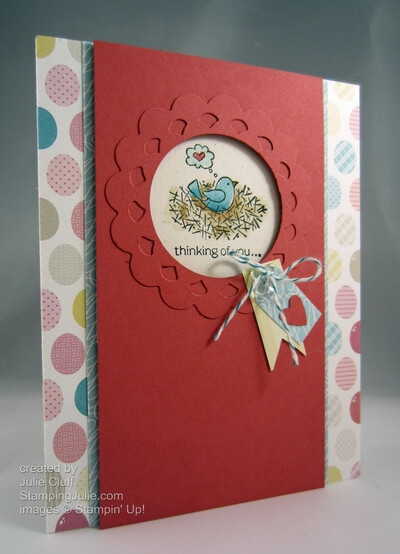
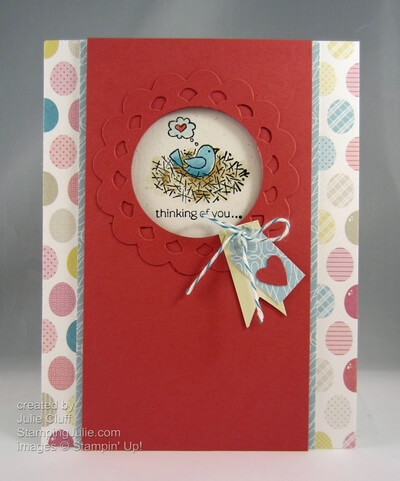
for the birds thinking of you card angle

For the Birds Thinking of You Card

for the birds thinking of you card angle This “For The Birds” thinking of you card was inspired by the sample on pg. 35 of the current Stampin’ Up! catalog.  If you don’t have your copy, send me a note today with your address and I’ll make sure you get your copy.

I changed the stamp and the colors  and made some other minor design changes, but the basic layout is the same.  The colors in my card are inspired by the colors in the Birds of a Feather designer series paper.
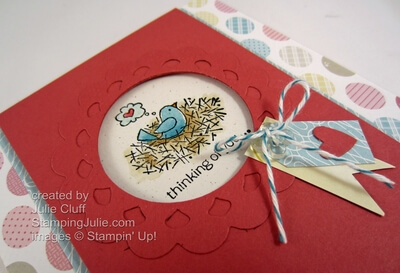
for the birds thinking of you card close up

The scallop that surrounds the focal image is from the Perfect Pennants die.   I die cut the scallop circle with the Big Shot Die-cutting Machine then used the 1-3/4″ circle punch to punch out the center.  To do this, attach a strip of light weight card stock such as Whisper White card stock to the scallop circle to create a handle and center it in the circle punch.

The same circle punch was used to punch the card stock strip and then the scallop was adhered around the opening.
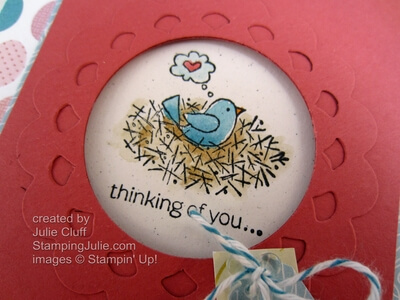
for the birds thinking of you card detail

This adorable little bird in the nest was painted using an aqua painter and the ink from the stamp pads.  The image was stamped with StazOn Ink on Natural White card stock.  StazOn Ink is permanent ink that will allow you to paint without smearing.

To paint with ink from your classic stamp pad, close the lid, then squeeze the pad.  When you squeeze the lid, it will pick up ink from the pad, so when you open up the pad you’ll notice a little pool of ink on the lid.  The lid makes a great palette and you can paint directly from the lid.
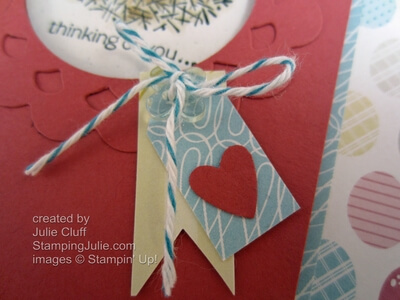
for the birds thinking of you card tags I trimmed narrow strips of pattern paper and cut the edges on the top tag.  The flag end was created with the corner of the 1″ square punch.  The baker’s twine was threaded through the clear bitty button and adhered with a glue dot.  The heart was punched and added to the tag.
for the birds thinking of you card

Below is the card recipe for this card.  By clicking on the hyperlinks you can look at the particulars on the products used.  If you have questions about placing an online order  you can view the video found on the “how to order” page.

Remember with a $50 product order this month you can purchase the Reason To Smile stamp set for only $5!  Order your favorite products today. 

Enjoy!  Julie

Card Recipe:
Stamps:  For The Birds w-#126405 c-#126407
Ink: Black StazOn #101406
Paper: Natural White #102316,  Birds Of A Feather Designer Series Paper #126899, Primrose Petals #126841
Extras: Bitty Buttons #118761, 1-3/4″ Circle Punch #119850, Perfect Pennants Die #123126, Big Shot Die-cutting Machine #113439, Aqua Painters #103954, Island Indigo Baker’s Twine #125575, Stampin’ Dimensionals #104430, Glue Dots #103683

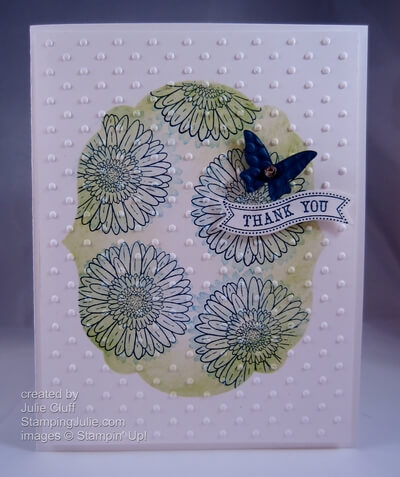
Stampin’ Up! Classic Swirls

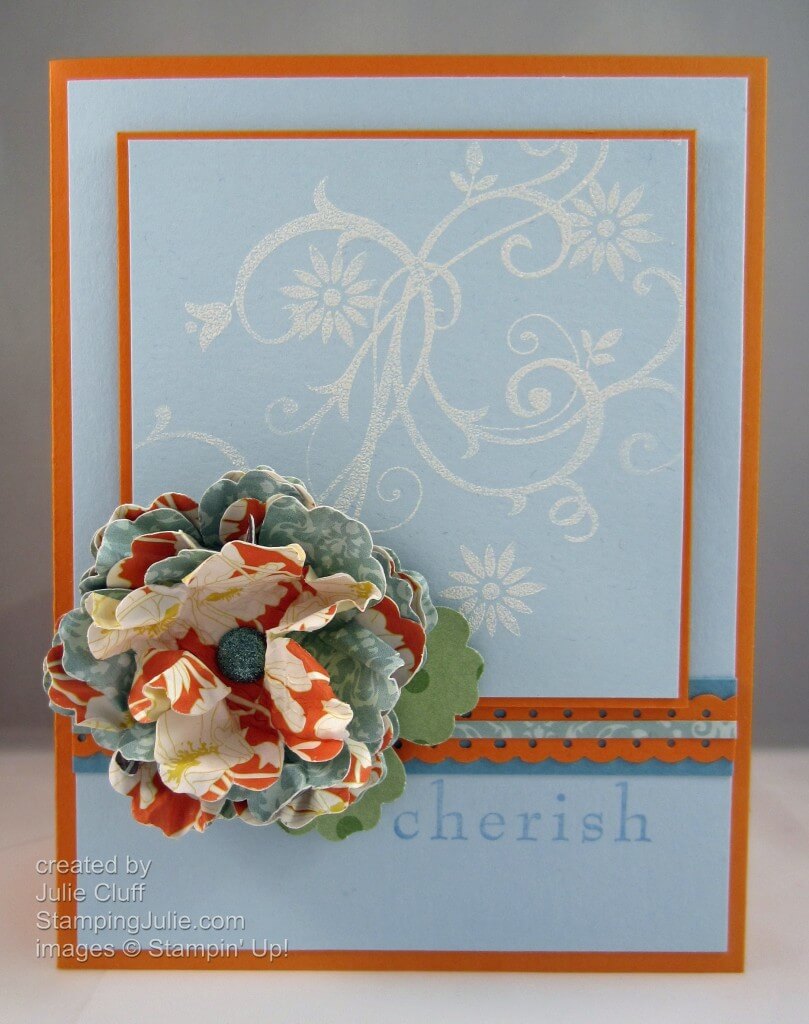
The beautiful stamp set Baroque Motifs is retiring at the end of the month.  This versatile stamp with its fabulous swirls will make any project elegant.  In fact it brings back memories of my cousin’s wedding as her mother used this stamp set in the design of her wedding announcements.  The lively color pallette and layout were inspired by challenges at splitcoaststampers.   I pulled out my designer papers, looked for orange and blue and discovered these fabulous papers to create my flower.  The swirly background was stamped and heat embossed in white.
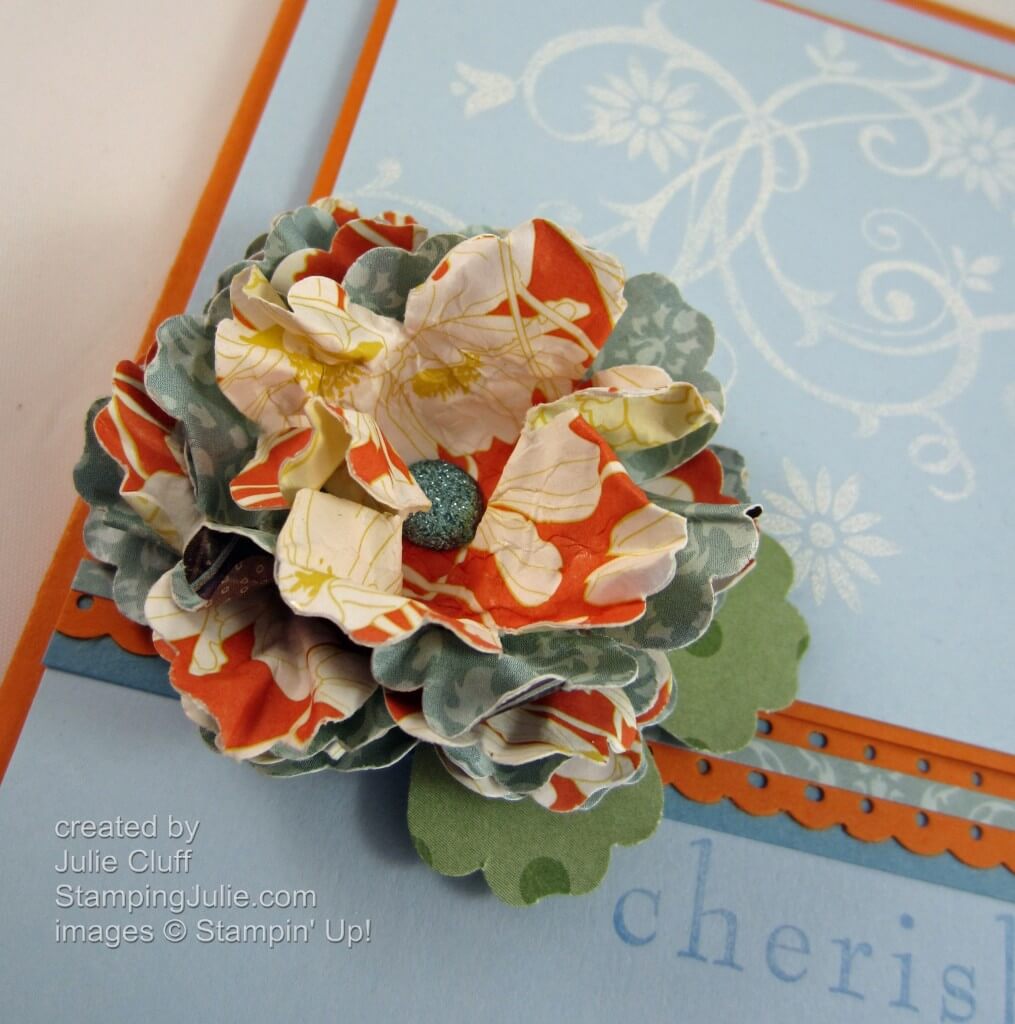
Technique – How to make 3-D flower :

  1.  I used the Blossom punch that will return in the catalog June 1st (Yay!) and punched 3 flowers from 2 different designer series papers for a total of 6. (The Fun Flowers die would be a great choice too.)
  2. Then I used the paper crimper that is retiring at the end of the month to crimp each blossom repeatedly.  The repeated crimping breaks the fibers which softens the paper allowing it to be more plyable.
  3. Finally, I stacked the flowers, pierced them with the paper-piercing tool, and attached all the layers with a glimmer brad.
  4. Once all the layers were attached I crumpled each blossom up into the center then gently spread them to create the flower you see above.
Card recipe:
Stamps: Baroque Motifs # 113490 (retiring)
Paper: Beyond the Garden #122342 (retiring), Pocketful of Posies # 122354 (retiring), Pumpkin Pie #105117, Bashful Blue #105120, Marina Mist #119682
Ink:  White Craft #101731, Bashful Blue #105209
Extras: Blossom Punch (returns June 1st), White embossing powder #109132, Crimper #101618 (retiring), Dotted Scallop Ribbon Border Punch #119275, Glimmer Brads #121004, Paper-Piercing Tool #116631
 

Don’t miss out on this elegant stamp set – order yours today.

Enjoy!  Julie

Clean & Simple Zoo Inspired

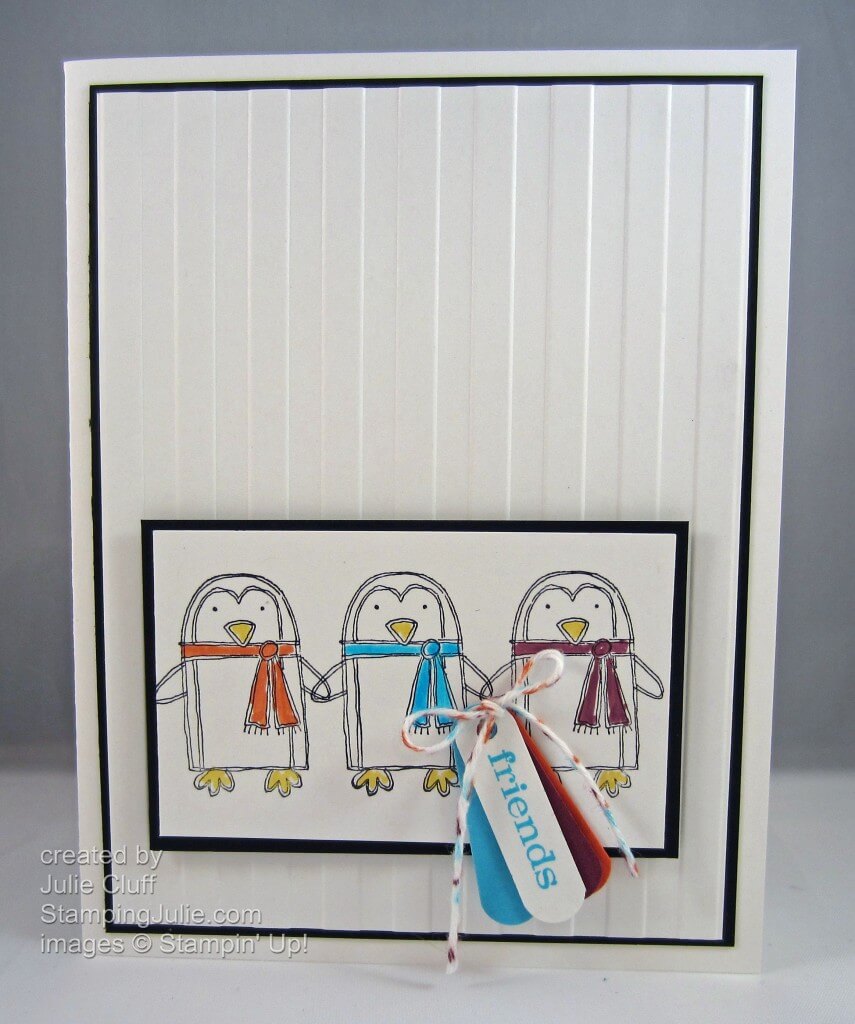
You certainly don’t think of clean & simple with zoo, but look at this cute Punch Pals penquin friends card with it’s clean & simple designPenquins aren’t just for Christmas!  Aren’t they just engaging creatures?  So fun to watch as they dive through the water and then pop out onto the shore.
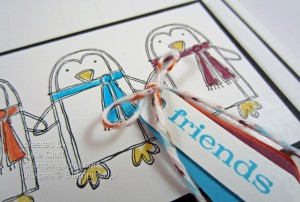
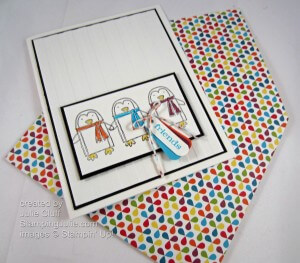
Technique:  Double Punching – The tags were punched with the Word Window punch.  The end of the tag was then reinserted from the top to trim off the end and create a shorter word window.  Technique:  Twine Tapping – I tapped the white baker’s twine with the brush end of the markers to add coordinating color for a little surprise.

The colors were inspired by the Summer Smooches Designer Series Paper and here’s a matching envelope made in seconds with the fabulous Simply Scored Tool and Simply Scored Diagonal Plate.  This paper is available until Monday, April 30 with all the other Summer Smooches preorder.  

Card Recipe:
Stamps: Punch Pals #116588
Ink: Black StazOn #101406, Tangerine Tango marker #120974, Tempting Turquoise marker #100058, Rich Razzleberry marker #120970, Daffodil Delight marker #119677
Paper: Whisper White #100730, Basic Black #121045, Tangerine Tango #111349, Tempting Turquoise #102067, Rich Razzleberry #115316, Summer Smooches #125409
Extras:  White Baker’s Twine #124262, Word Window Punch #119857, Crop-a-dile #108362, Stripes Embossing Folder #123128, Big Shot Die-Cutting Machine #113439
 

The retiring accessories list changes daily as supplies sell out.  All the lists are at the top of the pageOrder early so you won’t be disappointed and receive a new 2012-13 catalog FREE to your door with any order placed before May 15th.