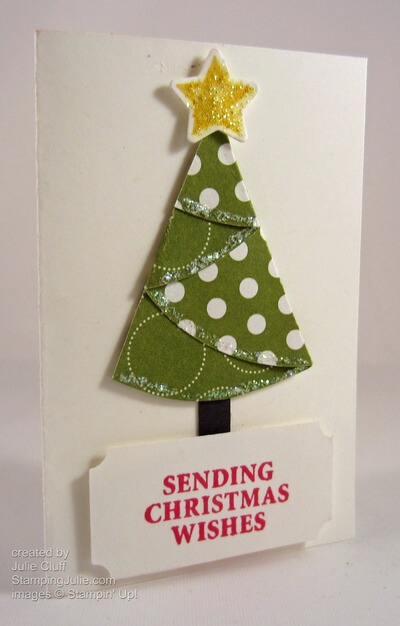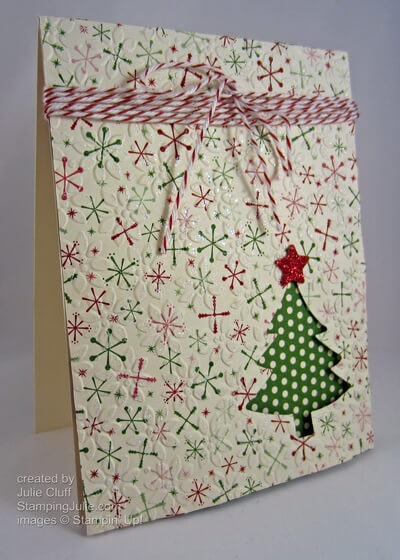
Glittery Paper Christmas Tree Card
I’m always experimenting so I can bring you more ideas to spark your creativity. This was fun to make with designer paper, framelit dies, an embossing folder and iridescent ice embossing powder. As soon as I saw this green polka dot paper in the Be of Good Cheer Designer Series Paper pack, I knew is was perfect for a Christmas tree. I wanted to do something more interesting than simply die-cutting the shape from the paper so I used it to show case the die-cut Christmas Tree through the coordinating paper.
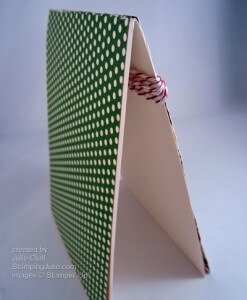
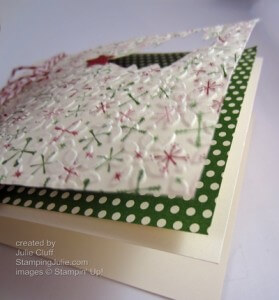
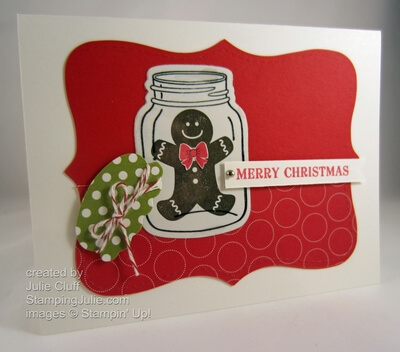
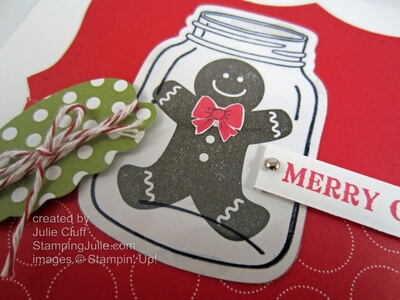
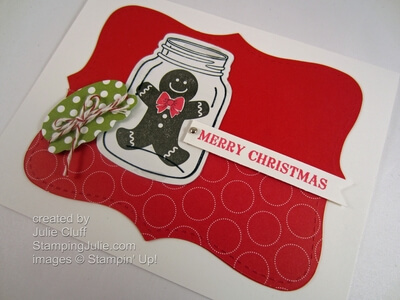
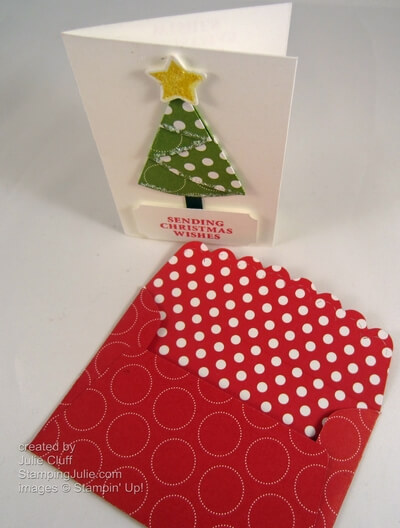
I started with Very Vanilla cardstock cut 4-1/4″ x 11″, then layered green polka dot paper over that measuring 4″ x 10-3/4″. When I adhered the pattern paper I only glued down to the top of the Very Vanilla on the front and the back. I wanted the layers to be separate so they would really stand out. Here’s some pictures so you can see the layers better.
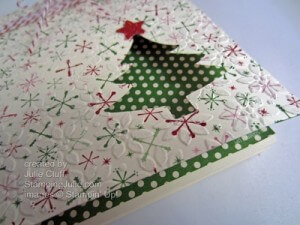
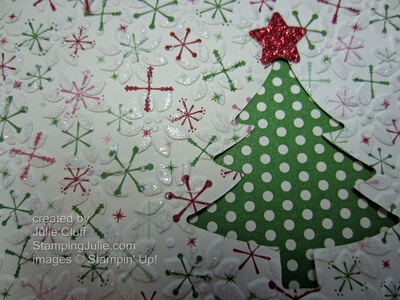
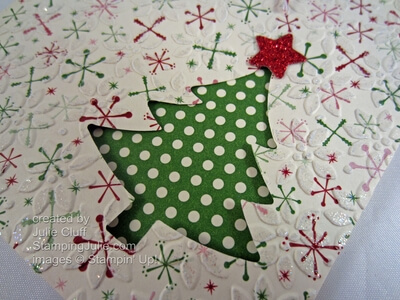
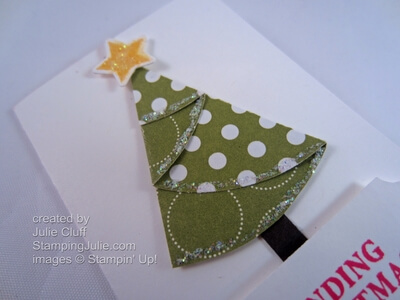
I ran a 4-1/4″ x 5-1/2″ piece of the red and green snowflake paper through the Big Shot Die-cutting Machine in the Petals-a-Plenty Embossing folder. Then I ran it through again with the Christmas tree framelet die from the Holiday Collection dies. Finally I brayered Versamark lighly over the paper and add Iridescent Ice embossing powder to the raised pattern for a glittery effect. Then I adhered this piece to the front at the top. Can you see the texture and the glimmer of the embossing in this photo?
Finally, I added the Red Glimmer Paper star, also cut out from the Holiday Collection framelit dies, and tied the baker twine around the top.
The links to the products I used in this card are below.
Click Here to Order your Stampin’ Goodies!
Enjoy! Julie
Card Recipe: Ink: VersaMark #102283 Paper: Be of Good Cheer Designer Series Paper #126896, Very Vanilla cardstock #101650, Red Glimmer Paper #101790 Extras: Holiday Collection Framelit Dies #127814, Petals-a-Plenty of Embossing Folder #116824, Big Shot Die-cutting Machine #113439, Bakers Twine #123125, Iridescent Ice Embossing Powder #101930
