Tagged: Christmas card

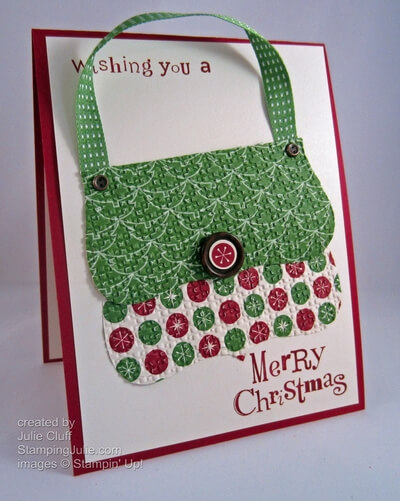
Top Note Gift Card Purse with card

Stampin’ Up! Top Note Gift Card Purse

Top Note Gift Card Purse with card

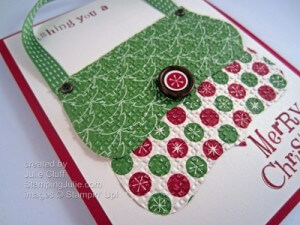
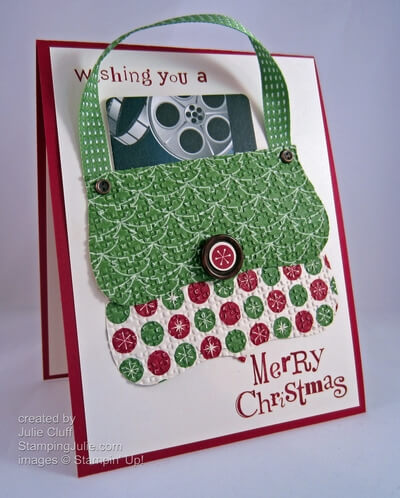
I love Stampin’ Up! Big Shot dies!  And the Top Note Bigz Die is so versatile.  I used it here to create this adorable purse and tucked a gift card in the top.  Using dies allows me to make complicated-looking projects in a snap.  I created the purse by die-cutting Be of Good Cheer holiday paper in my Big Shot Die-cutting Machine with the Top Note die and then folding it down the top.  With a couple of quick snips the purse was complete.  Stay tuned this week for a video tutorial on making this cute purse.

Here it is without the gift card:

Top Note Gift Card Purse

One of the many advantages of being a Stampin’ Up! demonstrator is having access to exclusive ideas provided by my upline which is where I got this cute purse idea.  Now is a great time to become a demonstrator – whether it’s just to enjoy the discount and exclusive content or  to start your own business – and receive a full set of stamp pads (10!) absolutely FREE.  And you create your own starter kit too!

earn free stamp pads

REMEMBER: 2-WAYS TO GET A SET OF STAMP PADS (a$49.95 value) FOR FREE!  1. Place an order or host a workshop of $450 or more. OR 2. Join my team of stamping friends for just $99 and enjoy all the benefits of membership.  (Offer available now until December 16th.)

Enjoy!  Julie

Top Note Gift Card Purse detail

Card Recipe:
Stamps: Wacky Wishes (hostess set) w-#126410, c-#126412
Ink: Cherry Cobbler #126966
Paper:  Be of Good Cheer #126896, Cherry Cobbler cardstock #119685, Very Vanilla cardstock #101650
Extras: Top Note Bigz Die #113463, Big Shot Die-cutting Machine #113439, Naturals Buttons #127554, Vintage Trinkets #118764,  Gumball Green Stitched Satin Ribbon #126848
(click on links for full product description and picture)
Holiday Collection Christmas Tree Card

Glittery Paper Christmas Tree Card

Holiday Collection Christmas Tree Card

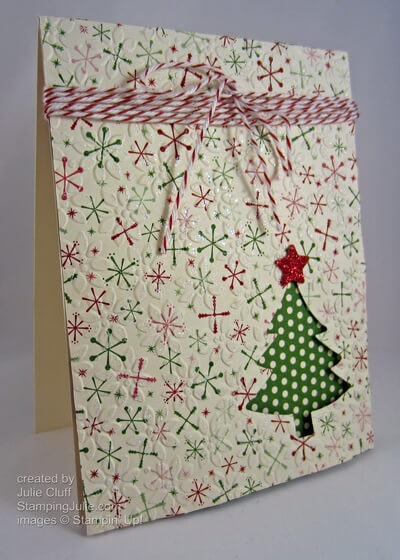
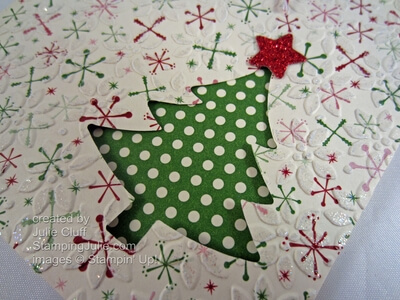
I’m always experimenting so I can bring you more ideas to spark your creativity.  This was fun to make with designer paper, framelit dies, an embossing folder and iridescent ice embossing powder.  As soon as I saw this green polka dot paper in the Be of Good Cheer Designer Series Paper pack, I knew is was perfect for a Christmas tree. I wanted to do something more interesting than simply die-cutting the shape from the paper so I used it to show case the die-cut Christmas Tree through the coordinating paper.

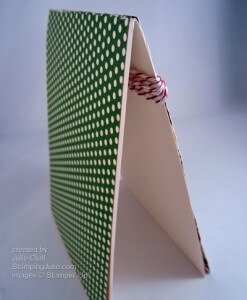
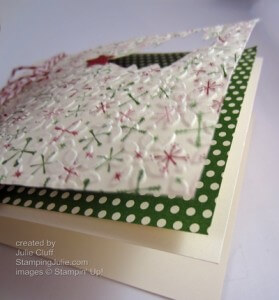
I started with Very Vanilla cardstock cut 4-1/4″ x 11″, then layered green polka dot paper over that measuring 4″ x 10-3/4″.  When I adhered the pattern paper I only glued down to the top of the Very Vanilla on the front and the back.  I wanted the layers to be separate so they would really stand out.  Here’s some pictures so you can see the layers better.

Holiday Collection Christmas Tree Card side

Holiday Collection Christmas Tree Card layers

Holiday Collection Christmas Tree Card layers

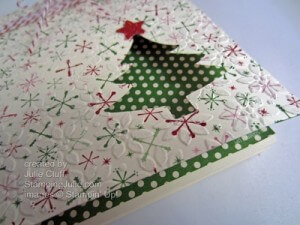
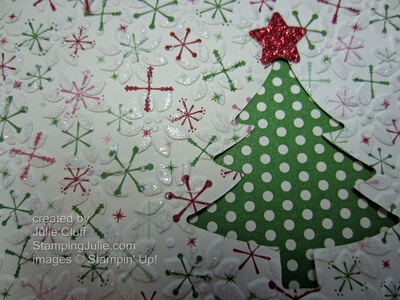
I ran a 4-1/4″ x 5-1/2″ piece of the red and green snowflake paper through the Big Shot Die-cutting Machine in the Petals-a-Plenty Embossing folder.  Then I ran it through again with the Christmas tree framelet die from the Holiday Collection dies.  Finally I brayered Versamark lighly over the paper and add Iridescent Ice embossing powder to the raised pattern for a glittery effect.  Then I adhered this piece to the front at the top.  Can you see the texture and the glimmer of the embossing in this photo?

Holiday Collection Christmas Tree Card tree detail

Finally, I added the Red Glimmer Paper star, also cut out from the Holiday Collection framelit dies, and tied the baker twine around the top.

The links to the products I used in this card are below.

Click Here to Order your Stampin’ Goodies!

Enjoy! Julie

Holiday Collection Christmas Tree Card Tree

Card Recipe:
Ink: VersaMark #102283
Paper: Be of Good Cheer Designer Series Paper #126896, Very Vanilla cardstock #101650, Red Glimmer Paper #101790
Extras: Holiday Collection Framelit Dies #127814, Petals-a-Plenty of Embossing Folder #116824, Big Shot Die-cutting Machine #113439, Bakers Twine #123125, Iridescent Ice Embossing Powder #101930
Lovely as a Tree Starry Night Christmas

Lovely as a Tree Starry Night Christmas

Lovely as a Tree Starry Night Christmas

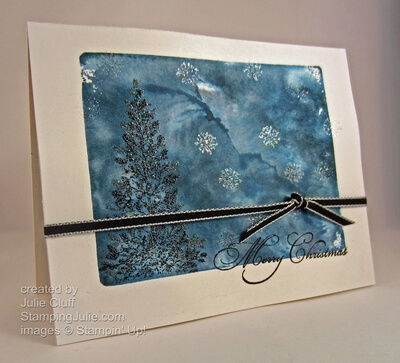
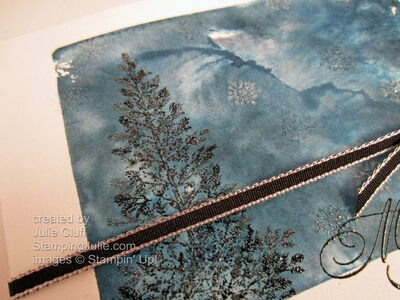
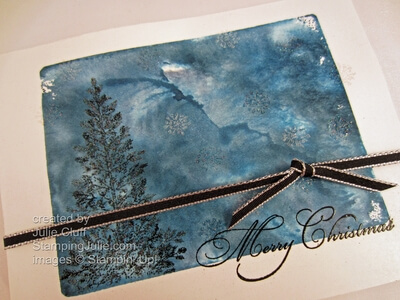
I have loved this pine tree from the Lovely as a Tree stamp set since I first got this set years ago.  Can’t believe it’s still available in this year’s Stampin’ Up! catalog.  I used it as a silhouette on this simple Christmas card.  I saw a challenge on splitcoast stampers to be inspired by this quote, “ I have loved the stars too fondly to be fearful of the night” from Galileo.  That was the challenge and this is the card that it inspired me to make.

I started with the large ‘E’ acrylic block, smudged it with Midnight Muse, Night of Navy and Not Quite Navy stamp pads, spritzed it with water and stamped with the block.  You need a good but of spritzed water on the block in order for the colors to blend together so you get good coverage.  I used my heat tool to dry the paper after stamping. 

Lovely as a Tree Starry Night Christmas detail

I used some paper and post-it notes to mask the bottom and side edges, stamped the tree in Black Craft Ink and embossed with Iridescent Ice embossing powder.  I really wanted the shimmer of the Iridescent Ice embossing powder, but the tree wasn’t very visible, so I stamped it again with the Black Craft Ink and embossed again with black embossing powder.  That did the trick.  I got the shimmer and enough black silhouette so it would show up on the dark blue background. 

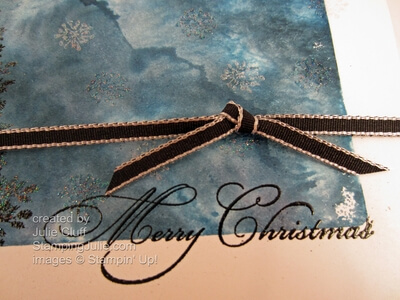
I used the small starburst stamp from the Summer Silhouette stamp set to stamp stars in the sky with VersaMark and the White Stamp Pad and embossed the stars with Iridescent Ice embossing powder.  Then I add the Merry Christmas sentiment with Black Craft Ink and the black embossing powder.  (I wanted a script Merry Christmas so I used this retired stamp, but any of the stamps from the Greetings of the Season stamp set would have been perfect and beautiful!)

Lovely as a Tree Starry Night Merry Christmas

With the water-spritzed-block stamping and heat embossing, the paper became quite warped, so I layered it on a Natural White cardstock base to smooth it out and added the black ribbon which really added just the right amount of contrast, texture and interest.

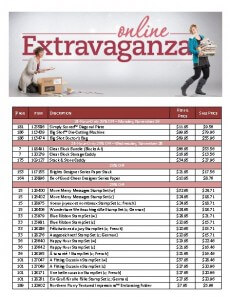
Online Extravaganza Sale ends Wednesday, November 28th 20%-50% off of Stampin’ Up! goodies. Click here now to view everything that’s on sale.

Click here to place your order now

Stampin' Up! Sale

Enjoy!  Julie

Lovely as a Tree Starry Night Christmas close up

Card Recipe:
Stamps:  Lovely as a Tree w-#115026 c-#127793, Summer Silhouettes w-#126445 c-#126447
Ink: Midnight Muse #126860, Night of Navy #126970, Not Quite Navy #126971, Black Craft #102192, White Craft #101731, VersaMark #102283
Paper:  Whisper White cardstock #100730, Natural White cardstock #102316
Extras: Acrylic Block #118484, Iridescent Ice Embossing Powder #101930, Black Embossing Powder #109133, Black Taffeta Ribbon #119261, Heat Tool #129053
perfectly preserved scentsational season card

Perfectly Preserved Scentsational Gingerbread Man

perfectly preserved scentsational season card

Only two days left of the Online Extravaganza! 20%-50% off of Stampin’ Up! goodies.  Click here now to view everything that’s on sale. 

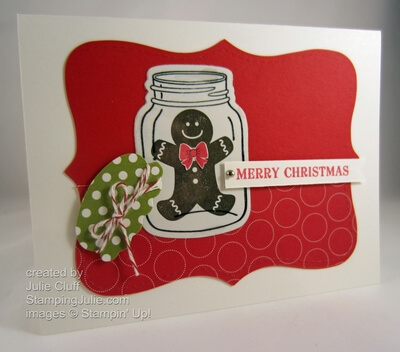
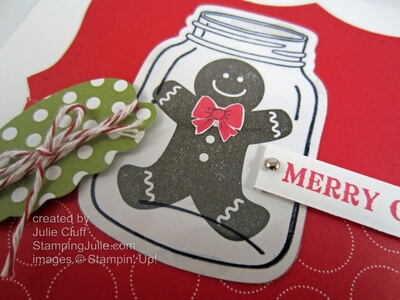
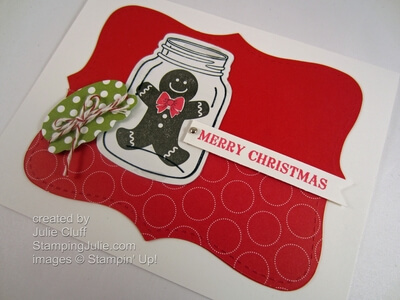
I could not resist combining these Christmas stamps from the Stampin’ Up! Holiday Catalog into one Merry Christmas card.  This little gingerbread man from the Scentsational Season stamp set fits perfectly in the Perfectly Preserved mason jar.

perfectly preserved scentsational season card close up

I stamped the gingerbread man in Early Espresso on Whisper White cardstock and cut it out with the mason jar Cannery Set Framelit Die.  His cute little bow tie is from the Joyous Celebrations stamp set with a little detail added with a black Stampin’ Write marker.  Then I stamped the jar with Black StazOn ink on a window sheet and layered that over the ‘gingerbread man’ jar.

The Old Olive lid was die cut out of the Polka Dot Parade Designer Series Paper with a baker’s twine tie.   The Top Note Die background is in Real Red cardstock with a layer of Real Red pattern paper from the same dsp paper pack.  Merry Christmas banner is from Owl Occasions stamp set.

I hope you all had a wonderful Thanksgiving weekend with lots of food, family and friends.  We enjoyed our weekend very much, catching up with family, playing games, going to a couple of shows and watching some football.

Enjoy!  Julie

perfectly preserved scentsational season card detail

Card Recipe:
Stamps:  Scentsational Season w-# 121026 c-# 121190 , Perfectly Preserved Bundle (includes Cannery Set Framelits Dies) w-# 129943 c-# 129944 , Owl Occasions w-# 128000 c-# 128003 , Joyous Celebrations w-# 128066 c-# 128069
Ink: Real Red #126949, Early Espresso #126974
Paper: Whisper White #100730, Real Red #102482, Polka Dot Parade Designer Series Paper #126902
Extras: Top Note Die #113463, Big Shot Die-cutting Machine #113439, Bakers Twine #123125, Mini Brads #122941
Joyous Celebrations folded Christmas tree gift card

Joyous Celebrations Folded Christmas Tree Card

Big Stampin’ Up! 50% Sale – November 19-28! Don’t miss it!

Starts Monday

Joyous Celebrations folded Christmas tree gift card

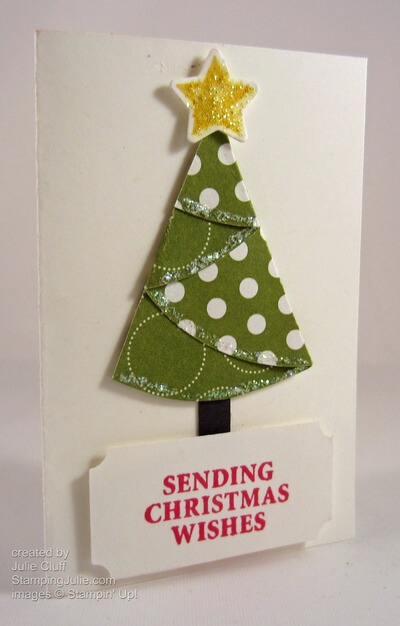
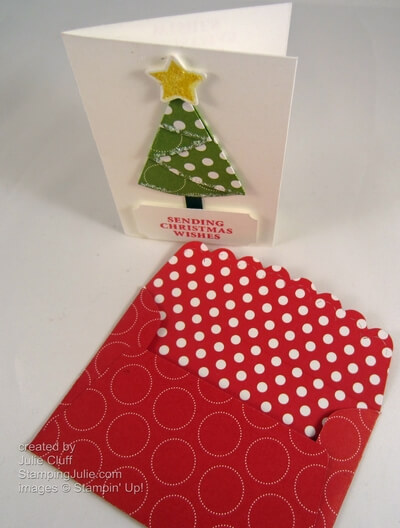
This adorable little folded Christmas Tree gift card measures only 2″ x 3″ and fits perfectly into the gift envelope made from the Scallop Envelop Bigz Die and the Big Shot Die-cutting Machine.

Joyous Celebrations folded Christmas tree gift envelope

The fold Christmas tree was made with a half circle of Old Olive Polka Dot Parade Designer Series Paper.   I created the envelope with the Real Red paper from the same pack.  A perfect Christmas combination.

Joyous Celebrations folded Christmas tree gift card close up

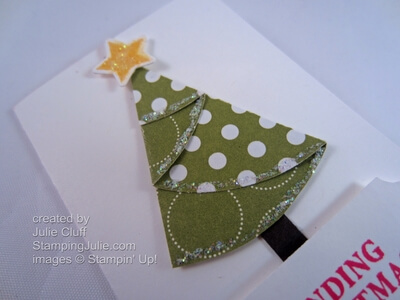
The Christmas star from Scentsational Season stamp set  was stamped in Daffodil Delight  and trimmed out with the coordinating Holiday Collection framelit.  I punched the tree trunk out with the corner of a square punch.

I stamped the greeting  from Joyous Celebrations stamp set in Real Red and punched it out with the Ticket Duo Builder Punch.  I then trimmed the tree and the star with Dazzling Details glitter glue.

Click Here to Order your Stampin’ Supplies

Click Here for Fun, Easy Digital Scrapbooking 

Enjoy!  Julie

Joyous Celebrations folded Christmas tree gift card in envelope

Card Recipe:  
Stamps: Joyous Celebrations w-#128066 c-#128069, Scentsational Season w-#121026 c-#121190
Ink: Real Red #126949, Daffodil Delight #126944
Paper: Polka Dot Parade Designer Series Paper #126902, Whisper White #100730, Early Espresso #119686
Extras: 2-1/2″ Circle Punch #120906, Ticket Duo Builder Punch #126883, 1″ Square Punch #124094, Scallop Envelope Bigz Die #113462, Holiday Collections Framelit Dies #127814, Big Shot Die-cutting Machine #113439, Dazzling Details #124117