Tagged: punches

Christmas gift tags scentsational season

Last Minute Christmas Gift Tags

Christmas gift tags

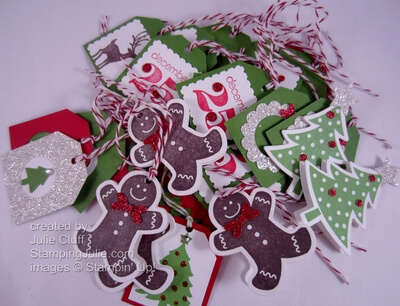
I made lots of last minute Christmas gift tags today.  I checked my wrapping paper first to match my colors.  I’ll be wrapping presents tomorrow and I’ll have lots of tags to choose from!!  I could have made these tags for hours; I was having so much fun and I kept thinking of new ideas.  I finally just had to stop!!  I seriously have to look into a crafter’s anonymous  group to join.

I thought I would share a few them with you in case you needed to make some last minute tags too!

christmas gift tags two tags die

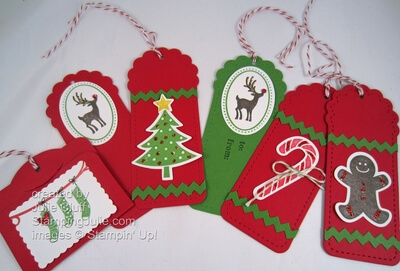
These are the most involved tags I made.  I cut these Real Red and Gumball Green cardstock with the Two Tags Bigz Die.  The great thing about this die is you can cut about four pieces at a time.  The stocking on the left are from the Owl Occasions stamp set, the reindeer are from the Joyous Celebrations set and the tree, the candy cane and gingerbread man are from the Scentsational Seasons set, cut out with the matching framelits dies.

The rick rack is cut from the Tasteful Trim Bigz Die, and I added Dazzling Details glitter glue to the cut outs.  I added a Red Glimmer Paper heart punched from the Owl Builder punch to the stocking tag.  I colored a rhinestone with a red sharpie marker to give the reindeer a Rudolf nose.

christmas tags punch

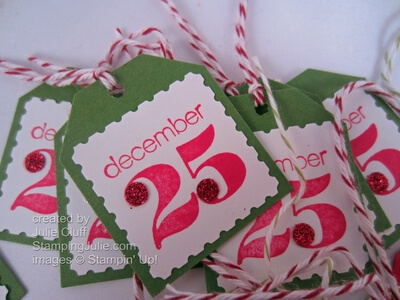
I used the Tag punch to make these basic tags.  Rudolf, 25 and the Christmas trees were stamped from the Joyous Celebrations stamp set and punched out with the Postage Stamp punch.

christmas gift tags joyous celebrations trees

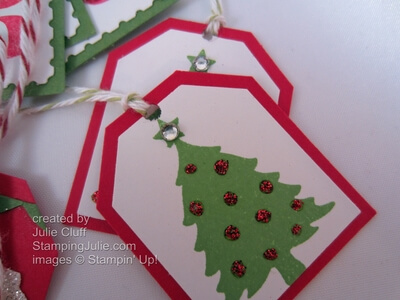
I added a rhinestone on the star and red Dazzling Diamonds glitter glue ‘Christmas balls’ on the trees.

Christmas gift tags joyous celebrations Rudolf

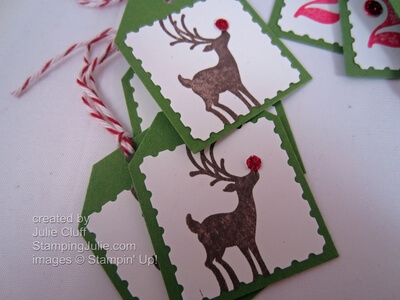
This time I used a small punched circle of Red Glimmer Paper for Rudolf’s nose.

Christmas gift tags joyous celebrations december 25

And who knew that the circle punches from the Cupcake Builder punch is just the right size to add Glimmer Paper to dress up this December 25 tag.

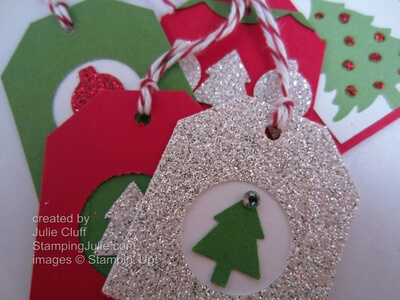
christmas gift tags merry mini punch

The ornament and trees here are punched out using the Merry Minis punches.  To create the tags with the peek-a-boo circle, first punch a 3/4″ circle from the paper then punch around it with the tag punch and back it with a contrasting tag punch, then center your tree or ornament in the middle.  I love this Silver Glimmer Paper tag.

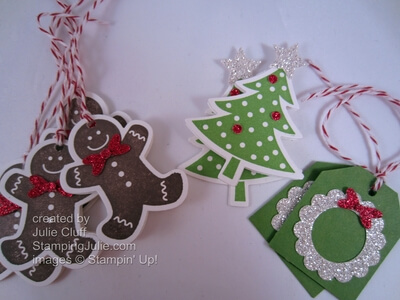
Christmas gift tags scentsational season

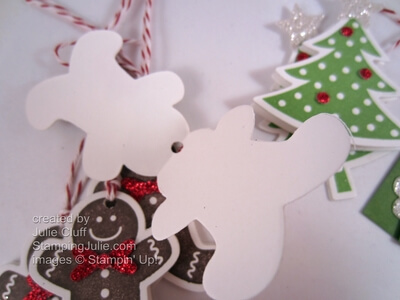
The Scentsational Season gingerbread man and Christmas tree actually open like a card.

christmas tags scentsational season open

To create this little card fold your card stock in half and place your framelit over the fold.  I only used Whisper White cardstock for this, as it is lighter weight than the other cardstocks and the framelits are intended to just cut through one piece of paper, so be careful if you try this.  Then stamp the gingerman or tree, cut them out and glue to the front of the folded shape.

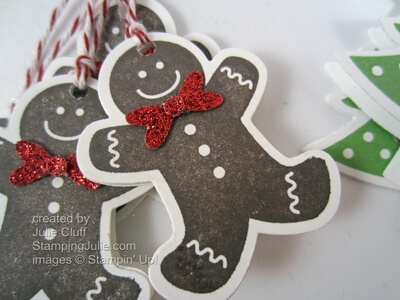
christmas tags scentsational season gingerbread man

His Red Glimmer paper bowtie is made with two hearts from the Owl Builder punch, with a small circle punch connecting them into a bow.  I discovered that I could place the points of the hearts on a glue dot, then wrap the glue dot around the points and add the circle  onto the wrapped glue dot.  After assembling the bowtie on the glue dot, it was easy to place onto the cute little guy.

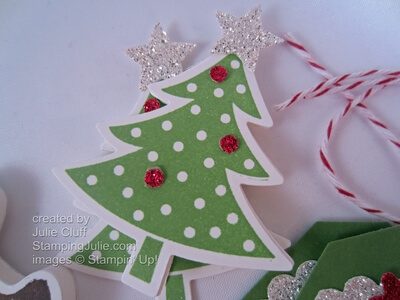
christmas tags scentsational season tree

I added just a couple of Red Glimmer paper punched circles onto the tree for fun and a Glimmer paper star to the top.

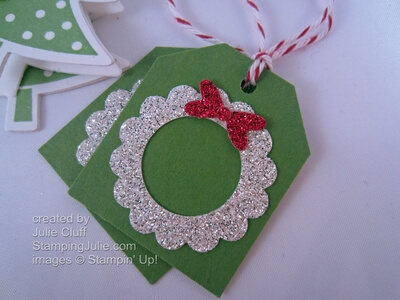
christmas tags glitter wreath

It’s amazing how easy it is to create this little glittery wreath tag.  Punch a 3/4″ circle in the Silver Glimmer paper, then punch around the circle with the 1-1/4″ scallop circle.  The bow is made the same way as the gingerbread man’s bowtie.  To adhere to the bowtie to the glittery wreath, use multipurpose liquid glue to assure good sticking power!

I hope you enjoyed these fun tags and I hope my family likes them too!!

Merry Christmas!  Julie

Create a Cupcake Stand Christmas Card

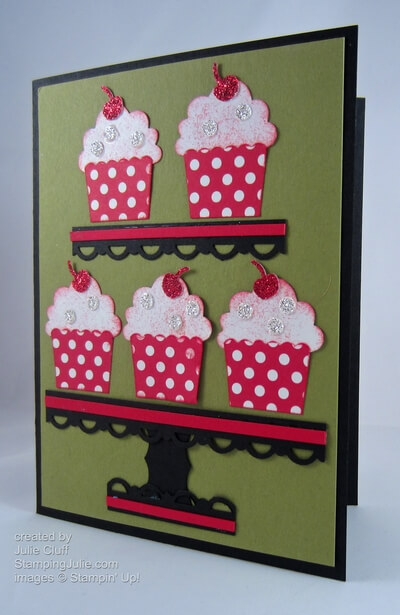
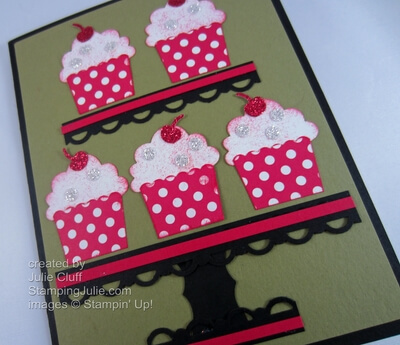
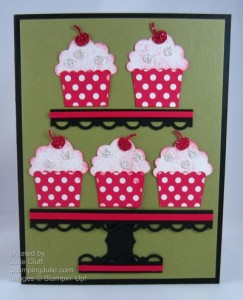
Punch Art Christmas Cupcake Stand Card

Stampin’ Up! Create a Cupcake & Cupcake Builder punch Christmas card – perfect for all occasions!   Really!!

Create a Cupcake Stand Christmas Card

OK, so it may be a little late for making Christmas cards, but with a pirouette pink background in stead of the Gumball Green it would be a great Valentine.  Or add a Bashful Blue background and wish someone a happy birthday.  Well, you get the idea.

This card is quick and easy with a few punches.  To make the cupcake stand,  I started with few punches: Scallop Trim Border, Curly Label & Cupcake Builder.  I cut a strip of Basic Black cardstock, punched the Scallop Border and added a narrow strip of Real Red cardstock.

Create a Cupcake Stand Christmas Card detail

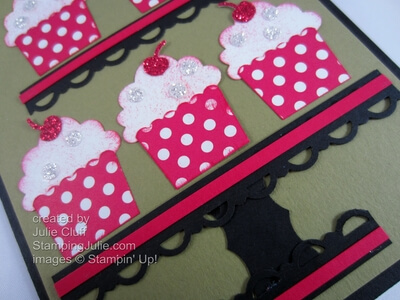
To create the base, I used the Curly Label punch and reinserted to repunch one side to make it short and narrow.  Then I assembled the base by cutting off a four-scallop section of the punched strip, flipping scallops up and adhering it to the bottom of the base.  The rest of the stand is created with the punched strips, scallops down.  Easy!

Create a Cupcake Stand Christmas Card close up

The cupcakes are punched from the Polka Dot Parade Real Red Designer Series Paper and Whisper White cardstock.  I sponged the cupcake tops with Real Red.  I think it looks like a dusting of red sugar.  I punched the cherries and the sprinkles from Glimmer Paper for extra special sparkle!

CLICK HERE TO ORDER GREAT STAMPIN’ UP! PRODUCTS at deep discounts available on the Stampin’ Up! Clearance Rack.  For more information on the Clearance Rack go here.

Click Here to Order your Stampin’ Supplies

Click Here for Fun, Easy Digital Scrapbooking 

Merry Christmas!  Julie
Create a Cupcake Stand Christmas Card

Card Recipe:
Ink: Real Red #126949
Paper: Polka Dot Parade Designer Series Paper #126902, Silver Glimmer Paper #124005, Red Glimmer Paper #121790, Basic Black cardstock #121045, Real Red cardstock #102482 & Whisper White cardstock #100730
Punches: Scallop Trim Border #118402, Curly Label #119851, Cupcake Builder #121807 
 
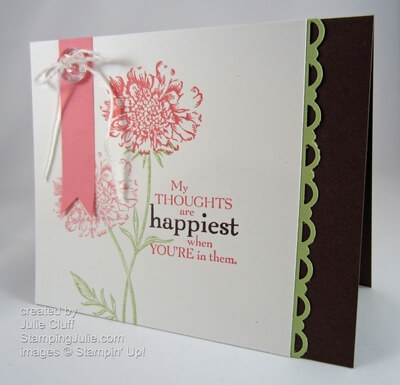
Field Flowers happiest card angle

Stampin’ Up! Happiest Field Flowers

Field Flowers happiest card angle

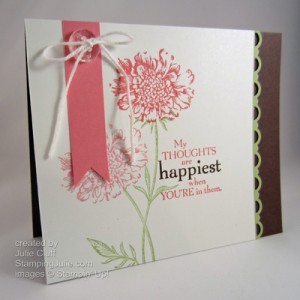
Even during the Christmas season, you’ll need other cards to let your friends know you are thinking about them for their birthday or another special event.  This card is cased from the Field Flowers sample in the Stampin’ Up! 2012 Catalog page  137.

I used the sentiment that comes with the set, but you could easily make this a happy birthday or thank you card by changing the sentiment, or stamping or writing the appropriate message inside.  I just love the Regal Rose, Certainly Celery, Early Espresso colors on this card.  It’s bright and cheery which is much needed during the dreary winter months.

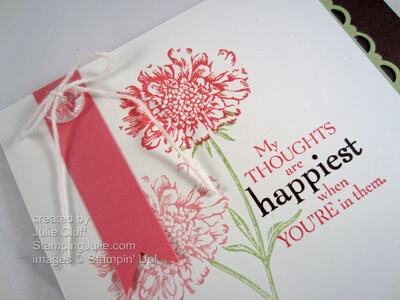
Field Flowers happiest card detail

The flowers and stems are separate stamps so it is easy to use two different colors.  To get the darker and lighter flower, I stamped the darker one first and then stamped the lighter one without reinking the stamp.  To create two different colors on the sentiment stamp, first inked it with Regal Rose and then colored ‘happiest’ with an Early Espresso marker.

Here are a couple of videos that show the markering-your-stamps technique.  This first one features a technique called omitting: Stampin’ Up! Perfect Punches Congratulations Card. And the second shows coloring in the whole stamp: Stampin’ Up! Embellished Events Birthday.

MERRY CHRISTMAS TO YOU!  Are you wondering what to get with your birthday money?   Go shopping at the Stampin’ Up! Clearence Rack today!

Enjoy!  Julie

Card Recipe: 
Stamps: Field Flowers wood-#122760 clear-#122762
Ink: Regal Rose #126947, Certainly Celery #126958, Early Espresso marker #119680
Paper:  Regal Rose cardstock #105130, Certainly Celery cardstock #105125, Early Espresso cardstock #119686, Whisper White cardstock #100730
Extras: Scallop Trim Border Punch #118402, Bakers Twine #124262, Vintage Faceted Designer Button #127555, Glue Dots #103683
 
punch art santa gift card

Punch-art Santa Face Gift Card

punch art santa gift card

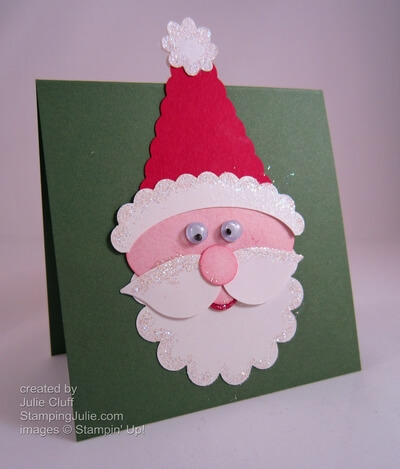
Do you recognize this punch-art Santa face?  This gift card was made with the same Santa face I created for the petite treat purse and the rockin’ Santas.  This makes a great gift card for a child.  I made this little 3”x3” card for my 3yo granddaughter.  I’m popping it in the mail today and I hope it gets there before they come here for Christmas.

Follow the directions here for the Santa face.   (I added another small circle of Real Red cardstock peeking out from his lip for his mouth.)  The Garden Green cardstock was cut 3”x6” and folded to 3” square.  With the Santa hat poking out the top you’ll need to use a longer envelope.  You can custom make an envelope using the Diagonal scoring plate or use an envelope from the note cards & envelopes pack.

Click here to order great products at deep discounts available on the Stampin’ Up! Clearance Rack.  For more information on the Clearance Rack go here.

 Enjoy,  Julie

Shimmer Folded Christmas Tree

sweet essentials glimmer spritz christmas tree card

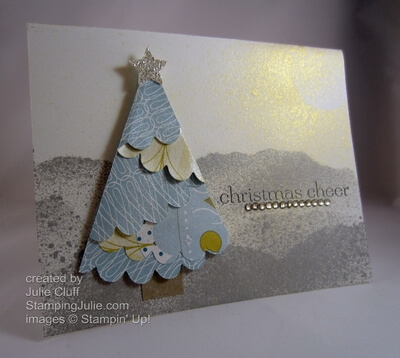
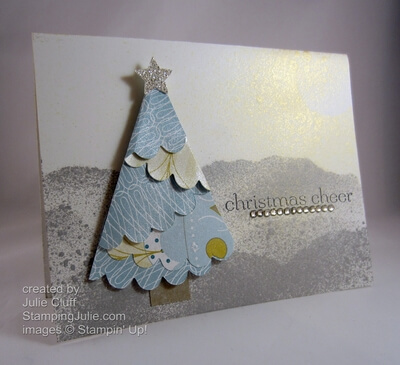
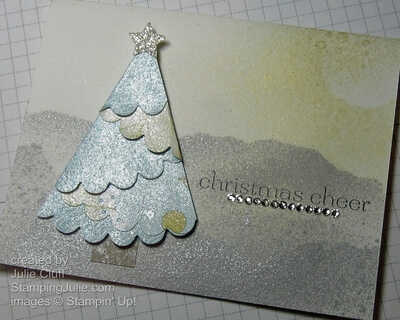
Another folded Christmas tree card!  I love these Christmas trees.  They are so easy to make and add so much texture to a design.  Watch the folded tree tutorial to see how to make these with a Circle punch or Scallop circle die.

This card is ALL about shimmer!  I started with a Whisper White cardstock base and my shimmer sprays.  I ripped a piece of paper to mask the top half of the card base and sprayed the Silver shimmer spray.  I moved the paper a couple of times and sprayed again.   When you use these sprays make sure you know which way the nozzle is pointing before you spray or you could end up with a glitter silver arm like I did!!!

sweet essentials glimmer spritz christmas tree card

I lightly sprayed the top right for some sun rays, then masked the corner with a circle and sprayed again to achieve a circular sun look.  Even the folded Christmas tree and trunk was sprayed with the Vanilla shimmer spray.

Merry Christmas!  Julie
sweet essentials glimmer spritz christmas tree card close up

Card Recipe:
Stamps:  Sweet Essentials w-#126455 c-#126457
Ink:  Basic Gray #126981
Paper:  Birds of a Feather Designer Series Paper #126899, Whisper White cardstock #100730, Crumb Cake cardstock #120953, Silver Glimmer Paper #124005
Extras:   Scallop Circle Bigz Die #113468,  Big Shot Die-cutting Machine #113439, Vanilla Shimmer Smooch Spritz #118772, Gold Glow Smooch Spritz #118770, Silver Foil Smooch Spritz #118771, Rhinestones #119246,  Merry Minis Punch Pack #126882