Tagged: greeting card

moving forward frog friendship card

Moving Forward Froggie Friend!

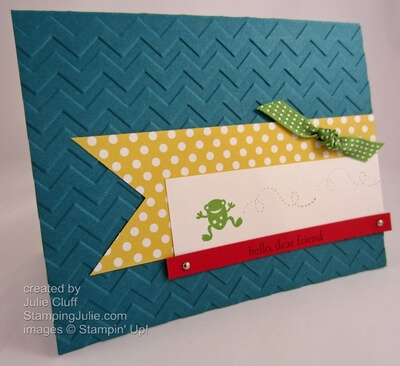
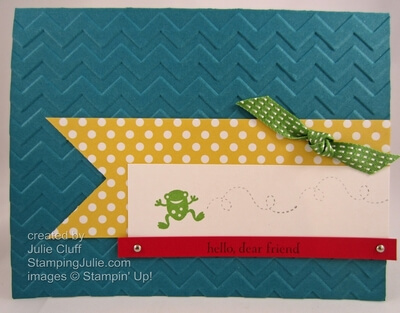
moving forward frog friendship card This little frog from Stampin’ Up! Moving Forward stamp set is just adorable!  I copied this card straight from the Stampin’ Up! demonstrator magazine.  The cute frog, the bright colors and the playful polka dot paper make this card super cheery!  I know a friend that could use a little cheering right now and I don’t know how anyone could keep from smiling looking at this hoppy frog.

To make the card base, first cut Island Indigo card stock and fold, then insert the front into the Chevron embossing folder and run through the Big Shot Die-Cutting Machine.

moving forward frog friendship card detail

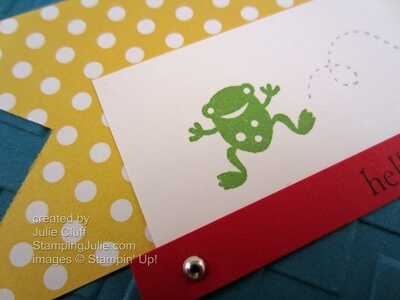
The frog is stamped with Gumball Green stamp ink.  The bouncy swirls were stamped with Basic  Gray stamped off first to allow for a lighter color.  Also, the mini silver brads add just the right touch and keep the card clean and simple at the same time.

The tails of the mini silver brads are long and thin and on small strips of paper can stick out of the back, but they can be easily snipped shorter.

moving forward frog friendship card angle

When you become a Stampin’ Up! demonstrator you will receive the demonstrator magazine and receive this monthly inspirational publication.  Join today for just $99.

Enjoy,  Jule

Card Recipe:
Stamps: Moving Forward w-#126320 c-#126322
Ink: Basic Gray #126981, Gumball Green #126861
Paper: Polka Dot Parade Designer Series Paper #126902, Whisper White #100730, Real Red #102482, Island Indigo #122923
Extras: Chevron Embossing Folders #127749, Big Shot Die-Cutting Machine #113439, Mini Silver Brads #122941, Gumball Green Stitche Satin Ribbon #126848
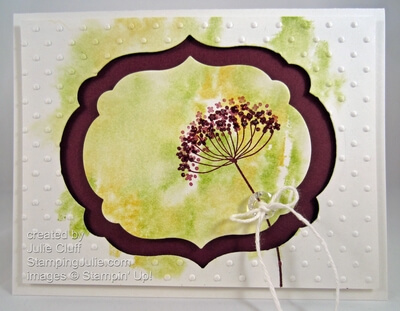
summer silhouettes watercolor greeting card angle

How to Create a Watercolor Mist Background

summer silhouettes watercolor greeting card angle

Usually when I sit down to create a card or other project, I start with an idea  of what it is I’m going to do.  More often than not, as I stamp,  the idea develops into something a little different than what I originally envisioned.  Today’s card is no exception.

summer silhouettes watercolor greeting card close up

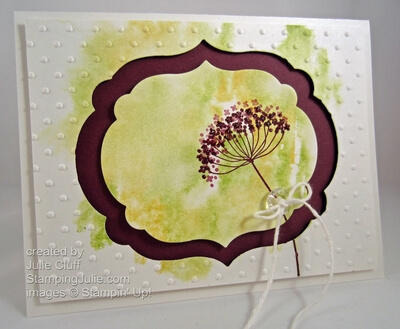
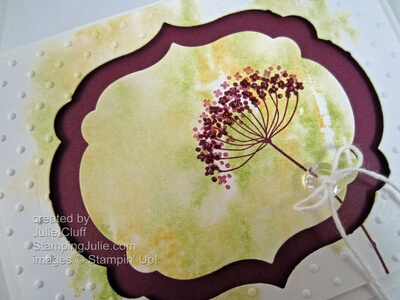
I had planned to watercolor mist the background and cut it out with a die cut, but I had not planned to use the rest of the misted card stock until I started working on it.  Using a plain white exterior would have given a totally different look and I’m not sure which I would have liked better but this is what I went with.   I do like the way the stem extends to the bottom of the card.

Here’s a video on how to very simply create this background using the lid of your stamp case, a couple of markers and mist of water.   http://youtu.be/rl7gFC0HRq8

summer silhouettes watercolor greeting card glitter flower

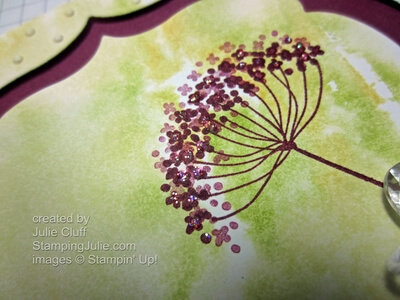
This background uses Lucky Limeade and Daffodil Delight markers, colored on the lid of the stamp case, then misted and applied to the Whisper White card stock.  After creating the watercolored background, I stamped the flower in Rich Razzleberry and added highlights with Dazzling Diamonds glitter glue.

I die cut the center image with the 3rd framelit from Labels Collection and die cut the exterior with the 4th framelit centered in the middle.  Then I adhered both onto Rich Razzleberry card stock with Stampin’ Dimensionals.

summer silhouettes watercolor greeting card

This card is very soothing and pleasant in person.  The pictures give a little different vibe.  I will stamp a ‘praying for you’ sentiment in the interior and send this off to a young woman that my daughters grew up with who was just last week diagnosed with a brain tumor and had surgery this past week.  She’s a very talented young 2nd grade teacher and we pray for her health and a full recovery.

Enjoy,  Julie

Card Recipe:
Stamps: Summer Silhouettes w-#126445 c-#126447
Ink: Rich Razzleberry #126950
Paper: Whisper White #100730, Rich Razzleberry #115316
Extras: Big Shot Die-Cutting Machine #113439, Labels Collections Framelits #125598, Polka Dot Embossing Folder #117335, White Bakers Twine #124262, Vintage Faceted Designer Buttons #127555, Dazzling Details #124117, Dimensionals #104430, Daffodil Delight Marker #119677, 2011-13 In-Color Markers #123002
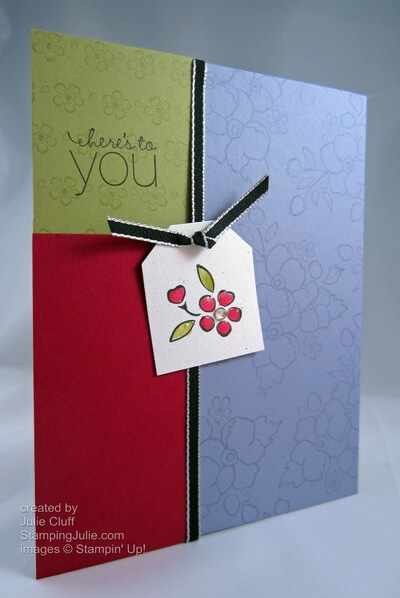
bordering on romance tag card angle

Bordering on Romance Tag Card

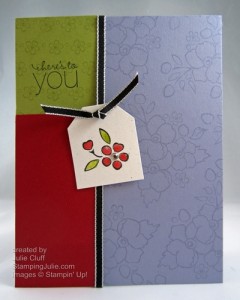
bordering on romance tag card angle The tag on this Bordering on Romance card is obviously the star of the show!  And the lively color choice creates a lot of simple interest.

To make this project, start by creating a Whisper White card base.  Cut the Wisteria Wonder, Cherry Cobbler and Lucky Limeade card stock to create the color block background.  Then stamp the flowers with Versamark ink on the Wisteria Wonder and Lucky Limeade pieces to create the watermark.   Stamp ‘Here’s to you’ in black StazOn and assemble card front.

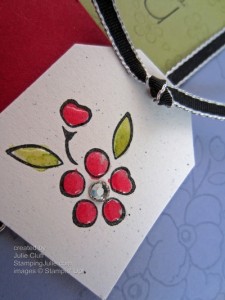
bordering on romance tag card close up

To create the tag, start with a piece of Natural White card stock.  Stamp the flower in StazOn ink.  StazOn ink is a permanent ink that won’t smear when you watercolor the image.    Use an Aqua Painter or blender pen with a bit of Cherry Cobbler and Lucky Limeade reinker to paint the flowers and leaves, and then punch out the tag with the Extra-Large Tag Punch.

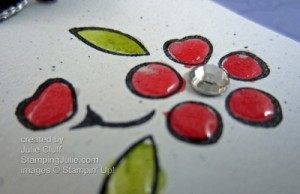
bordering on romance tag card detail

After punching out the tag add Crystal Effects to the flower and leaves for shiny dimension.  Crystal Effects is easy to use.  Just gently squeeze out the liquid gloss and direct it where you want it with the tip of the bottle.  After applying, I like to let it dry overnight just to be on the safe side.  I hate messing up a project with my rushing, don’t you?

After the tag dries, add the rhinestone and tie it around the card with the taffeta ribbon.  Send your card to a special friend!

Enjoy, Julie

Order your stamping supplies online 24/7!

bordering on romance tag card

Card Recipe:
Stamps: Bordering on Romance w-#125480 c-#125482, Sweet Essentials w-#126455 c-#126457
Ink: Black StazOn #101406, VersaMark #102283, Cherry Cobbler Reinker #119788, Lucky Limeade Reinker #122930
Paper: Natural White #102316, Wisteria Wonder #122922, Lucky Limeade #122926, Cherry Cobbler #119685, Whisper White #100730
Extras: Extra-Large Tag Punch #119866, Rhinestones #119246, Black 1/8” Taffeta Ribbon #119261, Crystal Effects #101055, Stampin’ Dimensionals #104430
 
Bordering on Romance
world treasures greeting card

Stampin’ Up! World Treasures Peacock Greeting Card

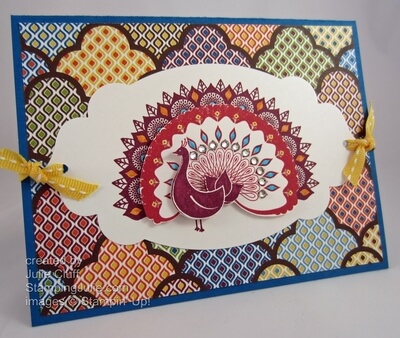
world treasures greeting card

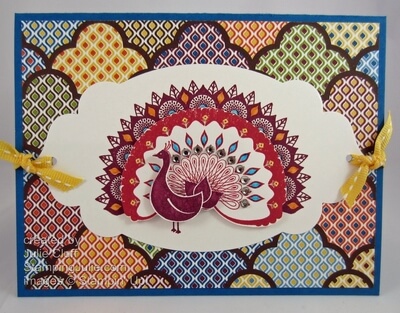
I created this World Treasures peacock greeting card and when I got done I just wasn’t sure if I liked it.  It was late, so I left my stamping corner and went to bed. The next morning I entered my stamping corner and was welcomed by this beautiful peacock and fell in love! Really how can you go wrong with this exotic creature!

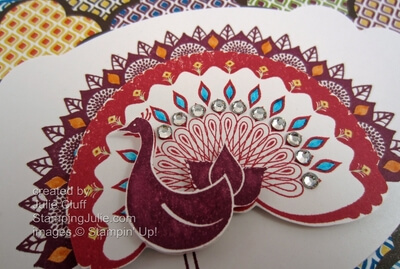
world treasures greeting card peacock detail

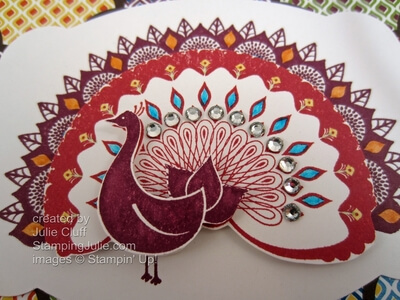
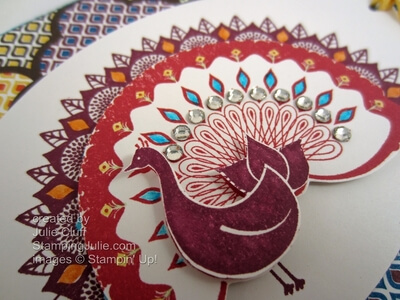
I stamped the peacock twice in Rich Razzleberry and once in Primrose Petals.  I die cut one of the Rich Razzleberry images with the Big Shot Die-cutting Machine and the largest framelit from the Apothecary Accents Framelits Dies set.  That became my main focal point.  I then trimmed out the inner fan of the Primrose Petals image with Paper Snips and trimmed out the peacock body of the other Rich Razzleberry piece and layered those with Stampin’ dimensionals after coloring some of the feathers with Stampin’ Write markers.

world treasures greeting card peacock

Sometimes when you stamp a solid image like this peacock body you can get a little splotching.  I whipped out my blender pen and picked up a little ink from the stamp pad and blended in the Rich Razzleberry for great coverage!

world treasures greeting card close up And is it possible to decorate this fabulous bird without bling?  I think NOT!!  A row of rhinestones does the trick and really is absolutely stunning in person.

The International Bazaar Designer Series Paper is all the rage in the background!  This pattern paper is a powerful design with a lot of Pop!, but having lots of white space around the peacock allows it to work and gives this World Treasures Greeting Card a very rich feel.

The Apothecary Accents Framelits Dies, the International Bazaar Designer Series Paper, Basic Rhinestones Jewels Accents, and the World Treasure Stamp Set are all part of the International Bazaar Product Suite found here.

Enjoy, Julie

world treasures peacock greeting card angle

Card Recipe:
Stamps: World Treasures w-#126765 c-#126767
Ink: Rich Razzleberry #126950, Primrose Petals #126858
Paper: International Bazaar Designer Series Paper #126920, Whisper White #100730, Pacific Point #111350
Extras: Apothecary Accents Framelits Dies #127003, Big Shot Die-Cutting Machine #113439, Basic Rhinestones Jewels Accents #119246, Brights Stampin’ Write Markers #119702, Stampin’ Dimensionals #104430, Daffodil Delight Ribbon #126872, Paper Snips#103579
stampin' up! world treasure stamp set
world treasures friendship card angle

Stampin’ Up! World Treasures Friendship

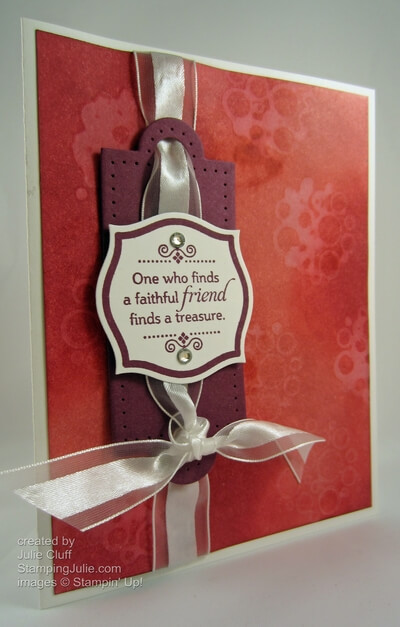
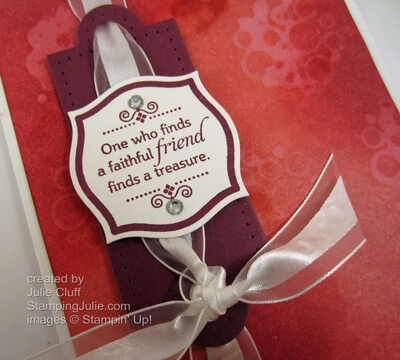
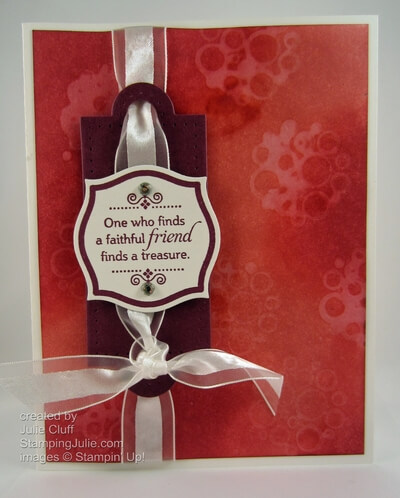
world treasures friendship card angle This World Treasures Friendship Card starts out with an unusual background created by water stamping.  I sponged Primrose Petals and Raspberry Ripple ink on Whisper White card stock covering the whole background.  Then I soaked a paper towel in water on a paper plate and using it as a stamp pad, stamped circles from the Circle Circus stamp set to complete the background.  As the water dries, the ink lightens giving the effect you see here.

world treasures friendship card close up

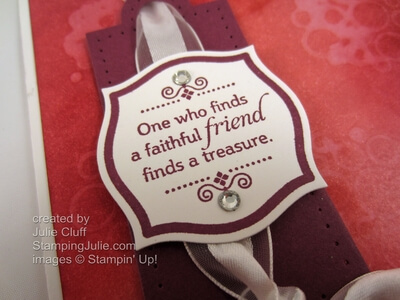
The main message was stamped in Rich Razzleberry and trimmed out with the framelit from the Apothecary Framelits set.  To keep the framelit in place so that the greeting would stay centered I held it in place with post it notes.

The Rich Razzleberry label was also cut out with an Apothecary Framelit and then edged with paper piercing made super fast and easy with the paper piercing tool, mat and template.  A dynamic trio!

world treasures friendship card details

The ends of the label were punched with the 1/4″ circle punch from the Itty Bitty Shapes Punch Pack.  I first punched the circle from a post it note and placed it where I wanted to punch the circle on the label.  That made it easy to punch the label and get it right where I wanted it!  I demonstrated this idea in the video on creating a scallop frame a couple of weeks ago using a large circle punch.

world treasures friendship card

Each piece was popped up with Stampin’ Dimensionals and then the ribbon was threaded through before the background was adhered to the Whisper White card stock base.  Normally, I use about an inch of SNAIL adhesive in each corner and maybe some in the middle if it’s a large piece, but on this background I SNAIL’d (new word) the entire edge to keep it in place.  The water stamping tends to warp the paper slightly and using extra adhesive helps solve the warping.

Enjoy, Julie

Card Recipe:
Stamps: World Treasures w-#126765 c-#126767, Circle Circus w-#115778 c-#127784
Ink: Primrose Petals #126858, Rich Razzleberry #126950, Raspberry Ripple #126859
Paper: Whisper White #100730, Rich Razzleberry #115316
Extras: Big Shot Die-Cutting Machine #113439, Apothecary Accents Framelits #127003, Stamping Sponges #101610, Paper-Piercing Tool #126189, Stampin’ Pierce Mat #126199, Essentials Paper-Piercing Pack #126187, Whisper White Organza Ribbon #114319, Itty Bitty Shapes Punch Pack #118309, Rhinestone Basic Jewels #119246, Stampin’ Dimensionals #104430, SNAIL adhesive #104332

World Treasure Stamp Set