Tagged: craft storage

More Craft Room Organization
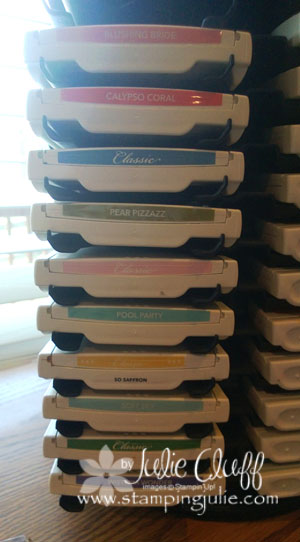
Stampin' up! new color storage I just love the new Stampin’ Up! color collections and I’ve had a box full of new colors, paper, ink, and stamps, and punches, etc., but no time to play. With a high school graduation and four trips out of town this past month, my playground…I mean, my craft room… has been neglected.  🙂

I finally got back in there for some quality get-er-dun time and got busy reorganizing for the new catalog year.  If you saw Friday’s post, then you probably got your new labels, accessories index, and color charts saved and printed.  And if you have been following me on facebook, then you may have seen my occasional post there Friday during the reorganization process.
Stampin' up! new color storage

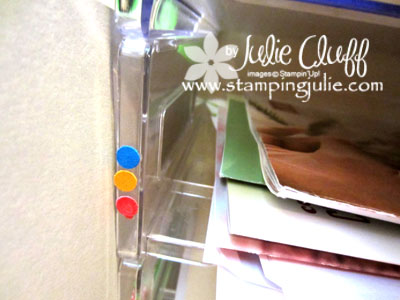
I keep my cardstock in stacking paper trays and I decided I wanted a color swatch on the side of the trays to more quickly find what I’m looking for.  From the picture above you can see that I previously used 1/4″ dots adhered to the side for quick reference, but I decided I wanted something more obvious.
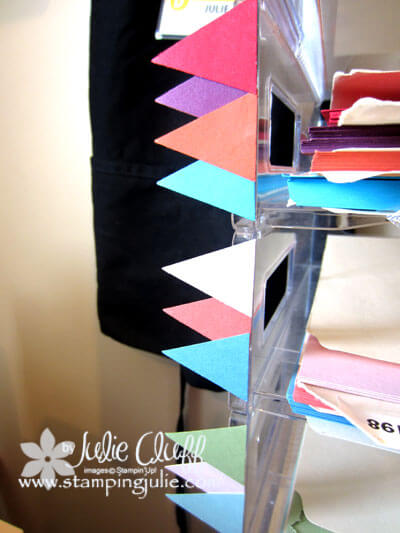
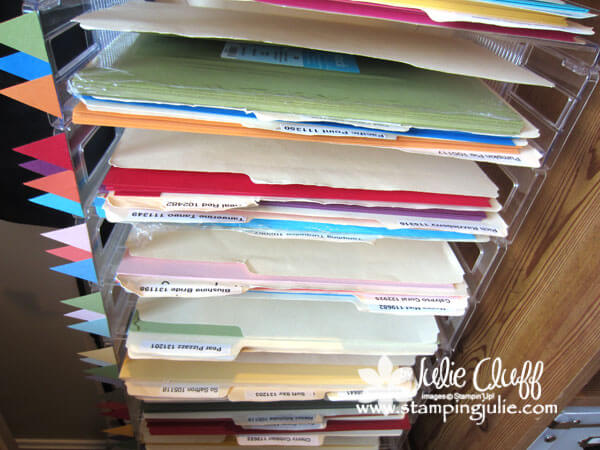
Stampin' up! new color storage I decided on flags.  I used the Petite Pennant Builder punch and punched out a flag in each color, then adhered them to the side of the tray with SNAIL adhesive.  SNAIL is not intended for gluing paper to plastic trays so we’ll see how long it holds.  I may have to go back and use glue dots or sticky strip, but for now it was a quick solution.
Stampin' up! new color storage

 In Friday’s post I gave you labels that you could use for your cardstock folders, but most of my folders already had labels from my labeler so I opted to continue those with the new colors.  Next time I reorganize my colors and cardstock I’ll invest in some new file folders.  I’ve been using and reusing these for years and they are worn out!

This week I’ll be showing you some thank you and wedding cards I made this weekend.  Also, tomorrow I’ll share my son’s graduation announcement I created in MDS.  Be sure and stop back by.

Do you have some great organizational tips?  Or do you have questions about organizing your crafts?  Please leave a comment and let me know what’s on your mind.

Enjoy!  Julie

paper-piercing tool holder

2 New Craft Tool Storage Ideas

paper-piercing tool holder

I’m always looking for craft tool storage and organizational ideas.  If I can discover something that takes me less than 5 minutes to set up and saves me oodles of time in the future, I’m all over it!

Recently I ordered four new sizzlet dies: Floral Fusion, Buttons, Pinwheel & Happy Whale.  The dies are the same size and each came with a piece of foam covering to protect it in shipping.  And that’s when I came up with this idea.

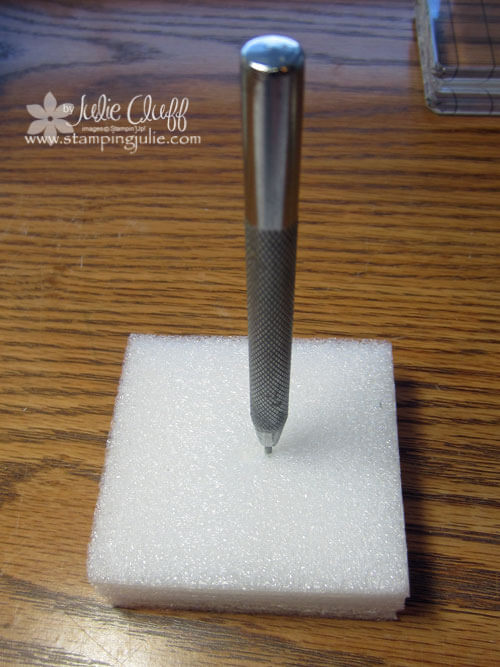
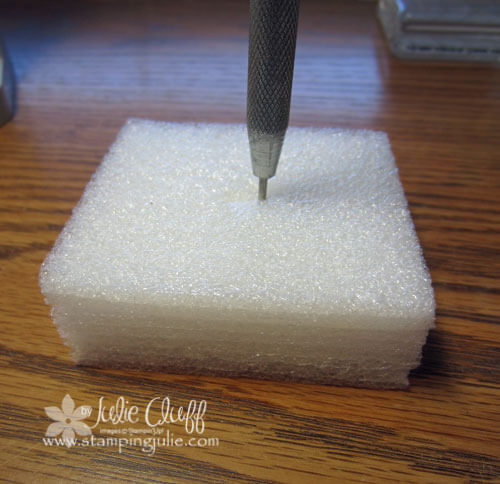
piercing tool holder

I use my paper-piercing tool to pierce for brads, pick up rhinestones and pearls and to pierce decorative edges. I use it on almost everything I make so having it handy is crucial.

I stacked the foam pieces and it was just the right height to store my paper-piercing tool upright. I used multi-purpose liquid glue around the edges of the foam, let it dry and instant paper-piercing tool holder!

embossing-powder-holder

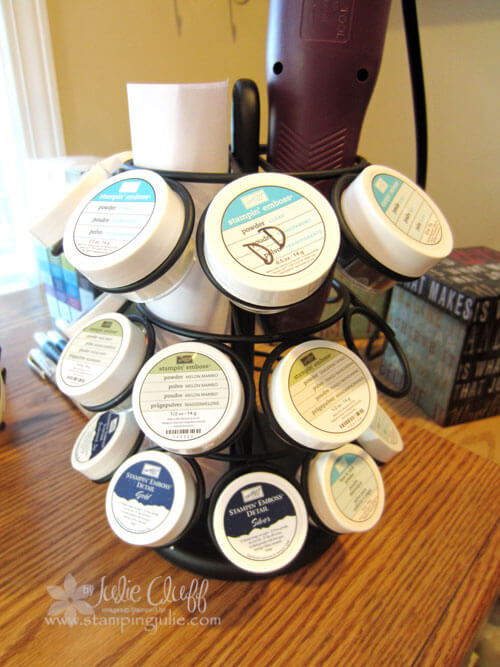
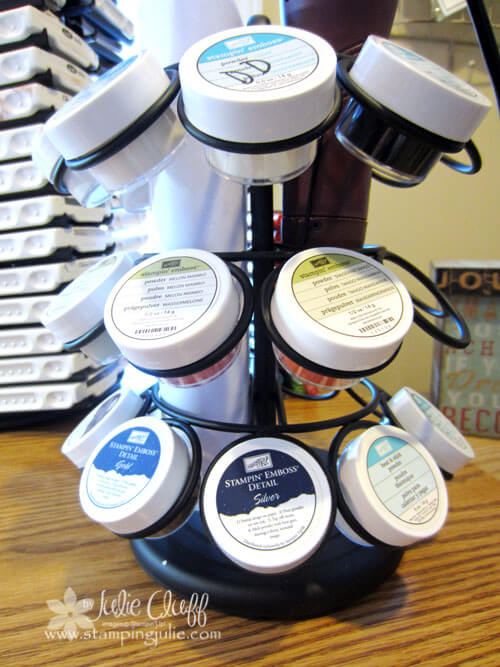
Here’s another new discovery.  The K-cup Carousel  is a perfect caddy for embossing powder and glitter tubs!  I reach for my embossing powders almost daily also, so this will be so nice to have handy.

If you were a part of our Facebook discussion the other day, you’ll know that I’m a revealer.  We talked about two different organizational styles: revealer and concealer.

embossing-powder-holder-2

I can also store my heat tool in the middle of the carousel.  (I’m happy to tell you that I’m finally replacing my heat tool with my Great Rewards points.  Another perk of being a part of Stampin’ Up! )   I also rolled up a piece of paper and placed it in the top so I could pull it out to catch my powders and reload my tub when I’m done.

DID YOU GET THE STAMPING JULIE UPDATES THIS WEEK?  You can subscribe in the box at the top of the side bar.

FACEBOOK-ONLY SPECIAL!  ‘Like’ my facebook page and come back on Monday for the announcement.

I hope you can use one of these craft tool storage ideas.  I’m always excited to discover new time-saving tips.  Feel free to share a couple of your favorite tips in the comments below.

Enjoy!  Julie

craft room tour - organize and craft storage

Organize and Store Your Crafts: A Craft Room Video Tour

craft room tour - organize and craft storage

I did some cleaning and so I decided to let you in for a virtual tour!  You’ll find the video below where I show how I organize and store my crafts supplies.  I’ll show you how I store my paper, punches, dies, glitter, scissors, pens, adhesive, stamp pads and more.  Do you have a specific question?  Leave a comment and I’ll be happy to answer.

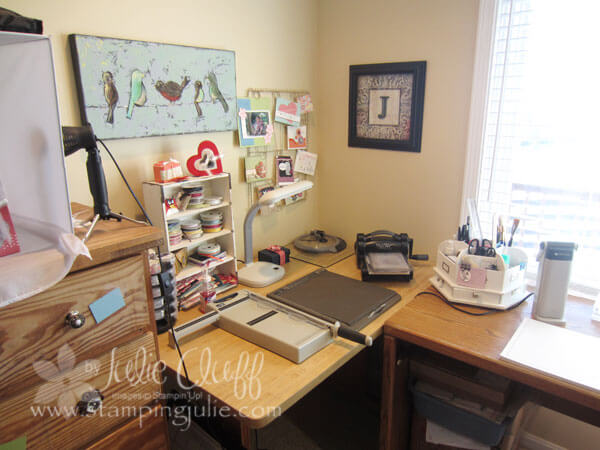
I haven’t done too much to the space yet to make it inviting.  You’ll notice color swatches all over the chest of drawers.  I’m trying to decide what color to paint it.  I do love the bird painting that I painted and hung last year.  And I have found some fun odds and ends to liven things up.

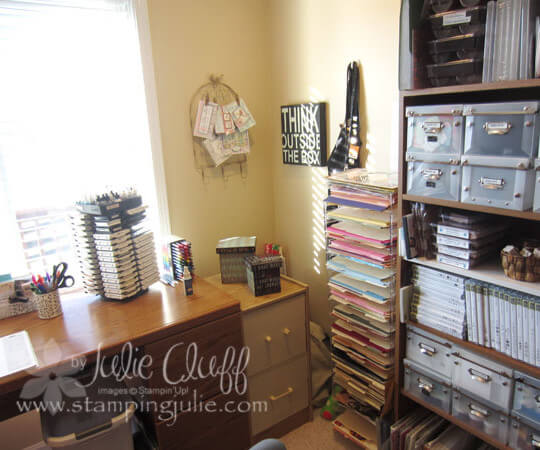
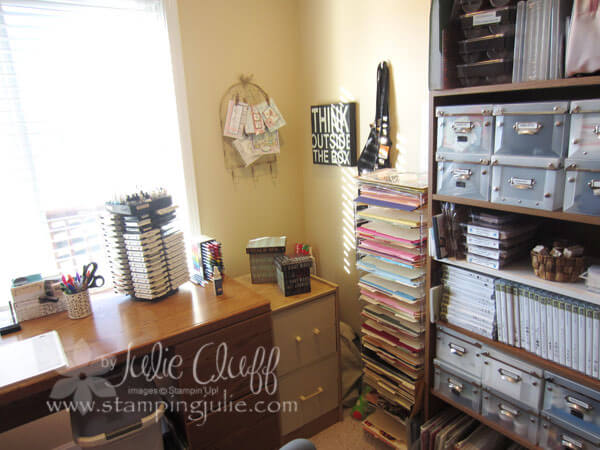
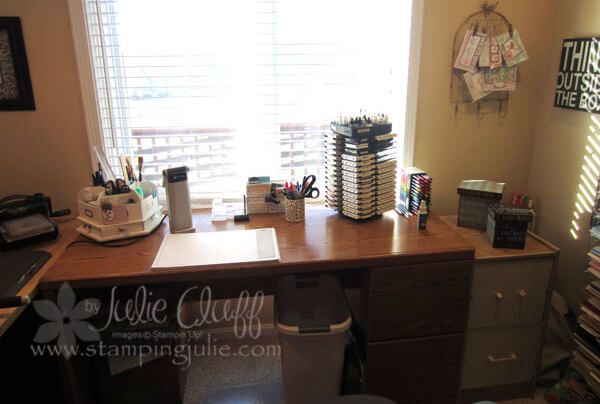
craft room tour - organize and craft storage Here’s my work station, with paper, die, adhesive, embossing powders and stamp storage on the right.  On the left is my tool table and my chest of drawers where I store my punches, glitter and other odds and ends.

craft room tour - organize and craft storage I hope you enjoy this tour of my space.

Earn a FREE Sale-A-Bration product with every $50 in merchandise you order!

Click here for the complete list of SAB products!

Wish you could all come over and we could have a party playing in my stamping playground!  I’m loving having my area cleaned up.  You would not believe the mess I had made over the past month!!  Can’t let that happen again, for sure.  🙂

I hope you will find inspiration and ideas to organize and store your crafts and stamping supplies.

Enjoy!  Julie

Craft & Stamp Storage

Creating is fun AND messy!  Admit it!  We all make a mess when we get busy with our stamps and paper and ink and glitter, etc.  All that stuff everywhere, but it’s manageable if we have a place to put everything away when we’re done.

Recently, while I was stamping with my sister I made a brief video of her craft closet/room.  I think you’ll enjoy this short tour and maybe it will give you some ideas on how to store and organize your own craft and stamping supplies and life will be sweet!

Click here to watch the video! or watch it here: http://youtu.be/Z6syjQdMIfg

Need inspiration to get started on your projects at home?  Buy your supplies through my store and get a free video class and instruction sheets!  Click here for information and registration.  Options for stamping demos too!

I love your feedback.  Please leave a comment and let me know if you are enjoying the blog!

Enjoy!  Julie

craft room storage and organization

Craft Room Storage & Organization

craft room storage and organization

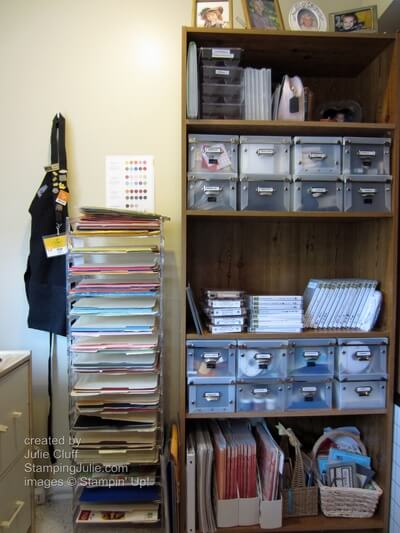
When it comes to craft & stamping room organization, I am ALL about having things at my finger tips.  I don’t want to waste time digging around trying to find what I need or filing through complicated systems getting my supplies out for a project.  Keeping things accessible makes it easier to clean up also.  (The picture above is of the right side of my U-shaped crafting area, the center of which is my desk.)

Everyone has a little different philosophy.  Some people need everything out of sight, but I’m in my happy place if my crafty stuff is visible and organized.  On my Stamping Julie facebook page I’ve been posting specific pictures with storage solutions, so I won’t duplicate that here, but I do want to talk about strategies.

stamping office

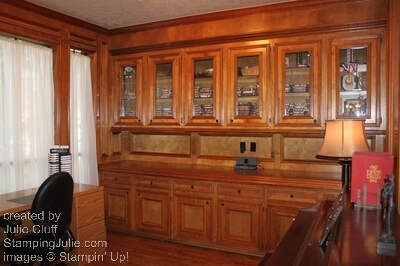
Last year I moved from my home in Texas with this great office (see all my stamp sets in the cabinets!) to Kentucky.  We have an office in our KY home also, but my husband is using it for his work, so I’ve taken over a room in the basement with a beautiful view of the rolling hills in our neighborhood!

The challenge was to move from having built-in cabinets to setting up a similar storage solution without them.  I decided I would use what I have, shelves, dressers, etc. and eventually I would install some cabinetry in my new space.

So here’s my organization strategy:

  1. Determine what you use all the time:  ink, paper, stamps, adhesive, etc., and place those things on your desk or right next to you in your primary space.
  2. Determine what you use second most often: favorite embellishments and tools, and place those in your secondary space, close, but not as close as your primary space.  Shelves or drawers or containers nearby.
  3. Determine what you use least, other embellishments, extra supplies and tools.  These item can go in less accessible storage areas.  Top or bottom drawers or shelves.
  4. Determine what you don’t use at all and eliminate it!!!  No, seriously, if you haven’t used it in six months give it or sell it to someone who will use it.  Keep only the stuff you need, use or love!!!
  5. Contain everything!  Everything should have a place and be contained in a box, on a shelf, in a drawer, in a container.
  6. Every few months reassess!  Take a good look at the items in your primary and secondary spaces and determine if they still deserve their place.

For many years, I crafted without a dedicated space.   I kept my supplies in covered tubs and when I was ready to create, I transported the crate from my closet to the dining room table.

I wish I had a picture of my 17 yo son’s room.  I’ve tried to teach him space and organization principles to no avail.  He has a game wheel, that he has had for two years and he has NEVER used, that sits on the floor in his otherwise clean room in a box!  I say, “Get rid of it.  You don’t use it, you don’t need it! And it is taking up prime space!  At the very least put it on the very top shelf of the closet.”  Of course, after my little lesson in organization and space planning, the game wheel has been moved to the top of his closet – NOT!

Visit Stamping Julie on Facebook and let me know about your craft spaces and organization problems and solutions.  Here’s to your success with organizing your craft and stamping space!!

Enjoy, Julie