Stampin’ Up! Layered Labels Congratulations CAS
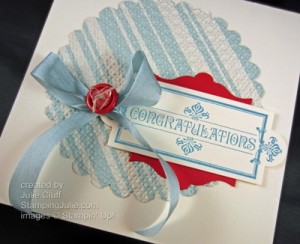
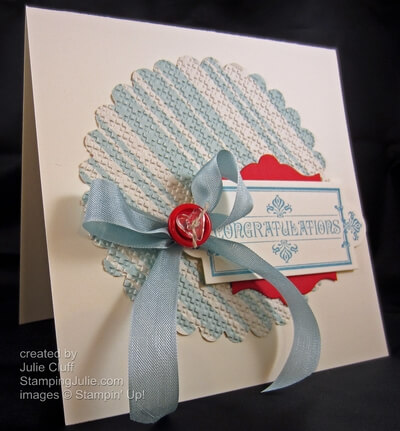
 What is CAS? It’s Clean And Simple. Todays card is a CAS Congratulations card – not too fussy, not too much color or distraction, just cool and calm Baja Breeze and Marina Mist with a pop of vibrant Real Red to get your attention.
The background pattern paper was the starting point for this card so I used the coordinating neutral, Very Vanilla card stock, cut 11″ x 5-1/2″ as the base (folded to 5-1/2″ x 5-1/2″) to match the Comfort Cafe dsp (designer series paper). The papers in this dsp pack all have a subtle fabric print, so in keeping with that vibe I used the Square Lattice Embossing Folder after I cropped the Scallop Circle with the Big Shot Die-Cutting Machine.
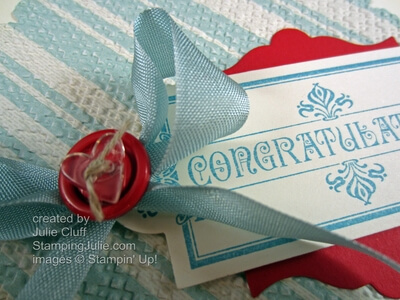
I stamped Congratulations in Marina Mist then die cut it out with the Apothecary Accents Framelits. (View yesterdays video that demonstrates the Apothecary Accents Framelit.) I used another Apothecary Accents Framelit to trim out the Real Red Accent. I cut the die cut in half and layered it behind the top and bottom of the Congratulations label, then attached the label with Stampin’ Dimensionals.
Finally, a Baja Breeze Seam Binding Ribbon bow was added topped using Glue Dots with a Real Red button and clear heart Bitty Button threaded with Linen Thread.
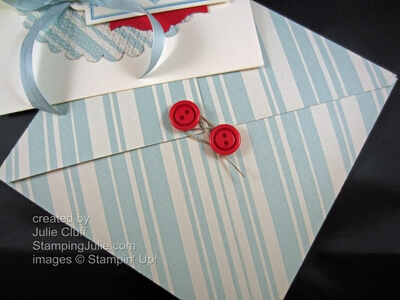
I also made a matching envelope and with the Diagonal Scoring Plate this takes less than a minute to do. (To view more information and a video on the diagonal scoring plate click here.) To make this square envelope, cut your paper to 9″ square, score each side diagonally at 4-1/4″, trim out the small triangles where your score lines meet and fold up.
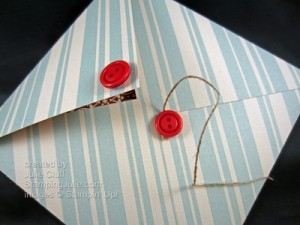 You’ll notice I added button closure to the back with Linen Thread. This is a fun feature if you are hand delivering your card, but not so practical for mailing. 🙂 To create this closure, attach the end of the Linen Thread to a Dimensional then to a button. Adhere the button, thread side down on the envelope. Then just place the other button on the other side with a Dimensionals. Now wrap the thread around the buttons to close.
Enjoy! Julie
Card Recipe: Stamps: Layered Labels w-#127070 c-#127072 Ink: Marina Mist #126962 Paper: Comfort Cafe DSP #126898, Real Red cs #100052, Very Vanilla cs #101650 Extras: Big Shot Die-Cutting Machine #113439, Apothecary Accents Framelits #127003, Scallop Circle Bigz Die #113468, Baja Breeze Seam Binding Ribbon #122331, Linen Thread #104199, Brights Designer Buttons #119747, Bitty Buttons #118761, Dimensionals #104430, Glue Dots #103683, Simply Scored Scoring Tool #122334, Simply Scored Diagonal Plate #125586
