Tagged: card making techniques

Acrylic Block Stamping Video

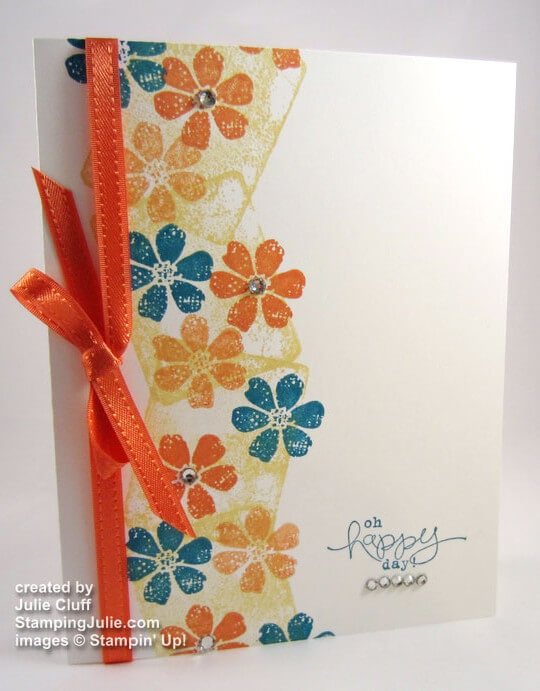
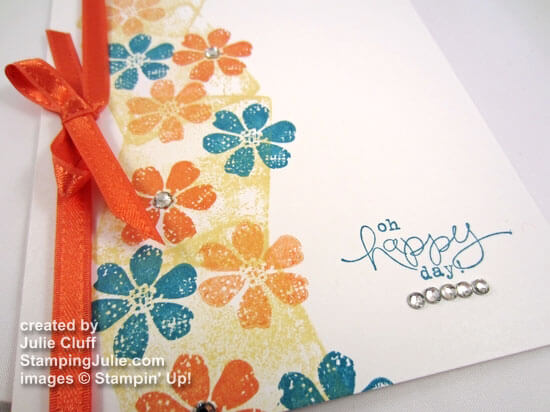
bloomin' marvelous block stamping You are just 2 minutes away from acrylic-block-stamping mastery!  I’ve recorded a quick video to show you how I created this card with my ‘B’ clear block.  You’ll learn how to do acyrlic-block and stamping-off or two-tone stamping in the video below.

ORDER THE ACRYLIC BLOCK STAMPING BUNDLE of products below for $51.81 plus tax and shipping, choose the FREE Bloomin’ Marvelous stamp set with your purchase and you’ll have enough supplies to make over 100 cards!

Enjoy acrylic block stamping and make dozens of cards with the supplies above including the SAB Bloomin’ Marvelous stamp set FREE with your purchase!
Julie

bloomin' marvelous block stamping

Bloomin’ Marvelous Acrylic Block Stamping

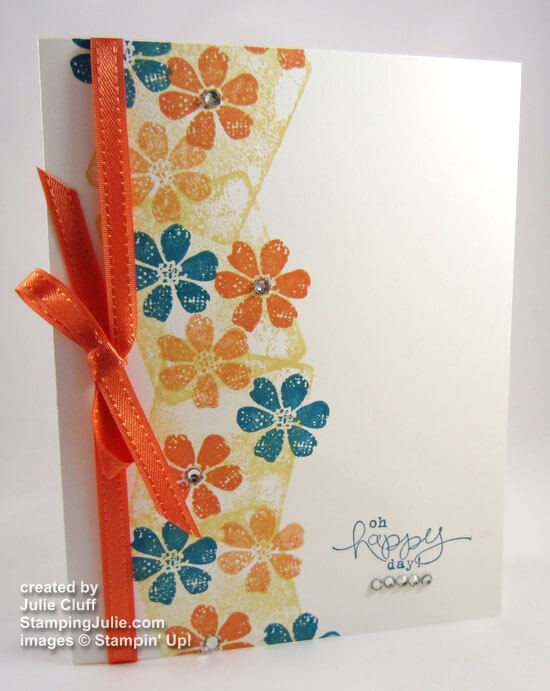
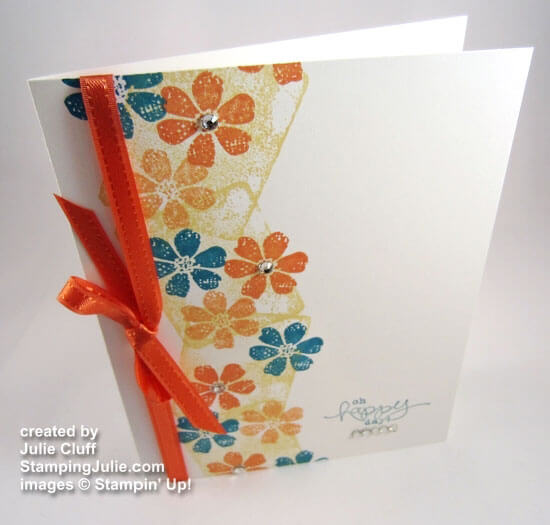
bloomin' marvelous block stamping Here’s a clean and simple one-layer Bloomin’ Marvelous card made with the acrylic block stamping technique.  Then I just added a few rhinestones and the matching Tangerine Tango ribbon from the SAB Sycamore Street Ribbon and Button Pack for some extra punch.  (You can view the video tutorial here.)

bloomin' marvelous block stamping

Here’s the card recipe:
(All supplies from Stampin’ Up! Click on the links below for product details & ordering.)
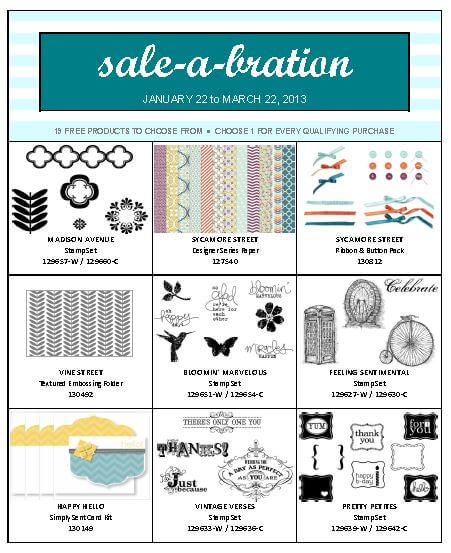
SAB: Bloomin’ Marvelous Stamp Set, Sycamore Street ribbon & button pack

Simply ink your acrylic block directly into your stamp pad, in this case Daffodil Delight, and stamp directly onto your paper.  I inked the block each time I stamped for consistent results.  Then I stamped the Tangerine Tango and the Island Indigo flowers on top of the block stamping.  I stamped the Tangerine Tango flower twice before reinking to get the two-tone effect you see here.

bloomin' marvelous block stamping

The ribbon from the Sale-a-bration Sycamore Street Ribbon and Button Pack is so bright and cheery looking and so easy to work with.  It’s lightweight and ties into a know or bow very nicely.  And you’ll get the Tangerine Tango, Island Indigo and Pool Party ribbons in the pack.

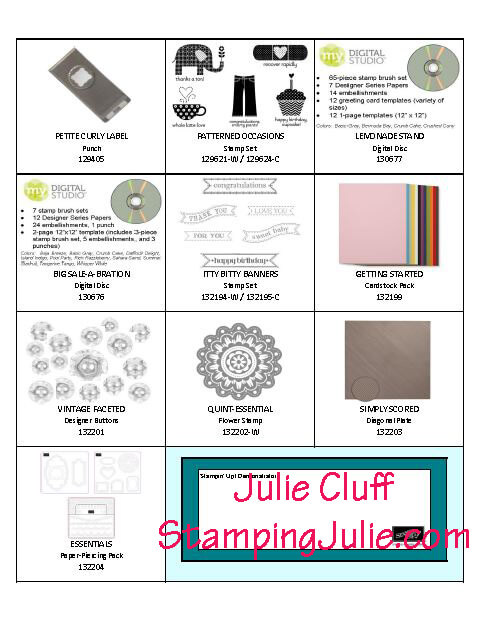
SALE-A-BRATION IS THE PERFECT TIME TO STOCK UP ON YOUR CRAFT SUPPLIES!   Earn free SAB product with every $50 in product you order.  Click here for the complete list of SAB products!   Click here to shop. 

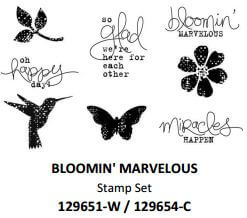
Bloomin' Marvelous stamp set

Get your Sale-a-bration Bloomin’ Marvelous stamp set today.

Enjoy!  Julie

bloomin' marvelous chalkboard butterfly card 2

Bloomin’ Marvelous Color Chalk Butterflies

bloomin' marvelous chalkboard butterfly card 2

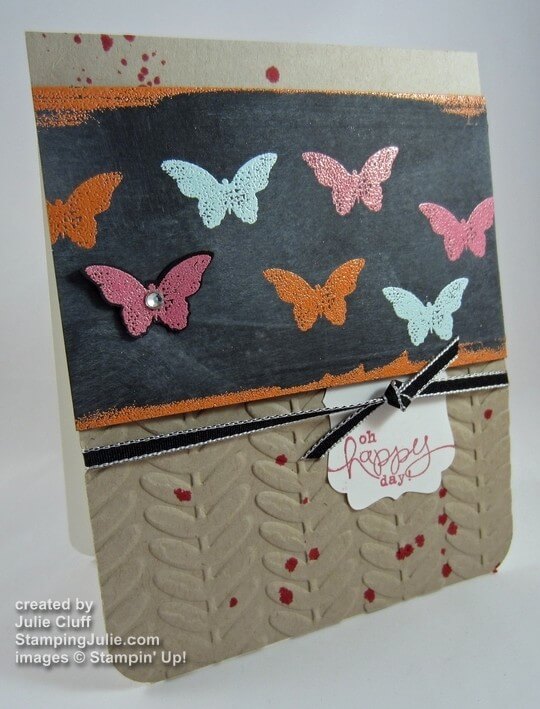
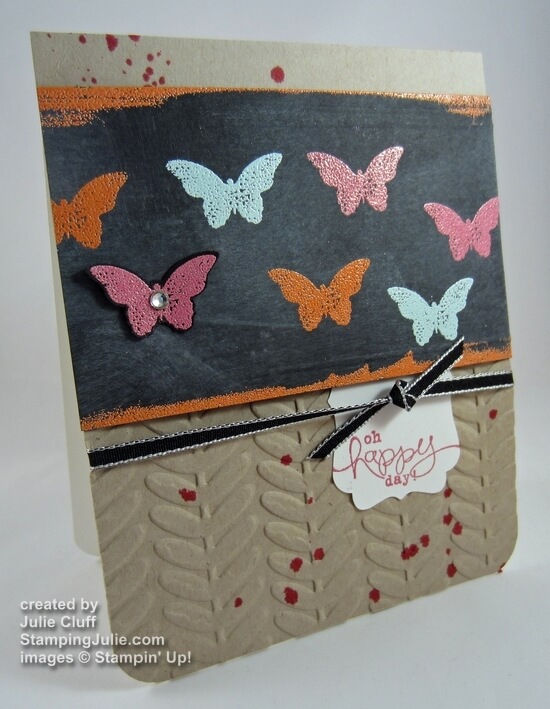
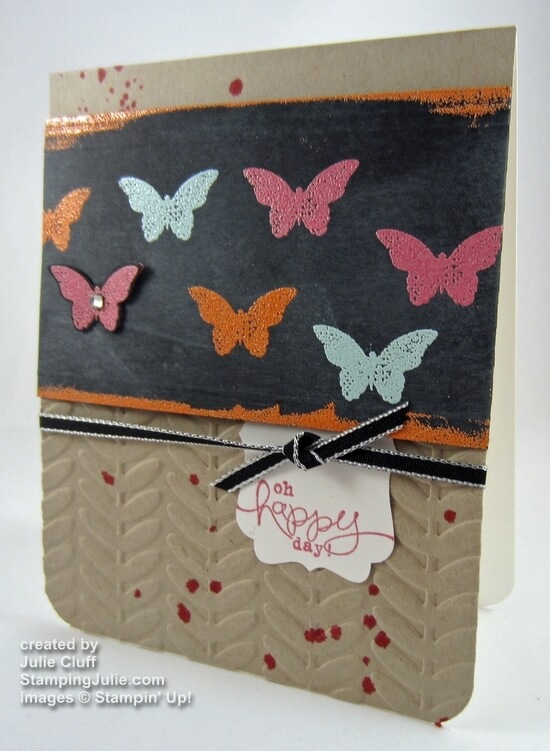
This little butterfly number features two exclusive Sale-a-bration products the Bloomin’ Marvelous Stamp Set & Vine Street Embossing Folder.  The card base is made with Crumb Cake cardstock, embossed with the Vine Street Embossing Folder and splattered with a little Melon Mambo reinker.

To create the butterfly panel, I started with Basic Black cardstock and rubbed it lightly with the Whisper White Craft Pad.  After heat setting the craft ink, I prepared the panel with the Embossing Buddy and then stamped a couple of butterflies with VersaMark.

bloomin' marvelous chalkboard butterfly card detail

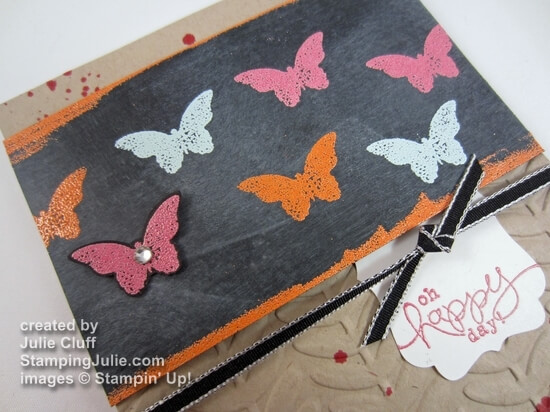
I heat embossed the first set of butterfles with the Melon Mambo embossing powder, then stamped a couple of more butterflies, heat embossed that set with Tangerine Tango embossing powder.  And then finally stamped a couple of more butterflies and heat embossed with the Pool Party embossing powder

One butterfly was stamped on a scrap of basic black, heat embossed, punched out with the Bitty Butterfly punch and blinged up with a little rhinestone.

If you look closely, you’ll see that I scored a couple of lines on the top and bottom edges of the butterfly panel with the Simply Scored Scoring Tool.  I also ran the edges across the versamark pad and heat embossed it with Tangerine Tango embossing powder.

bloomin' marvelous chalkboard butterfly card

 Here’s the card recipe:
(All supplies from Stampin’ Up! Click on the links below for product details & ordering.)
SAB: Bloomin’ Marvelous Stamp Set & Vine Street Embossing Folder

GET EXCITED!!!  STAMPIN’ UP!’S BEST SPECIAL OF THE YEAR, SALE-A-BRATION!  Special ends March 22nd.

Earn a FREE Sale-A-Bration product with every $50 in merchandise you order!

Click here for the complete list of SAB products!

Sale-a-bration FREE product

free stampin up product during sale-a-bration

I hope you enjoyed this take on the chalkboard techinique using colored embossing powders.  I just love the SAB Bloomin’ Marvelous stamp set and all the possibilities with the butterflies.

Enjoy!  Julie

Lucky-Framable-St-Patricks-Day-Card

Digital Tuesday: A St. Patrick’s Day Card

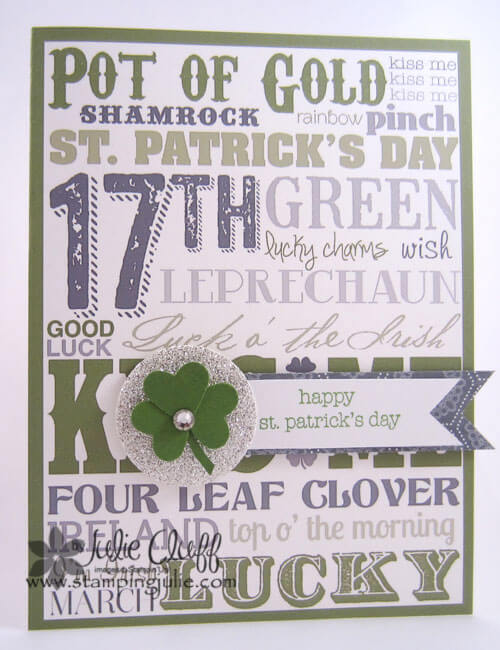
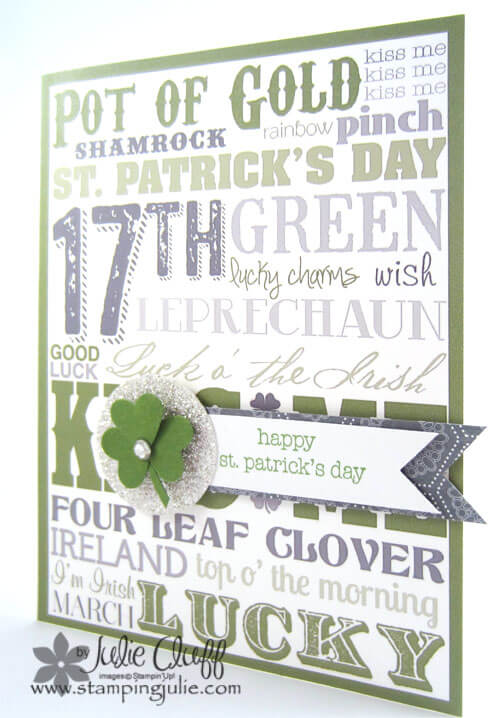
Lucky-Framable-St-Patricks-Day-Card 4 Remember the My Digital Studio Lucky Framable digital download that came out last year?  Well, here it is as a St. Patrick’s Day card.  The card background looks a little brown and gray in the picture but it’s actually a green that matches the clover.  Somehow the photo picked up the colors differently.  🙁

Below I have a video tutorial on how to create a 4-1/4″ x 5-1/2″ card with a digital 8-1/2″ x 11″ framable template.  And next week’s Digital Tuesday post and video will be a totally cool and inexpensive personalized wedding gift!  Be sure and check back next week.

And every Tuesday you can expect new digital downloads.   Click here to check out the very latest!
Lucky-Framable-St-Patricks-Day-Card detail 2

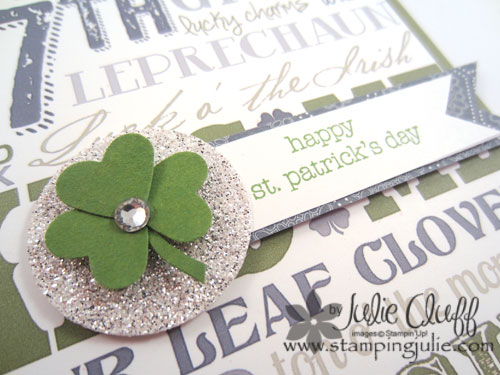
After I printed the cards I added the clover with the “happy patrick’s day” flag.  Happy Patrick’s Day was stamped with the Teeny Tiny Wishes stamp set. The clover was made with the heart punch and a clipped-out stem and topped with a rhinestone.  Backing the clover with a 1-1/4″ glimmer silver circle makes it sparkly and fun.  And the sentiment flag was matted with a slightly larger flag of Twitterpated Designer Series Paper .
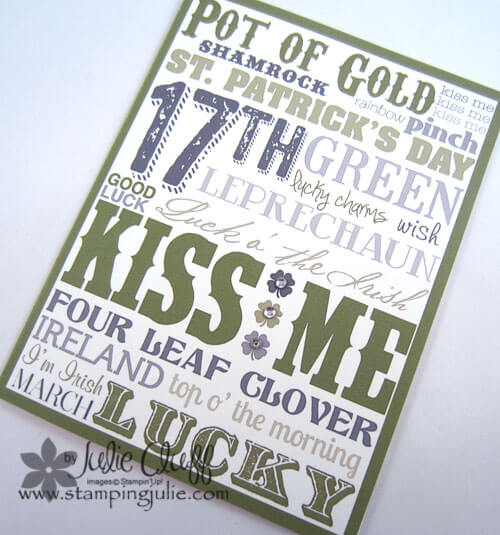
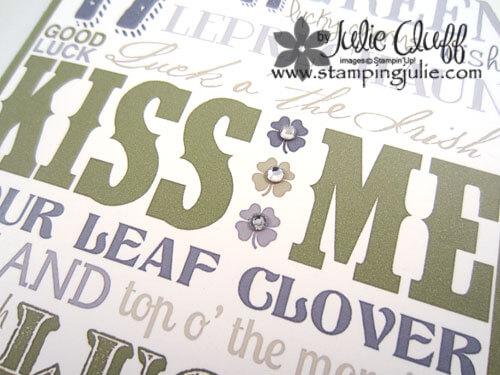
Lucky-Framable-St-Patricks-Day-Card 3 This second copy is just the printed Lucky framable card with three little rhinestones for just a little added bling.  🙂
Lucky-Framable-St-Patricks-Day-Card detail

In this My Digital Studio video you’ll learn how to use guide lines to design, how to group elements, and how to resize and mat  grouped elements.

To view new downloads, click here.

Did you know that you can receive FREE Sale-a-bration goodies when you order digital products too?  You can!  You can even combine digital products with other Stampin’ Up! products to earn your stampin’ rewards!

DO YOU STILL NEED DIGITAL SCRAPBOOKING SOFTWARE?  Click here to view the My Digital Studio options – including a 30-day FREE trial offer.

Enjoy!  Julie
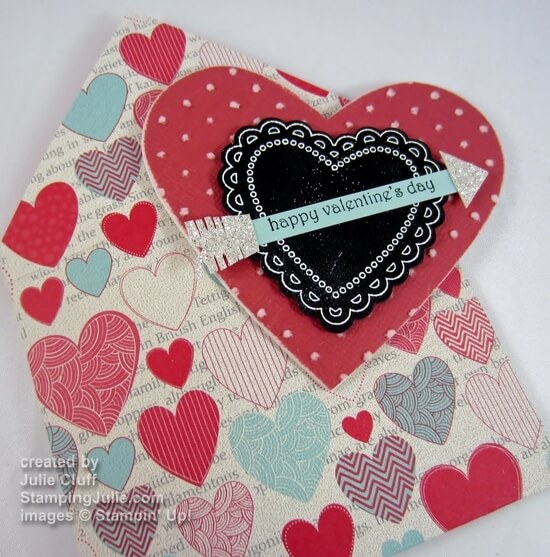
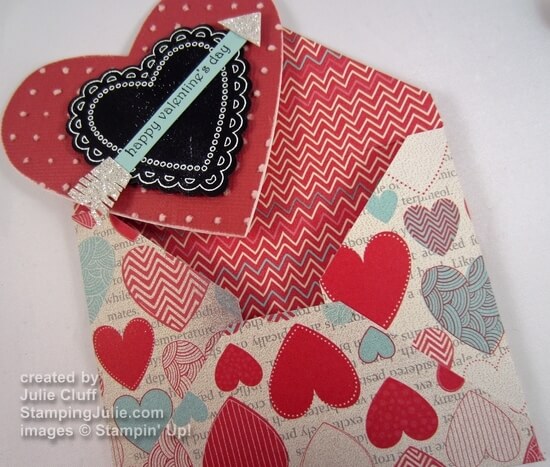
hearts a flutter heart shaped card

How to Make Envelopes

hearts a flutter heart shaped card

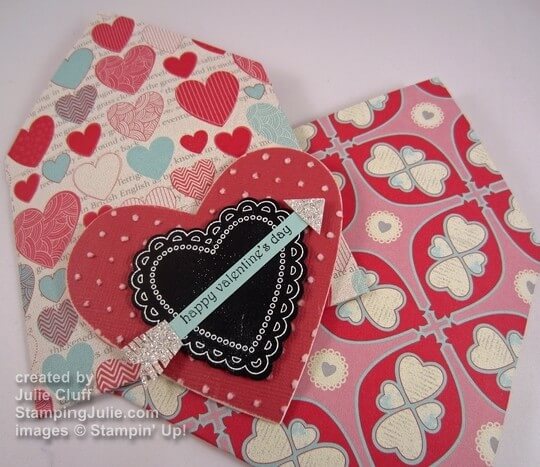
Today I’ll show you how to make envelopes.  Yesterday I gave you all the details about this heart-shaped valentine.  Today it’s all about making the envelope that’s perfect for your special card.  NOTE: This envelope is not a standard size.  Please see measurements below.

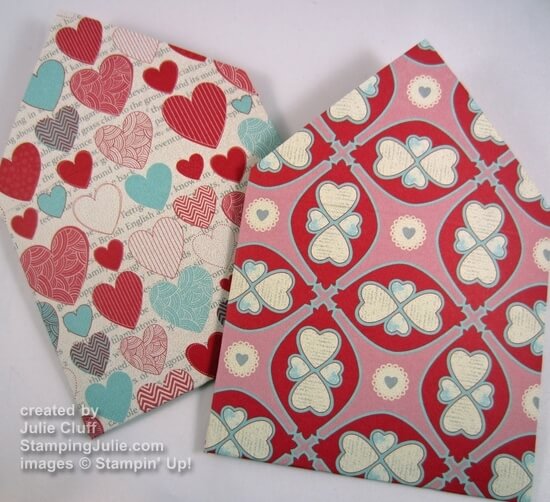
more amore envelopes

The trick is not only to make the envelope but to make the envelope so that your pattern on your paper is heading the right direction!  For example, if I just cut a square from the papers pictured above and placed my diagonal score lines to create my envelopes, the hearts would be on the diagonal instead of facing up.  Oh, dear.  That won’t do.

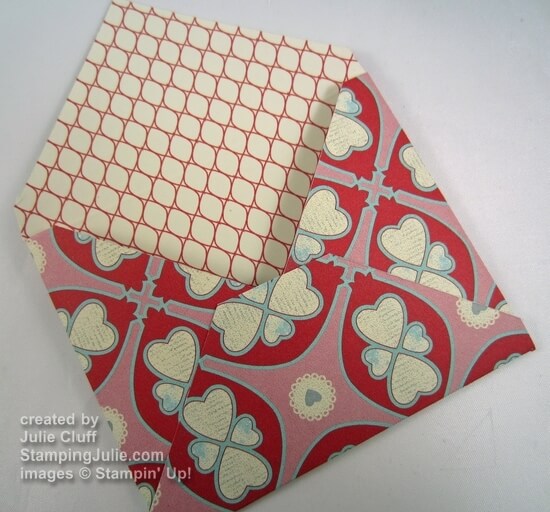
more amore envelope back

Of course on the flap the pattern will be necessarily upside down, but that’s ok.  😉  The front is what matters.  Check out the video tutorial on how to create this custom envelope.

Supplies needed:
(All supplies are Stampin’ Up! Click on the product link to visit my store for pictures, details & ordering.)
 More Amore Designer Series Paper #129309
Simply Scored Scoring Tool #122334
Simply Scored Diagonal Plate #125586
 

BUNDLE BONUS:  When you order the Scoring Tool, Diagonal Plate and any pack of Designer Series Paper together, you’ll receive a FREE Sale-a-bration bonus item.

Envelope measurements:  Cut square 5-1/2″ x 5-1/2″. Score diagonal on opposite corners at 2-1/4″.  Score remaining corners at 3-3/4″.  Your envelope will measure about 3-1/8″ x 3-3/4″.

Now you can get busy making your own valentines now that you know how to make envelopes!

Enjoy, Julie