Tagged: rubber stamping

Stampin’ Up! Summer Smooches with Colorful Birds

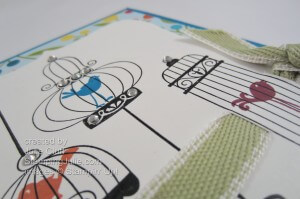
I loved these cute little birds and their fun cages the very first time I laid eyes on the Aviary stamp set!  This made it from my wish list  to my home thanks to my sister Kari, who gave it to me for my birthday!  (Yes, I have a wish list too!)  Kari is a Stampin’ Up! demonstrator also.
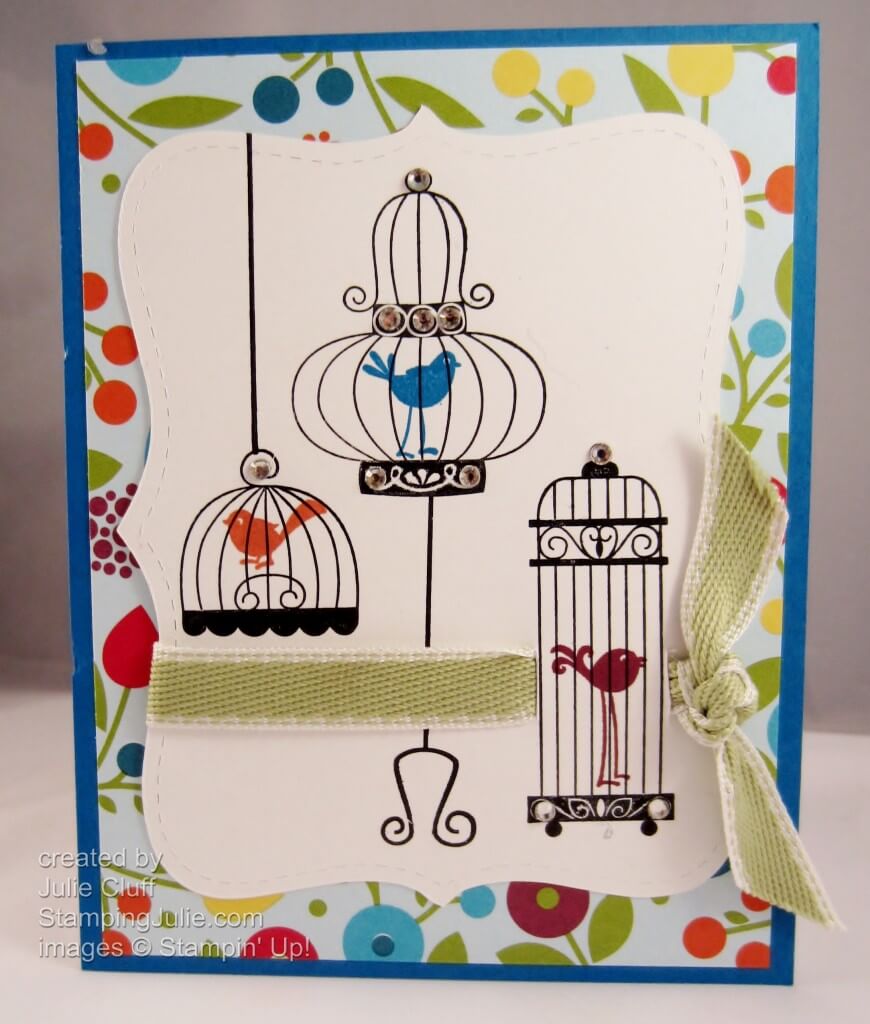
The beautiful Summer Smooches Designer Series Paper inspired this bright, happy card made with the Aviary stamp set.

When using punches, you would stamp first and then punch it out looking through the punch ‘window’.  When using the Top Note Bigz Die, I cut my shape and then stamp the images.  It was easy to get good placement with the clear-mount stamps.  I stamped a sample on a scrap paper first to decide on my layout, then cut my shape and added the stamped images.

The middle bird cage was stamped first, then I masked the cage with a post-it note and stamped the stand so that it ended at the base of the cage.  (The stand is taller than I needed and would have stamped right through the cage.)

I wanted to add ribbon wrapped around the top note, but I didn’t want to cover the cages so I used an x-acto knife to slice a ribbon slot on either side of the image.  (I don’t know why the ribbon came out such a funky color in the photo.  It looks MUCH better in real life-I promise.)
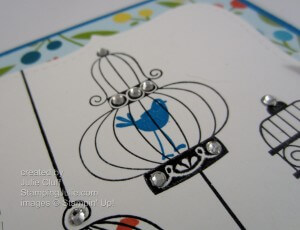
And the final step is adding bling.  I generously added rhinestones to the cages.  Love it!!

 Card Recipe:
Stamps:  Aviary clear-mount, wood-mount
Paper: Whisper White cs, Pacific Point cs, Summer Smooches designer series paper
Ink: Black StazOn, Pacific Point, Tangerine Tango, Rich Razzleberry
Extras: Top Note Bigz Die, Rhinestones, Ribbon

Enjoy!
Julie

Fifth Avenue Floral Spotlight

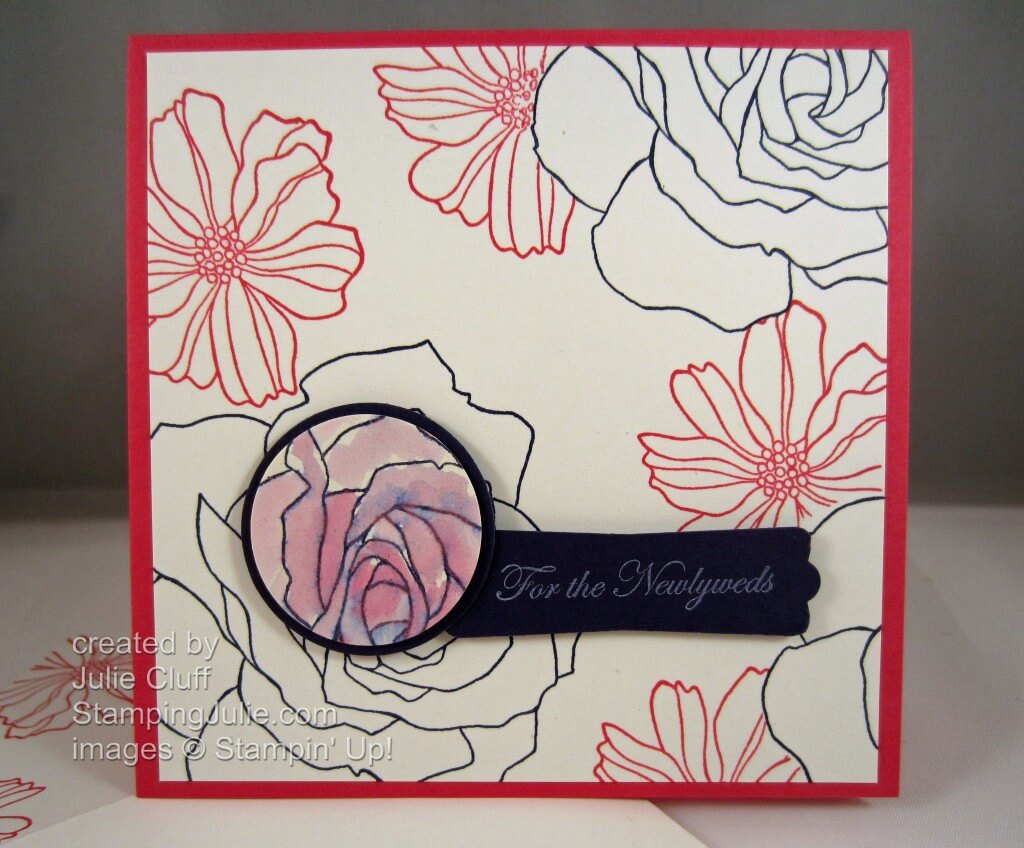
Want to learn a fun, new way to be creative?  This is a clean and simple Fifth Avenue Floral card using the spotlight technique

I stamped the background on Whisper White card stock.  Then I stamped the Concord Crush flower on Shimmery White card stock and watercolored it using an aquapainter and Melon Mambo ink.  Unfortunately it’s hard to photograph the awesome shimmer.

The Concord Crush ink is water based so when I painted with the Melon Mambo it picked up some of the Concord Crush from the outline creating a nice effect.   Watercoloring these images makes you feel like a real artist!  The Shimmery White card stock is a little heavier and watercolors very nicely.

punched out a section of the rose which I layered on Concord Crush card stock and adhered it with a dimensional to match up with the flower below. With the spotlight technique, you want to keep your background fairly simple so that the spotlight really pops out.

The completed card measures 4-1/4″ square, so it would fit in a standard envelope but sloppily.  Soooo I created a custom 4-1/2″ square Whisper White envelope with my new toy…uh- I mean tool, the Diagonal Scoring Pad.

Card Recipe:
Stamps:  Fifth Avenue Floral wood-mount , mds ; Teeny Tiny Wishes  wood-mount , mds
Paper:  Whisper White cs, Concord Crush cs, Shimmery White cs, Melon Mambo cs
Ink: Whisper White craft pad , Concord Crush , Melon Mambo
Extras: 1-1/4″ Circle Punch , 1-3/8″ Circle Punch , Modern Label Punch , Aqua painter , Dimensionals , Scoring Tool , Diagonal Scoring Pad

Enjoy!  Julie

A Sprinkled Expression Smile!

Only 3 days left of Sale-a-bration!  Don’t miss it!

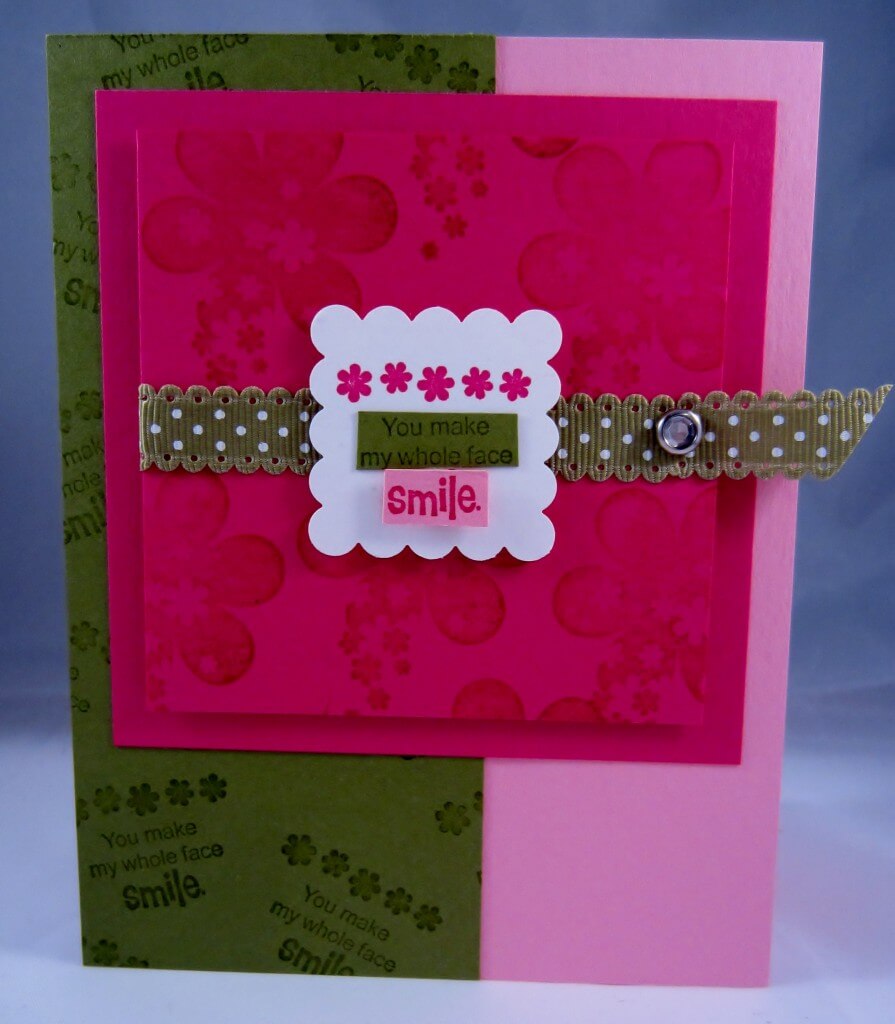
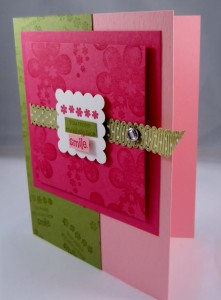
Here’s the girlie version of this sale-a-bration Sprinkled Expression card.

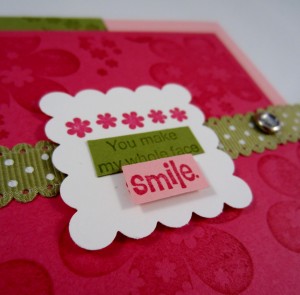
Exact same layout with some subtle changes that make it distinctively feminine.  I changed the colors from blues to Melon Mambo and Pretty in Pink, used the scallop square punch for the center piece, scallo p polka dot ribbon and a rhinestone brad


Wonderful little dimensionals were used to pop up the scallop center piece.  Paper snips scissors snipped out smile and snipped a dimensional in half to pop up ‘smile’.

Card recipe: 
Stamps:  Sprinkled Expressions
Paper: Melon Mambo cs, Pretty in Pink cs, Old Olive cs
Ink:  Melon Mambo, Old Olive
Embellishments: Old Olive Scallop Dotts Ribbon, Rhinestone brad
Tools:  Scallop Square Punch, Dimensionals

Click here to earn free product during Sale-a-bration!  Ends March 31st!  Order now!

Join Stampin’ Up! for only $125 until March 31st! 

Enjoy! 
Julie

About

At StampingJulie.com I bring creativity from your computer right to your door!

That’s right!  On a daily basis you can visit StampingJulie.com for inspirationYou can discover and enjoy the most popular craft – paper crafting!

As you discover new ideas and techniques here, you’ll have access to my online store where you can order fabulous and demonstrated creative products that will be delivered right to your door.  No more driving around searching for the perfect papers, stamps and colors.  No more roaming the aisles trying to find someone to answer your questions.  I’m right here, 24-7!

Have your ever thought about doing what I do?  The Stampin’ Up! starter kit is a wonderful investment in your creativity.

Julie’s Story: 
I love, love, love crafting!  Paper crafts offer a wonderful creative outlet and almost instant gratification.  And digital designing has brought this to the next level. Imagine being able to make something so beautiful and lovely that you can share with others in a matter of minutes.  Amazing!  I love it!

I’ve been creating rubber-stamped cards and scrapbooks for more than 20 years.  It all started when my mother purchased an embossing kit at the Strawberry Festival in Plant City, FL.   My mother, sister and I started gathering at her house almost every week to create new stationary and cards.  It has been a shared passion ever since.

Almost 15 years ago, my sister discovered Stampin’ Up!  We were so excited to find these beautiful stamps that were sold in sets and offered color-coordinated products that sent our creativity soaring! 

In 2003, I started my Stampin’ Up! business.  I love what I do!  I love playing in my craft room, making new friends and teaching them how to be creative or how to start their own business.

And in addition to creating, I’m a wife, a mother, a grandmother, a tennis player, a pianist, a genealogist and a reader.  Creativity has dramatically added to my joy in every aspect of my life.  I’m so grateful for all my friends and family, and I’m thankful for the skills and hobbies I enjoy!

Thanks for stopping by. I hope you will stay and visit for a while and come back again soon.

Easter Bunny Punch-Out

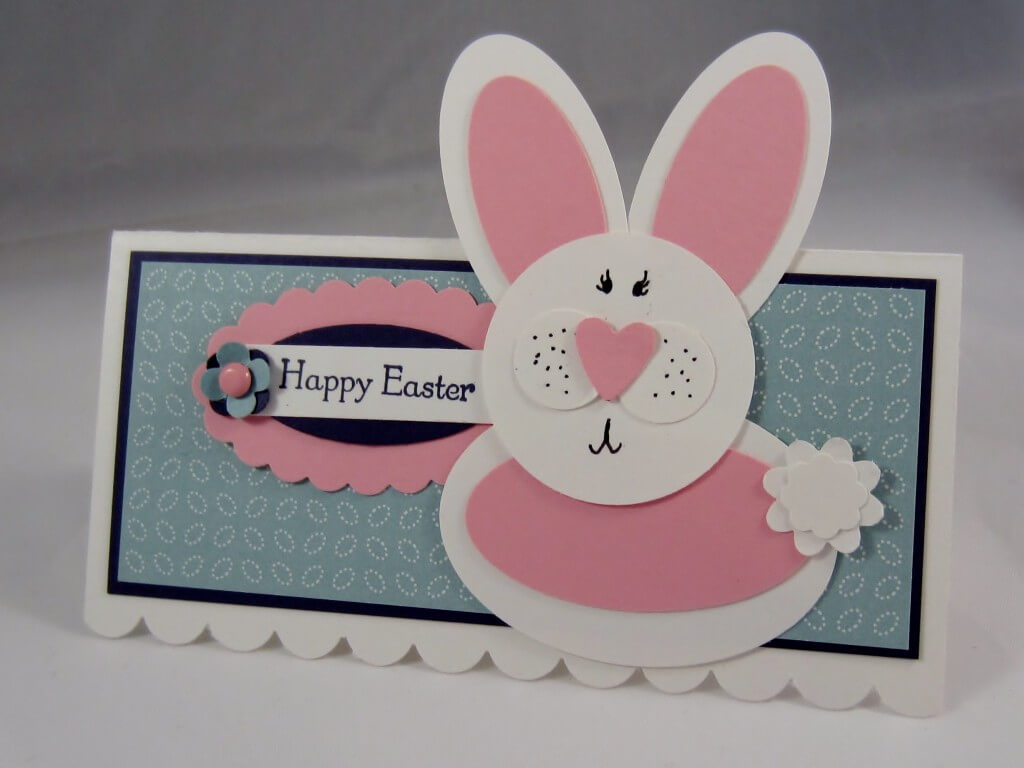
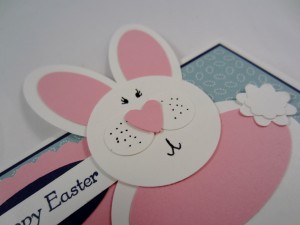
By creatively using paper punches, we can create a multitude of fun projects.  Here’s a Easter bunny goodie bag topper that we made at the last stamp camp.

Many Stampin’ Up! punches were used to produce this cute bunny.  I will outline them here:
ears: Oval punch, Large Oval punch #119855
face: 1-3/8″ Circle punch #119860, 1/2″ Circle punch #119869, small heart from Heart to Heart punch #119881
body: Extra-large Oval punch #119859, Large Oval punch #119855, small flower from Boho Blossom punch #119858, Itty Bitty Shapes punch pack #118309
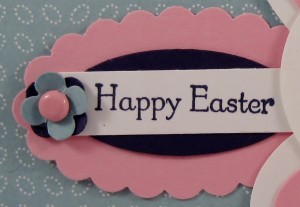
tag: Itty Bitty Shapes punch pack #118309, Word Window punch #119857, Scallop Oval punch #119856

Paper: Whisper White cs #100730, Pretty in Pink cs #100459, Concord Grape cs #119792, Baha Breeze cs #111352, Twitterpated designer paper #125406

Ink: Concord Grape #119785, Basic Black marker #100082

Extras: Dimensionals #104430, Subtle brads #119738, Scallop Edge Border punch #119882

Featuring the Teeny Tiny Wishes stamp set .

Happy Easter!

Enjoy!
Julie