Tagged: pattern paper

artistic etchings eiffel tower amour

Clean and Simple Eiffel Tower Silhouette

artistic etchings eiffel tower amour

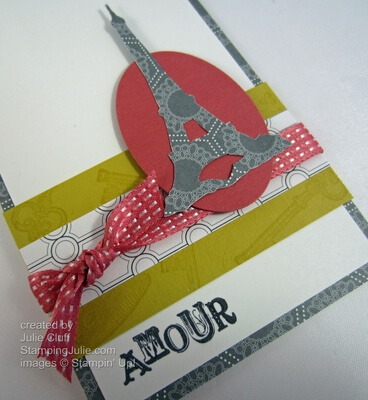
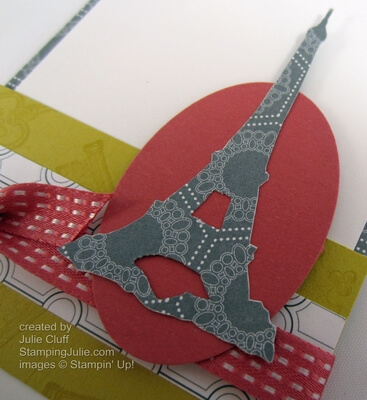
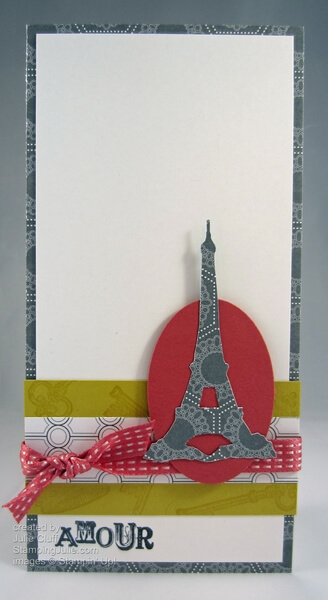
This Eiffel Tower stamp from the Stampin’ Up!’s Artistic Etchings stamp set and the Basic Gray paper from the Twitterpated Designer Series Paper makes a great silhouette.  I stamped the Eiffel Tower on the back of the paper and cut it out carefully with Paper Snips.  Looks intricate, but easy to do with these great scissors.

This is not your traditional card size.  I started with a 6″x6″ square of Whisper White card stock folded in half for the card base for a 3″x6″ card.

artistic etchings eiffel tower amour detail

Can you see the pattern on the Summer Starfruit card stock?  The crown and key images were stamped with VersaMark ink to create that pattern.

artistic etchings amour eiffel tower

I punched the Primrose Petals oval with the Extra-Large Oval Punch to create the background for the silhouette.  I picked the color combination from the Color Coach – a great tool for creative color choices.

  • If you’re interested in joining Stampin’ Up! because you want to start a low-cost business for income or you want it all and would like the prices and specials demonstrators enjoy, click hereJoin in June and receive an additional $48 in product!
  • In June & July, hostesses earn an extra $50 in FREE product with a combined order of $450 or more.
Card Recipe:
Stamps: Artistic Etchings wood -#118517   clear -#120573
Ink: Basic Gray #126981, VersaMark #102283
Paper: Twitterpated Designer Series Paper #125406,  Summer Starfruit #126839, Primrose Petals #126841, Whisper White #100730
Extras: Paper Snips #103579, Stampin’ Dimensionals #104430, 3/8″ Primrose Petals Stitched Satin Ribbon #126844, Extra-Large Oval Punch #119859, Color Coach #120148, 2012-2014 In Color Cards #124886
 

Enjoy!  Julie

stampin' up! artistic etchings stamp set

Punch Hat Chic!

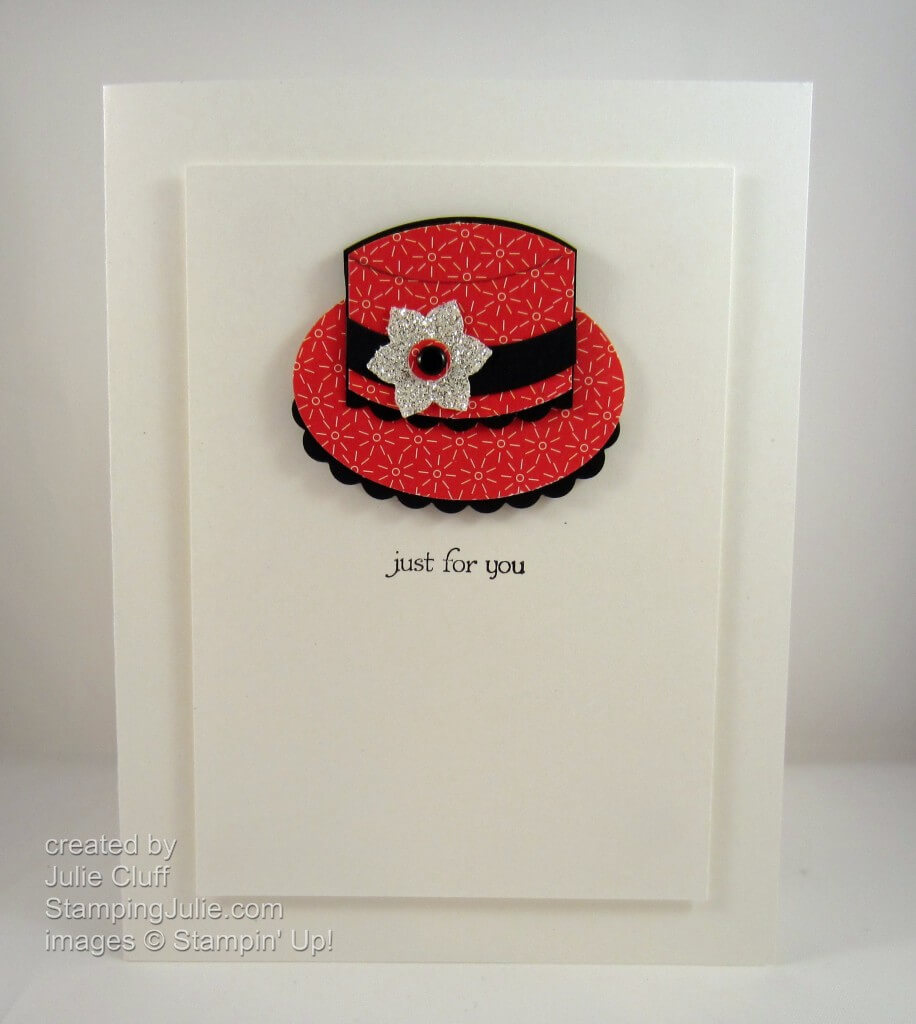
I was going for Audrey Hepburn, but it might be more Eliza Doolittle!  A reference to that wonderful musical classic My Fair Lady, of course!  What do you think?  Either way, it’s a fun card for a friend.  I wanted to create a card with simple, clean lines to highlight the hat.

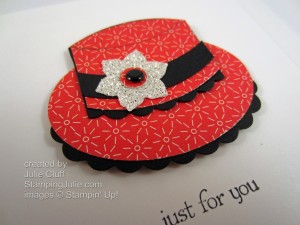
This close up shows off the silver glimmer paper flower. The ruffle is added using the scallop oval punch. And a hint of a line to define the top of the hat was traced with the oval punch and the Sahara Sand Stampin’ Write marker.

Don’t miss a thing.  Sign up for blog updates!  (It’s in the box to the right just below the facebook button.) 

Stay tune tomorrow for a how-to-make-a-punch-hat video!

Card Recipe:
Stamps: Teeny Tiny Wishes #115370
Ink: StazOn Black Ink #101406
Paper: Pocketful of Posies #122354 (retiring), Basic Black cs #121045, Silver Glimmer Paper #124005
Extras:  Extra Large Oval #119859, Scallop Punch #119856,  Boho Blossoms Punch #119858 (retiring), Black Brad #119736

Enjoy!

Julie

Kentucky Derby Day!

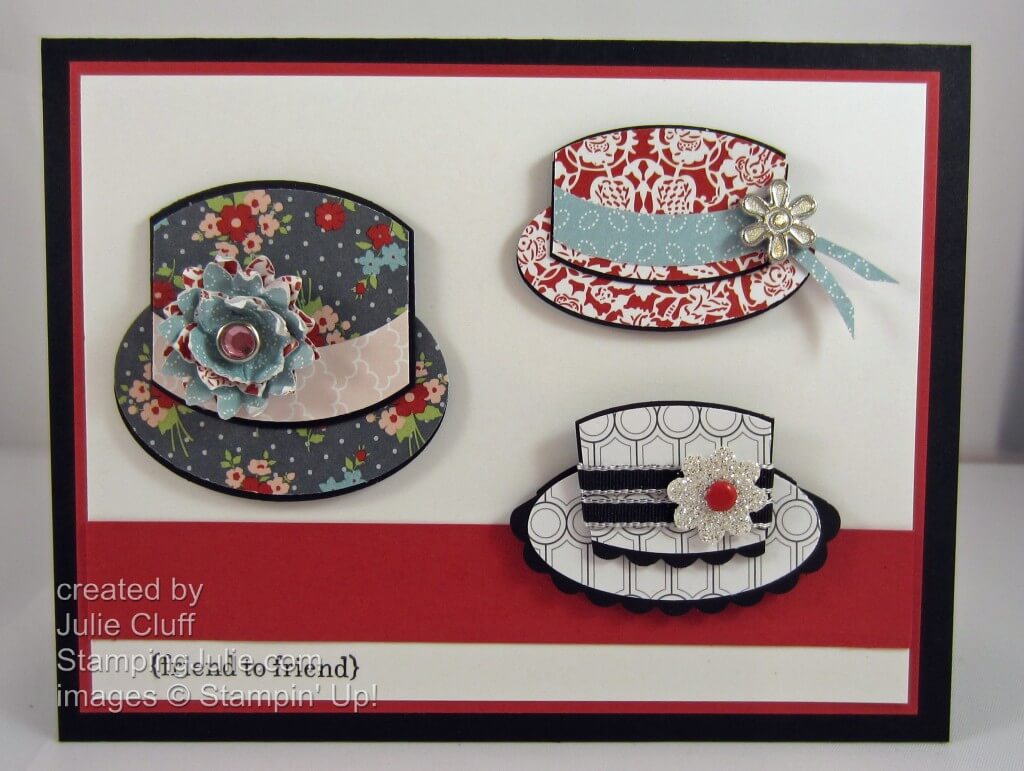
Last year we moved to Louisville, Kentucky and everyone told me I was going to need to buy a big hat for derby!  Well, I didn’t buy a big hat, but I’ve seen a few and I created this card for the hostess of the derby party I’m going to tomorrow night.

These great hats are created with oval punches and Twitterpated Designer Series Paper.  I’ll post more details on making this project later this week. 

And I did visit Churchill Downs Wednesday morning for Dawn at the Derby to watch the horses take their morning warm up.

So while your watching the Kentucky Derby tomorrow you can tell everyone you know someone who’s been there!

Enjoy! 

Julie

Recycle and Store Your Paper

Don’t you hate cutting into a new piece of cardstock or pattern paper If you’ve been crafting for very long, you’ve probably discovered how to conserve your paper by cutting near the edges and consolidating your cuts in one area to preserve the largest spaces possible for later.

Do you cringe like I do when I child cuts out a shape right in the middle of the page?  Yikes!!  No one likes to be wasteful, but sometimes you just have to let kids be kids so they can express their creativity.

Have you found the best way to store your paper and scraps?  I have used file folders for years.  It works for me because it allows me to pull the colors I want and transport them quickly and easily to my desk, to a craft night, or to another work surface.  And all my scraps for that color are easily contained.  I’ve seen many other options but nothing I like better.


How do you use your partial sheets or scraps?  Don’t throw away your scraps!  The possibilities are endless.  Sometimes a particular scrap can inspire a whole project design!  Scraps are great for creating card layers, punching shapes and adding gemetric designs to your creations.  And here’s a  tip :  if your scrap is too small to hold onto when you’re using a punch, temporarily adhere a strip of paper to it to use as a handle.

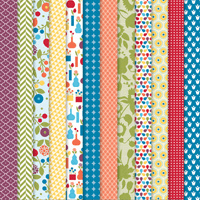
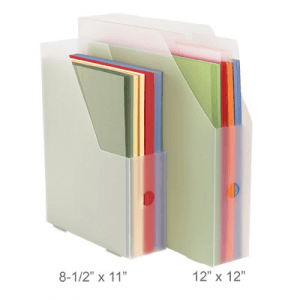
How do you store your pattern paper?  I cut a slit across the top of my designer series paper packages and store my paper and paper scraps in their packages.  I love that the designs in a package go together so well and I want to keep them together.  Then I place them in paper holders divided by color group: subtle, brights, regal, and neutral.  For example, Summer Smooches Designer Series Paper shown above would go under brights.

  Have a particular storage issue?  I can help you explore ideas.  Call or write me today.  I hope this has helped you consider the best ways to conserve and store your paper for better crafting and more creativity!

Stampin’ Up! Summer Smooches Blossom

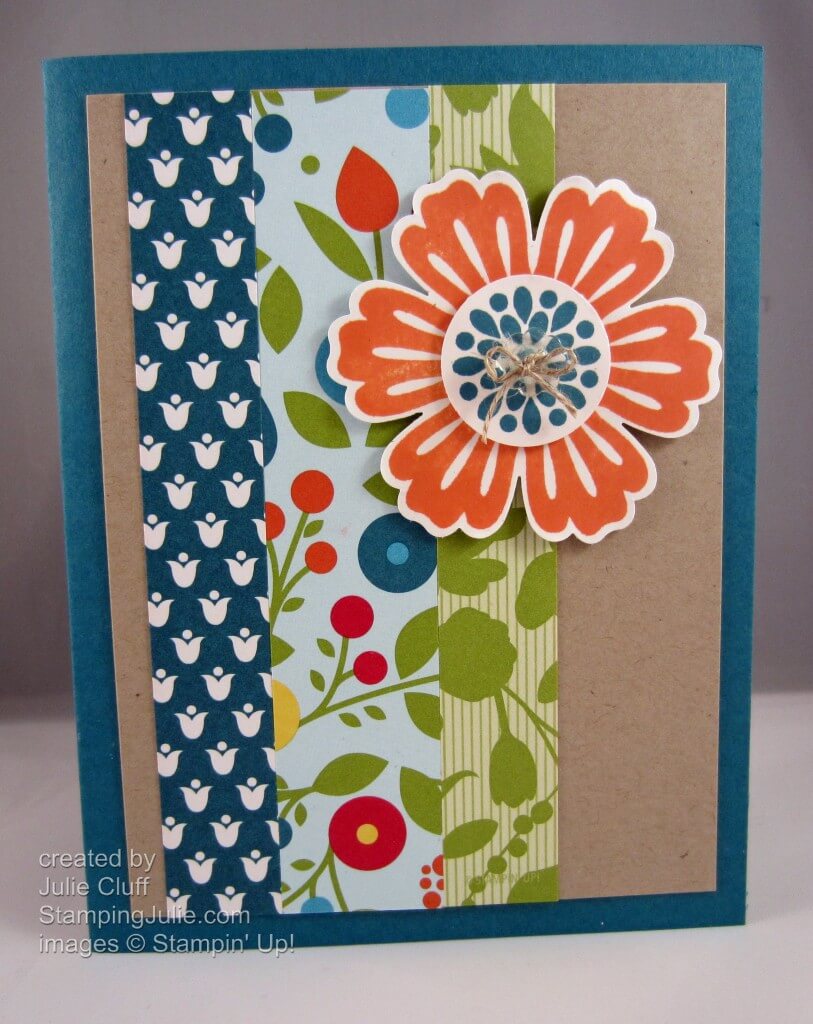
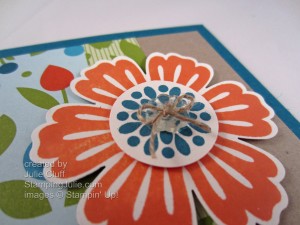
The bright colors of the Summer Smooches Designer Series Paper is perfect for punched blossom inspiration!  And don’t you love the way the Stampin’ Up! patterned paper works together for perfect designing?

I chose Tangerine Tango ink for the blossom and Island Indigo for the blossom center and card base.  Orange and blue are across from each other on the color wheel and are complementary colors.  Therefore, the combination creates high interest.  Crumb Cake cardstock is a great neutral which keeps this card from being too bright.  No need for sunglasses!

In the center of the blossom is a clear bitty button with linen thread.  So cute!  The blossom and the center are popped up with dimensionals.

 Card Recipe:
Stamps: Mixed Bunch clear-mount or wood-mount
Paper: Summer Smooches designer series paper , Island Indigo card stock , Crumb Cake card stock ,   Whisper White cs
Ink:  Tangerine Tango , Island Indigo
Extras:    Blossom punch , Bitty Buttons , Linen Thread , Dimensionals ,

 Enjoy!  Julie