Tagged: clean & simple

clockworks one in a million gift card

Clockworks Note Cards Gift Set
clockworks one in a million gift card
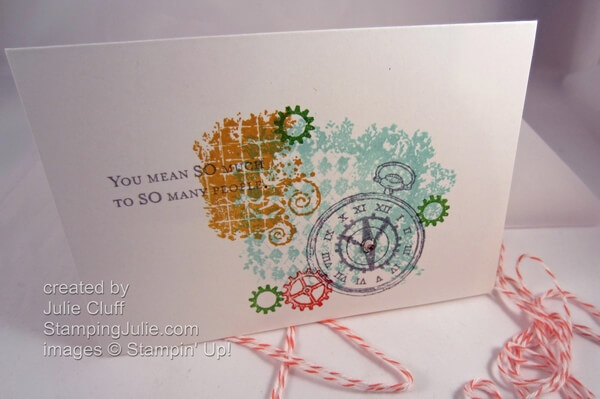
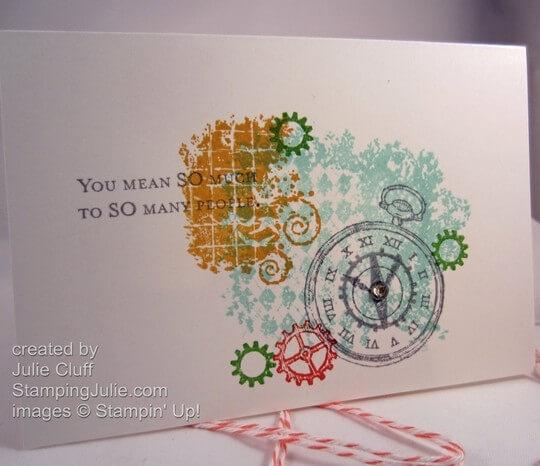
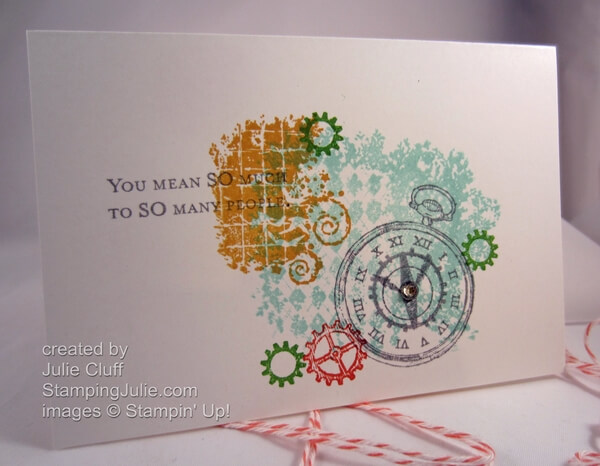
Here’s another project from the Stampin’ Up! Regional event in  Chattanooga.  You’ll notice the stamp sets used are the same as were used in the Two Tags Box and Gift Cards project I shared with you last week.

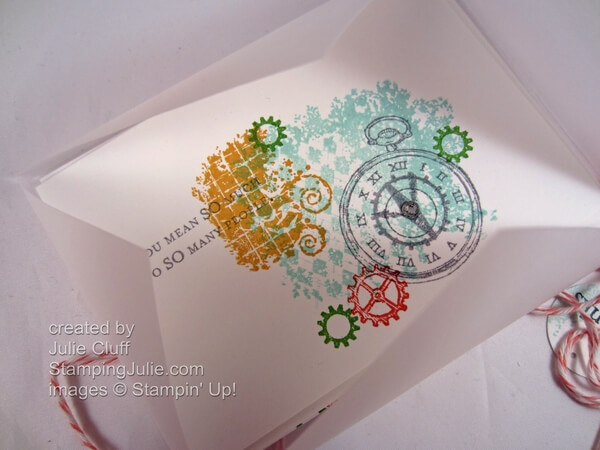
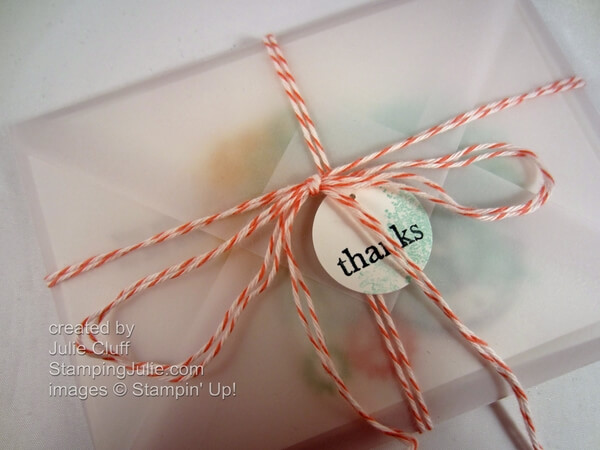
This set of stamped note cards and envelopes are bound together in a lovely vellum pack with loads of playful Calypso Coral Bakers Twine.

clockworks one in a million card pack

This card pack would make a great gift for a friend.  To create the vellum wrap cut a 7-1/4″ square of Vellum cardstock and score the opposite corners with the Simply Scored Scoring Tool and Diagonal Plate at 3-7/8″.  Score the remaining two corners at 2-7/8″.  Cut the notches out created where the score lines intersect and crease the score lines.

clockworks one in a million pack open

Four note cards and matching envelopes nestle securely inside the vellum folder.

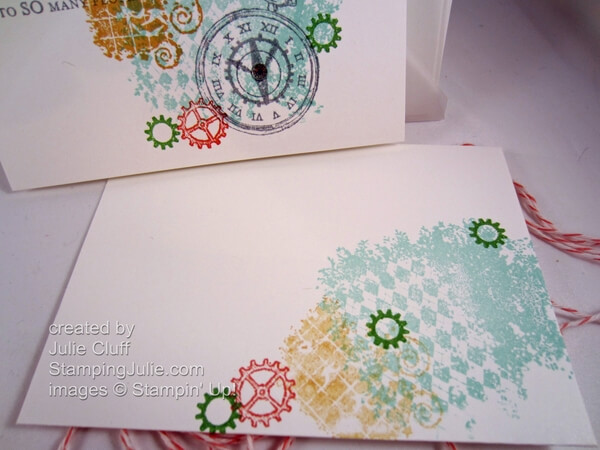
clockworks one in a million envelope

Before wrapping it all up stamp the envelopes to match.

Enjoy! Julie

clockworks one in a million card

Card Recipe: 
Stamps:  Clockworks wood-mounted #127290 clear-mount #127292, One in a Million wood-mount #126380 clear-mount #126382
Ink: Calypso Coral #126983, Gumball Green #126861, Pool Party #126982, Basic Gray #126981, More Mustard #126964
Paper:   Note Cards & Envelopes #107311, Vellum cardstock #101856
Extras: Calypso Coral Baker’s Twine #125573, Rhinestone Basic Jewels #119246, 1″ Circle punch #119868, Simply Scored Scoring Tool #122334, Diagonal Plate #125586
sweet sentiments butterfly thank you card

A Simple Butterfly Thank you Card

sweet sentiments butterfly thank you card

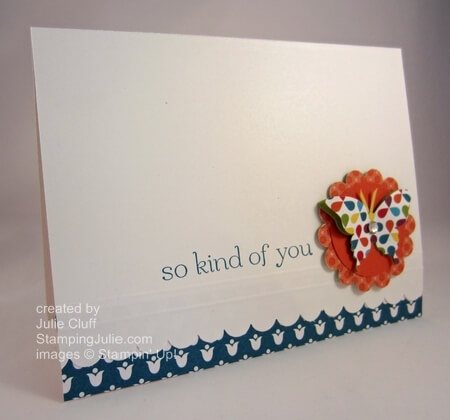
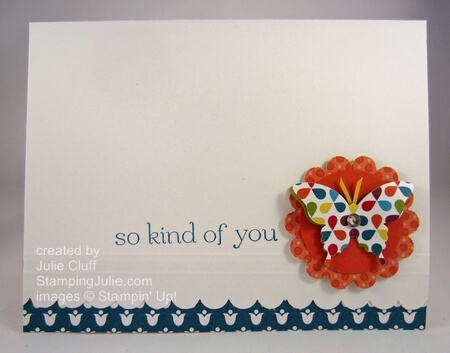
After Christmas we all need more thank you cards to show appreciation for all the wonderful gifts and favors we received over the holidays.  And clean and simple cards are a must when you want to make a more than just one!

I simply folded my Whisper White cardstock base before punching the scallop along the bottom.  I used the Simply Scored Scoring Tool to add a couple of scored lines above the scallop.  Be sure and score the back of the card to have the raised edge on the card front.  🙂

sweet essentials butterfly thank you card detail

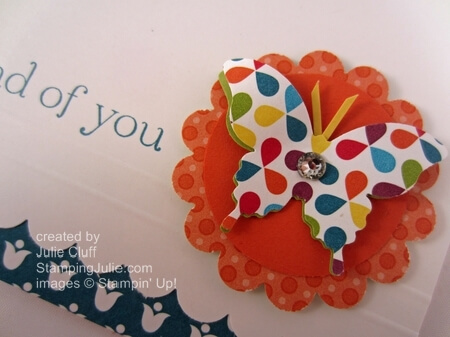
The scallop circle was punched from the Summer Smooch Designer Series paper and layered with a matching Tangerine Tango circle.  I punched the butterfly out twice with the Elegant Butterfly punch; once from the Summer Smooches dsp and once from Lucky Limeade.

I trimmed off a sliver of Daffodil Delight to add antennae and topped the butterfly with a rhinestone.  I curled the butterfly wings with my bone folder and used Multipurpose Liquid Glue to adhere the center of the butterfly to the punched circles. (Glue dots would work well for this too.)

 With the butterfly accent ready to go I was able to stamp the “So Kind of You” sentiment from the Sweet Essentials stamp set in Island Indigo.

To attach the 1″ dsp strip under the scallop just right, I opened the card, lined it up the tulip strip with the bottom edge of the back, added glue to the underside of the scallop and closed the card so that the scallop was perfectly placed on the dsp strip.  That sounds more complicated than it is, but hopefully, you get the idea.

WHAT CARDS DO YOU NEED FOR THE NEW YEAR?  Birthday, thank you, etc.?  Check out the new Spring catalog and click here to order your supplies today!

Enjoy!  Julie

sweet essentials butterfly thank you card

Card Recipe:
Stamps: Sweet Essentials wood-mounted #126455, clear-mounted #126457
Ink: Island Indigo #126986
Paper: Summer Smooches Designer Series Paper #125409, Whisper White cardstock #100730
Extras: Elegant Butterfly Punch #127526, Scallop Circle Punch #119854, 1-3/8″ Circle Punch #119860, Scallop Edge Border Punch #119882, Rhinestone Basic Jewels  #119246, Simply Scored Scoring Tool #122334, Multipurpose Liquid Glue #110755
summer silhouettes congratulations graduation card

Congratulations on Your Graduation!

summer silhouettes congratulations graduation card

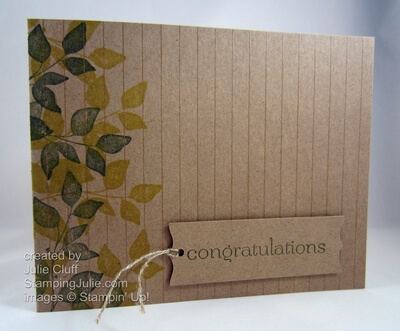
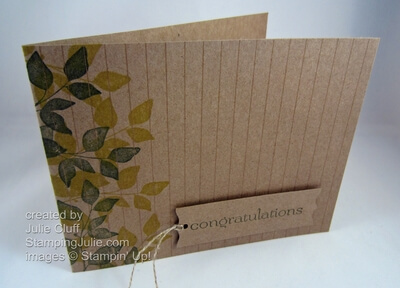
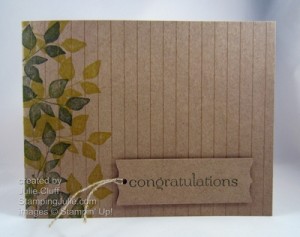
My son-in-law Chris recently graduated from college!  A fantastic accomplishment, and we are so happy for him and his family!  This is the card that I created to acknowledge this great achievement.  I kept it masculine with earthy colors and images.

To create this masculine congratulations card, I started with a card base of Natural Composition Specialty paper cut 4-1/4″ x 11″ and scored at 5-1/2″.  The Natural Composition dsp has a cardstock weight so it’s perfect for a card base.  I paid special attention to the orientation of the embossed lines of this paper before I trimmed the card base out.

summer silhouettes congratulations graduation card leaves

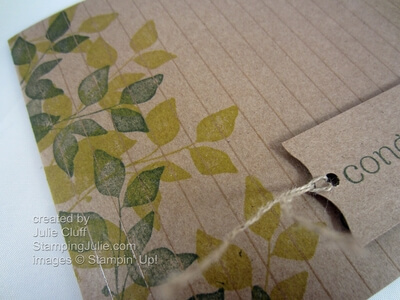
The leaves stamp is from the Summer Silhouettes stamp set and I stamped the left side first in Summer Starfruit and then in Always Artichoke.

summer silhouettes congratulations graduation card tag

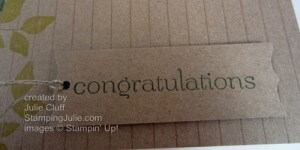
I used the strip of paper left over from cutting out the card base to create this tag.  I stamped “congratulations” from  the Sweet Sentiments stamp set on the backside of the embossed paper and then punched the ends of the tag with the Curly Label punch.  I added a bit of Linen Thread to the tag before adhering it to the card base with dimensionals.

summer silhouettes congratulations graduation card above

CHECK OUT THE BEAUTIFUL NEW SPRING CATALOG!   I think you’ll love the beautiful colors, images and ideas in the brand new Spring catalog. 

Click Here to Order your Stampin’ Supplies

Click Here for Fun, Easy Digital Scrapbooking 

Enjoy,  Julie

summer silhouettes congratulations graduation card
Card Recipe:
Stamps: Summer Silhouettes wood-mount #126445 clear-mount #125447
Ink: Summer Starfruit #126991, Always Artichoke #126972
Paper: Natural Composition Specialty dsp #126917
Extras: Linen Thread #104199, Curly Label Punch #119851, Stampin’ Dimensionals #104430
 
summer silhouettes stamp set
 
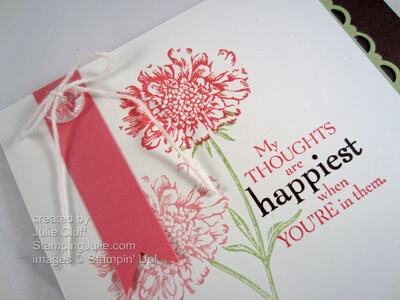
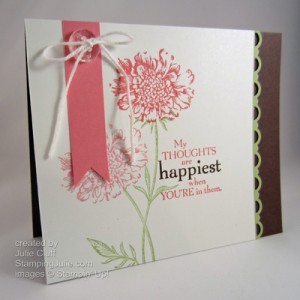
Field Flowers happiest card angle

Stampin’ Up! Happiest Field Flowers

Field Flowers happiest card angle

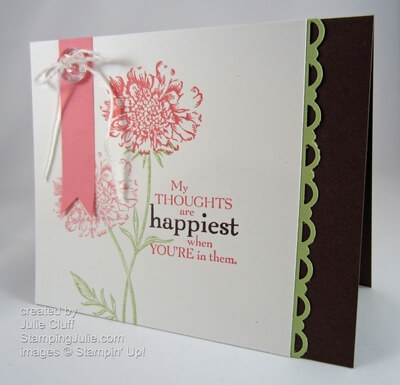
Even during the Christmas season, you’ll need other cards to let your friends know you are thinking about them for their birthday or another special event.  This card is cased from the Field Flowers sample in the Stampin’ Up! 2012 Catalog page  137.

I used the sentiment that comes with the set, but you could easily make this a happy birthday or thank you card by changing the sentiment, or stamping or writing the appropriate message inside.  I just love the Regal Rose, Certainly Celery, Early Espresso colors on this card.  It’s bright and cheery which is much needed during the dreary winter months.

Field Flowers happiest card detail

The flowers and stems are separate stamps so it is easy to use two different colors.  To get the darker and lighter flower, I stamped the darker one first and then stamped the lighter one without reinking the stamp.  To create two different colors on the sentiment stamp, first inked it with Regal Rose and then colored ‘happiest’ with an Early Espresso marker.

Here are a couple of videos that show the markering-your-stamps technique.  This first one features a technique called omitting: Stampin’ Up! Perfect Punches Congratulations Card. And the second shows coloring in the whole stamp: Stampin’ Up! Embellished Events Birthday.

MERRY CHRISTMAS TO YOU!  Are you wondering what to get with your birthday money?   Go shopping at the Stampin’ Up! Clearence Rack today!

Enjoy!  Julie

Card Recipe: 
Stamps: Field Flowers wood-#122760 clear-#122762
Ink: Regal Rose #126947, Certainly Celery #126958, Early Espresso marker #119680
Paper:  Regal Rose cardstock #105130, Certainly Celery cardstock #105125, Early Espresso cardstock #119686, Whisper White cardstock #100730
Extras: Scallop Trim Border Punch #118402, Bakers Twine #124262, Vintage Faceted Designer Button #127555, Glue Dots #103683
 
Sweet Essentials Folded Christmas Tree Card

Folded Christmas Tree Card

Sweet Essentials Folded Christmas Tree Card

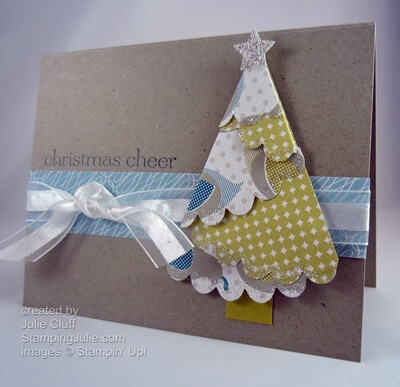
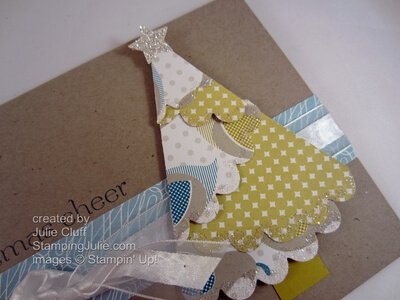
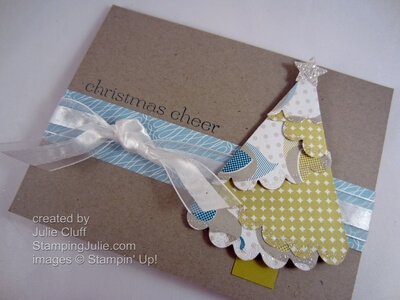
I made this folded Christmas tree card with non-Christmas paper in non-traditional colors.  🙂  It’s a very simple card.  The folded tree is made the same way as the folded Christmas tree gift card I showed you last month.  This tree was made with a larger, scallop circle and I added a bit to make it symmetrical.

Here’s a video on folding the Christmas tree and creating the folded scallop tree.  Click here or here http://youtu.be/OG-cZTbYXC4 to view it.

I started with the Scallop Circle Bigz Die and the Big Shot Die-cutting Machine to create the large circle out of Birds of a Feather Designer Series Paper.   Stampin’ Up!’s double-sided paper is perfect for this folded tree.  A bit of glitter was added to the scallops with 2-way Glue and Dazzling Diamonds glitter.  Grab some paper and just follow the directions on the video to make your trees!

(The links to the picture and description of the products I used on this card are at the bottom of this post.)

Sweet Essentials Folded Christmas Tree Card detail

The card base is Crumb Cake cardstock and the sentiment from the Sweet Essentials stamp set was stamped in matching Island Indigo ink.  I tied a knot of satin ribbon around the middle, added the tree with dimensionals behind it, adhered the Silver Glimmer star and a bit of matching Summer Starfruit cardstock for the tree base.

Click here to check out the latest Stampin’ Up! products.

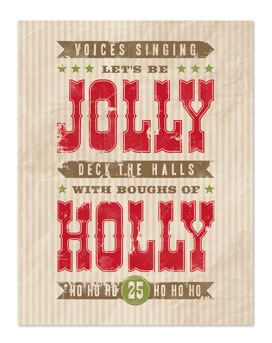
Let's Be Jolly Christmas frameable digital download template

Click here for new digital downloads including this Let’s Be Jolly Frameable and Christmas postcard digital template.

Click Here to Order your Stampin’ Supplies

Click Here for Fun, Easy Digital Scrapbooking 

Enjoy!  Julie

Sweet Essentials Folded Christmas Tree Card close up

 Card Recipe:
Stamps: Sweet Essentials w-#126455 c-#126457
Ink: Island Indigo #126986
Paper: Birds of a Feather Designer Series Paper #126899, Crumb Cake cardstock #120953, Summer Starfruit cardstock #126839, Silver Glimmer Paper #124005
Extras: Scallop Circle Bigz Die #113468,  Big Shot Die-cutting Machine #113439, Merry Minis Punch Pack #126882, 2-way Glue #100425, Dazzling Diamonds #124117, Organza Ribbon #114319