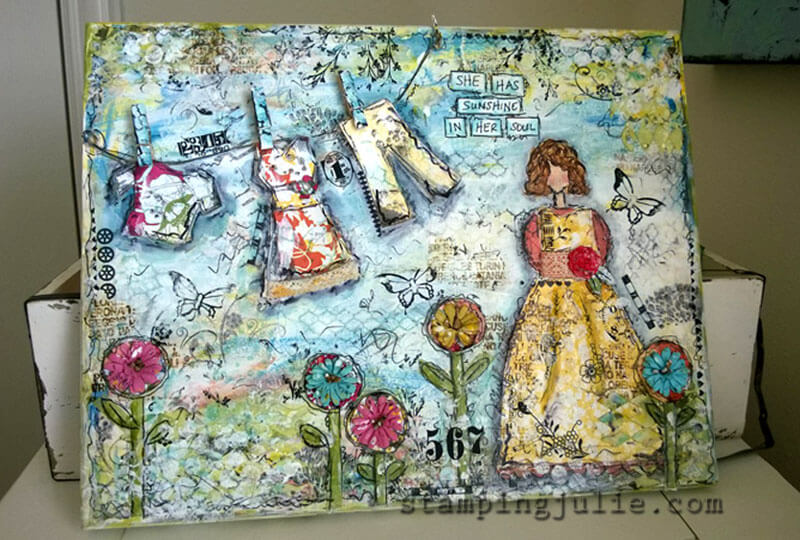
Welcome to my new creative outlet. Can you see all the Stampin’ Up! papers, washi tape and stamps throughout this painting!? And StazOn permanent black ink is a perfect medium for stamping on canvas. I know it’s kinda hard to pick out because of all the layers but they are there, I assure you!
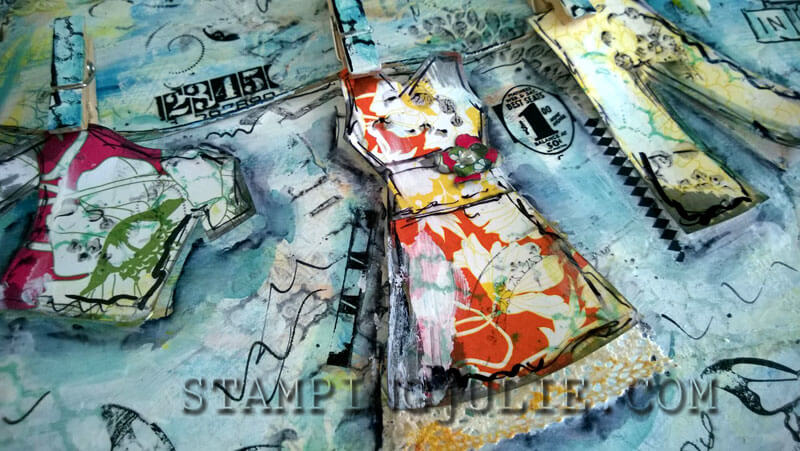
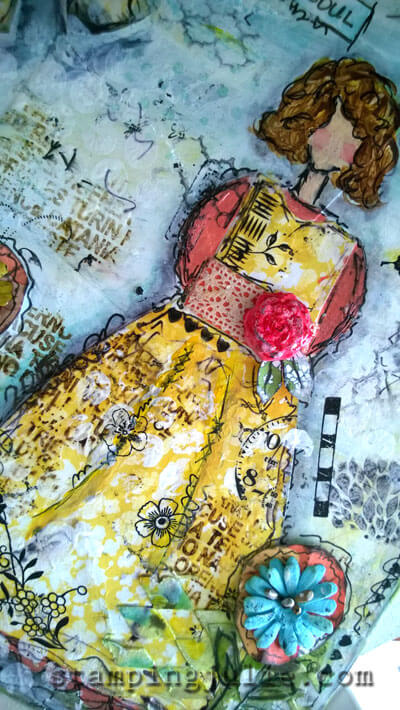
What do you think of her?? I’m super excited about my new craft and using my stash of stuff and getting some new stuff! I painted over an old, tired “self-serve” laundry room sign that I originally got at Hobby Lobby a few years ago. I figure who can go wrong on a laundry room decoration, right?!
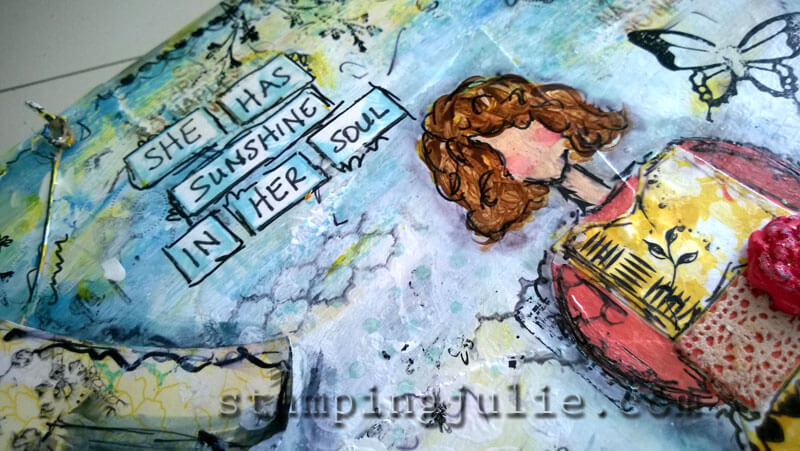
While I was recovering from foot surgery, I watched a whole ton of YouTube videos on mixed media art. I fell in love with Christy Tomlinson’s videos and style. If you take a look at her website and videos, you’ll definitely see her influence in this piece. After doing this one I took her “She Art” online class and I’ve made a couple of more since then. I highly recommend her online course. She’s who gave me the courage to just go for it, because she’s so free with her work! And she’s very encouraging!
Leave a comment and let me know what you think. Have you ever tried mixed media art?
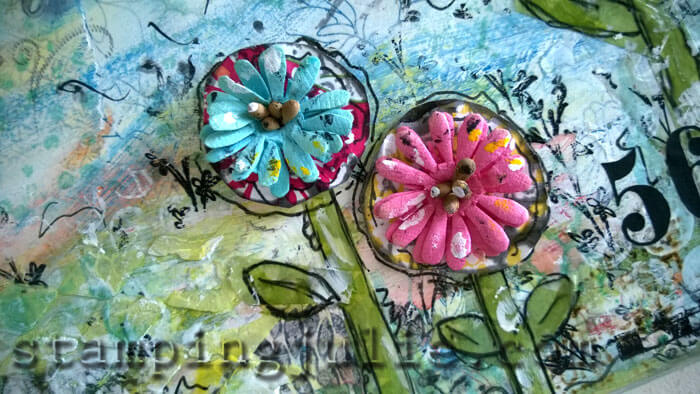
Can you see the textured diamonds? That’s done with a stencil and modeling paste. I definitely have learned a lot with each new attempt. For example, in this piece I over did it blending the texture into the background so now it’s hardly noticeable. Also, I discovered the pen I was using for outlining wasn’t very waterproof which of course caused smearing. But that just gave me an opportunity to use it and work it into the overall look. And we need to be willing to try and experiment if we are going to be able to learn and grow! More about that later!
Love you all! Thanks for stopping by!
Enjoy! Julie