Anatomy of a Blog Post
I am committed to bringing you quality stamping content on StampingJulie.com. I love sharing what I love! Who doesn’t – right? I enjoy playing in my craft room to create interesting projects and then teaching you what I did so you can have the same fun at your house. That is my first and primary goal.
My second goal here is to communicate sales and promotions to you so you don’t miss out. I admit to having nightmares about not doing my job adequately in this area. I truly don’t want you to miss anything!
But back to the main goal: quality stamping content. I have quite a process for bringing these projects and blog posts to you and I thought I would give you a glimpse of that process today.
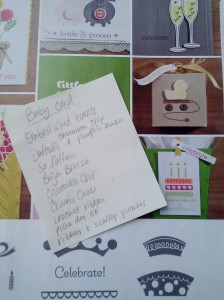
First, I create a project, then I photograph and edit the photo, and then I write my blog post. It sounds simple enough and once you get the hang of it, it is fairly simple. BUT to do it right, it does take time. Sometimes there are quite a few days or weeks between these steps. Yesterday I posted this picture on facebook:
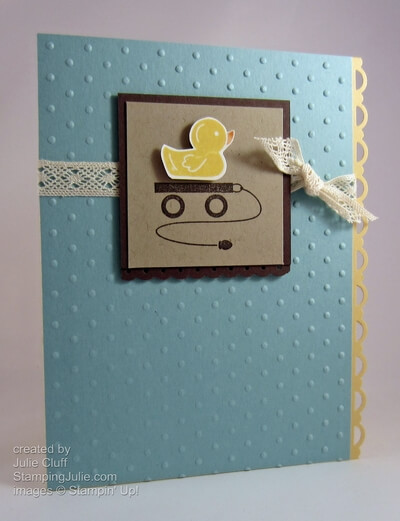
The baby card from this past week is a good example. I made that card over a month ago. To ensure that I give you accurate information, I take notes when I complete a project. And the picture above is a copy of my notes from when I made the project. I keep these notes tucked in my master catalog.
My master catalog is the catalog I use ALL the time. I check off the stamp sets, ribbons, buttons, brads, etc. that I have in my collection. I also use sticky notes in this catalog to mark the pages of projects that I want to do or items I would still like to or need to order.

Back to my notes: When I write a project post, I want to tell you exactly what I used so that if you choose to you can duplicate it at home and get the same results. For example, when I looked at the picture of my baby card, I thought I had used Early Espresso to stamp and mat the duck. But checking back at my notes I saw that it is actually Chocolate Chip.
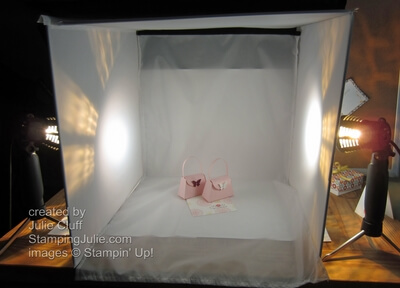
A while back I posted information on my photo process and you can view that post here.

If you have any questions about this process or anything else :), please leave a comment below and I’ll be sure to answer you!

REMEMBER: 2-WAYS TO GET A SET OF STAMP PADS (a$49.95 value) FOR FREE! 1. Place an order or host a workshop of $450 or more. OR 2. Join my team of stamping friends for just $99 and enjoy all the benefits of membership.
Click Here to Order your Stampin’ Supplies
Click Here for Fun, Easy Digital Scrapbooking!
Enjoy! Julie

